

September 7, 2023
Washer Repair
Your washing machine is one of the most essential appliances in your home. It helps you save time and ensures you always have clean laundry on hand. But just like any other appliance, sometimes, something can go wrong, and it must be repaired.
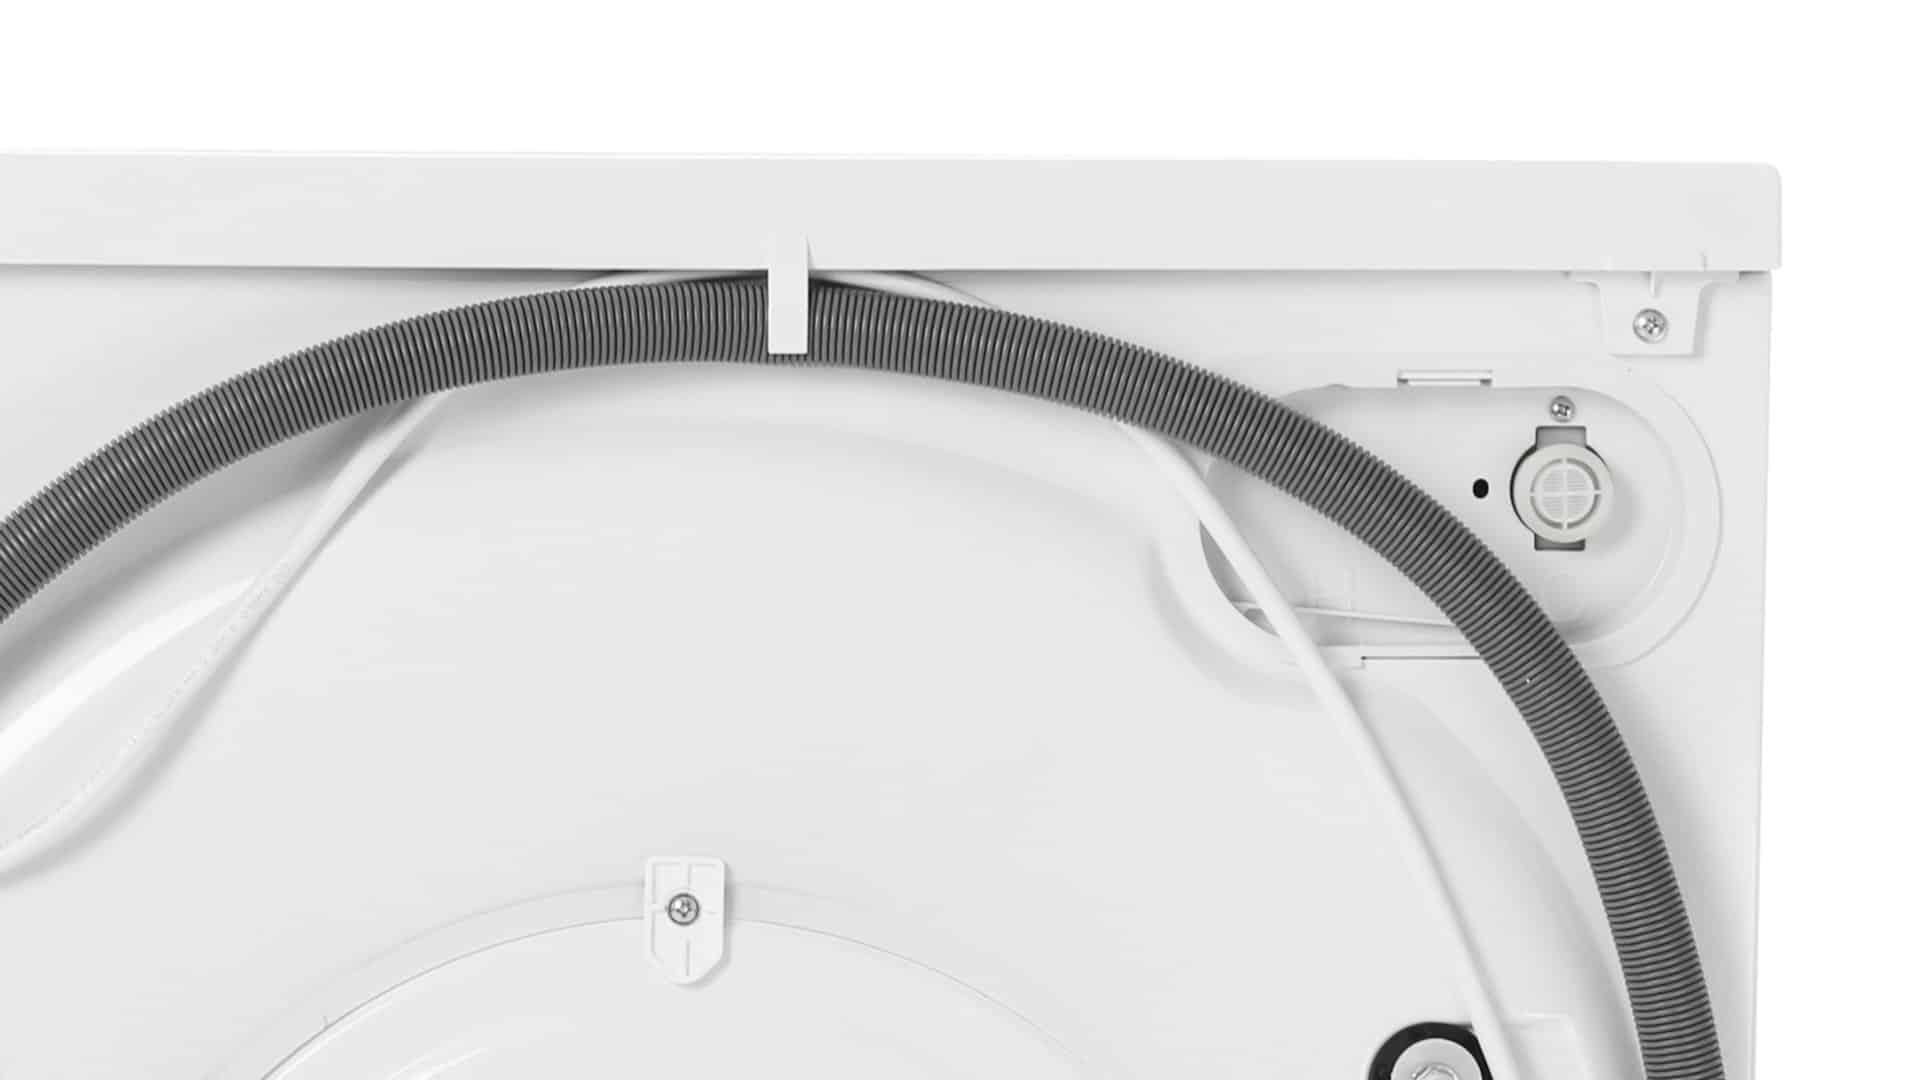
When it comes to washing machines, a common fault is when the water supply to the machine becomes defective. A faulty valve usually causes this. Thankfully, replacing a washing machine valve is a straightforward task that you should be able to do yourself without the need to call an appliance repair professional.
In this guide, we’ll walk you through the process of replacing the valve in just 6 steps so you can get your washing machine back working again.
When Do I Need to Replace My Washing Machine Valves?
Here are the most common reasons why a washing machine water valve needs to be replaced:
- Water leaks. If you notice your washing machine leaking, a common culprit will be a faulty water valve. When you see a leak, check the water valve and hoses.
- Low water pressure. A defective water valve often causes low water pressure. If your washer shows a water pressure error code, it might be caused by the valve.
- No water. Water has to flow through the valve to get into your washing machine. If your washing machine isn’t getting any water into it, the water valve is the likely culprit.
- The valve is damaged. Replacing the water valve if it looks corroded, rusted, or worn out. Thankfully, new water valves are inexpensive.
Types of Washing Machine Valves
Washing machine valves can be categorized into two types:
1. Single-lever valves
These valves manage both the hot and cold water supply to the washing machine using a solitary lever. Typically present in older washing machine models, they are pretty well-known to leak, which means they need to be replaced regularly.
2. Dual-valve valves
The second type of water valve is a dual valve. As the name suggests, these valves have distinct controls for the hot and cold water supplies. They are usually found on never washing machine models and generally have a higher lifespan.
Before changing your water valve, make sure you purchase the correct replacement part for your specific make and model of the washing machine—most hardware stores sell water valves.
Step 1 – Ensure You Have the Right Tools
The first step is ensuring you have all the right tools. You will need an adjustable wrench, a pair of pliers, a screwdriver, a pipe wrench, Teflon tape, a bucket, and a couple of dry towels.
Step 2 – Turn the Power and Water Off
Next, switch the power and water supply off so you can safely change the valve. You should be able to find the water inlet valves close to the washing machine plumbing connections.
Step 3 – Disconnect the Water Hoses
The next step is to disconnect the water hoses. Place an old towel on the floor and use a bucket to catch any water leaking from the hoses. You may need a pair of pliers or a wrench to loosen the nuts that hold the hoses in place.
Step 4 – Remove the Old Valve
Now that the hoses are disconnected, the next step is to remove the old valve. You will need a screwdriver or wrench to unthread the screws that secure the valve in position. Once the screws are removed, the old valve should be able to be disconnected.
Step 5 – Install the New Valve
Place the new valve into position and then attach it to the pipes, ensuring it is properly aligned. Teflon tape can be placed on the threads to prevent leaks. You can then secure it in place with the screws you removed earlier.
Step 6 – Finish Up
Now that the new valve is securely in place, you can reattach the water hoses and secure them with the nuts you removed earlier. Finally, turn the water supply back on and test your washing machine to ensure the new water valve correctly supplies water. If the new valve isn’t working properly, you will need a plumber to inspect it.
How to Prevent Washing Machine Valve Issues
You can take a few actions to help prevent problems with your washing machine valve. By following these tips, you can help avoid future washing machine valve issues and ensure that your washing machine runs smoothly without incident.
- Regularly check for leaks. The first and most important tip is to regularly check your water valve for leaks. Catching leaks early and fixing the underlying cause will prevent more serious issues from developing.
- Regularly replace the hoses. Most people aren’t aware that water hoses should be replaced every few years. This prevents any problems arising with the water supply to your washing machine.
- Don’t overload your washer. An overloaded washing machine puts undue stress on components like the water valve. This means they will wear out much quicker.
- Turn the water supply off. It’s a good idea to turn the water supply off when you’re not using your washing machine, especially if it will be for an extended period. This prevents leaks from occurring through the valve.

Apr. 09, 2024
How to Resolve the Bosch Dishwasher E15 Error Code

Apr. 09, 2024
How to Balance a Washing Machine (5 Quick Tips)

Apr. 09, 2024
Solutions for a Frigidaire Gas Stove Oven Failure

Mar. 06, 2024
How to Fix a GE Ice Maker Not Working (Quick Fixes)

Mar. 06, 2024
How to Fix the Electrolux Dryer Error Code E64

Mar. 06, 2024
Is Your Whirlpool Ice Maker Not Working? Here’s Why

Feb. 05, 2024
Can Styrofoam Be Microwaved? (Safety and Risks)

Feb. 05, 2024
Agitator vs. No Agitator Washer: What’s Best?

Feb. 05, 2024
Why Is Your Refrigerator Compressor Hot? (6 Potential Causes)

Jan. 03, 2024
How to Use Dishwasher Pods

Jan. 03, 2024
How to Unlock Your Microwave

Jan. 03, 2024
How Many Watts Does a Refrigerator Use?

Dec. 11, 2023
How To Fix a KitchenAid Dishwasher That Isn’t Draining

Dec. 11, 2023
GE Oven F2 Error Code: Causes & Solutions

Dec. 11, 2023
Maytag Washer Not Spinning? 5 Simple Solutions

Nov. 06, 2023
Why Is Your Refrigerator Not Cooling?

Nov. 06, 2023
How to Get Rid of Burnt Smell in Microwave

Nov. 06, 2023
How to Fix a Dishwasher Not Cleaning Properly

Oct. 02, 2023
How Much Energy Does My Dryer Use?

Oct. 02, 2023
Maytag Washer Error Codes: How to Fix Them
(877) 560-8485Give us a call
(754) 345-5121Send us a text