

May 27, 2020
Oven Repair
Welcome to the repair guide for replacing the stove burner valve of a Whirlpool gas cooktop. This model assumes that your gas burners are controlled by knobs at the front of your oven just above the oven door handle. If your Whirlpool gas stove does not match this arrangement, then look up a guide matching design of your Whirlpool gas stove.
This guide will walk you through the step-by-step process of removing a gas burner valve and replacing it. The burner valve is actually not located below the burner but instead right behind the knob. So we’ll be taking apart everything you need to reach those valves. Don’t worry. This repair has many steps but each of them is something you can easily do at home with a few screwdrivers and wrenches. No step in this repair is tricky or dangerous.
Gather Your Supplies
Always start by gathering your supplies so that you can complete the repair from beginning to end. You’ll need both types of screwdriver, a 1/4″ and 1/2″ wrenches, and work gloves to keep your hands safe from sharp panel edges. And, of course, the correct replacement burner valve.
- Phillips Screwdriver
- Flat Screwdriver
- 1/4″ Wrench
- 1/2″ Wrench
- Work Gloves
- Replacement Burner Valve
Safety First
- Cut the Power
- This repair involves a few wires, so you’ll need to cut the power. You can pull the plug of your stove or, if you can’t reach the plug, switch the kitchen breaker instead. Then work with a lamp.
- Shut Off the Gas
- You’ll also need to shut off the gas any time you do a repair on a gas range. Find the valve behind your stove and twist it clockwise to close off the valve and prevent gas from entering your stove.
Disassemble the Burners
- Remove Burner Grate
- Take off the heavy enameled grate that holds pots up off the burners.
- This is a good time to wash your stove grate.
- Remove the Burner Caps
- Pull off the smooth caps that cover the top of each burner and drop them in the sink to soak.
- Remove the Burner Mounting Screws
- Securing the burner heads are mounting screws inside the metal ripples.
- Find and remove the screws, then set them aside to easily relocate later.
- Pull Up the Burner Heads
- The burner heads should be loose now. Pull them all up.
- Disconnect the Spark Wires
- As you pull up each burner head, disconnect the spark wires and let them fall.
- Set the burner heads aside.
Remove the Top Panel
- Insert a Putty Knife Under the Top Panel
- Now slip a putty knife or flat screwdriver into the groove under the top panel of your stove.
- Release the Clips on Either Side
- On each side, you’ll feel to clips. Release them with a press and twist so the top pops up.
- Lift Front Edge and Pull
- The top panel should now be loose. Wearing gloves, slip your fingers under the edge.
- Lift and pull so that the top panel releases from the cabinet. You will notice it is secured by one wire at the left back corner.
- Use a 1/4″ Wrench to Release Ground Wire
- That wire is a ground wire, which prevents electric shorts and sparks. It is connected and secured to a screw.
- Loosen that screw with a 1/4″ wrench until the ground wire can be detached.
- Set Aside the Top Panel
- Now you can fully pull away the top panel and set it aside.
Access the Burner Valves
- Remove Burner Control Knobs from Valves
- Pull all the knobs off the front of your stove.
- Remove Mounting Screws Behind Knobs
- Behind the knobs, you’ll see each post has a screw right above it. Remove all of them.
- Open Oven Door
- Remove Screws Above and Below Knob Panel
- Remove the two screws on the underside edge of the knob panel.
- Remove the two screws on the top edge of the knob panel.
- Set Aside Knob Panel
- Pull away the knob panel and set it aside with the top stove panel.
- Remove Bracket Screws and Bracket Along Top
- There is a long support bracket along the top of the valves that you should now be able to see.
- Remove the screws securing that top bracket, setting the screws and bracket aside.
Remove the Old Burner Valve
- Find Your Valve
- Identify which valve you intend to replace based on which burner it connects to.
- Release Spark Switch with Flat Screwdriver
- The spark switch is the plastic wire-strung clip around the post of the valve.
- Use a flat screwdriver to release the plastic arms of the spark switch.
- Unhook Spark Switch, Leave Connected to Wires
- Unclipped, push the spark switch forward to unhook it from the valve post.
- Leave the spark switch alone after this, do not remove any wires.
- Use 1/2″ Wrench to Release Gas Tube from Valve
- The gas tube connects the burner to the valve.
- Use a 1/2″ wrench to release the nut that holds the gas tube to the valve.
- Remove Valve Mounting Clamp
- There is a small clamp or bracket with one screw holding the valve in place.
- Remove the screw and clamp to release the valve.
- Discard the Old Valve
Install the New Burner Valve
- Align New Valve on the Bracket
- Line up the new valve like the old one on the horizontal mounting bracket.
- Secure the Mounting Clamp
- Set the clip into place and return the screw so that the valve is secure.
- Return the Burner Gas Tube
- Fit the gas tube back onto the new valve, ensuring the burner is aligned and upright.
- Clip On the Spark Switch
- Slip the spark switch back over the new burner valve post.
- Clip the spark switch into place.
Reassemble your Stovetop
Now that the new valve is installed, it’s time to reverse your process to reassemble the stove. Here’s a quick recap of all the steps to put everything back together. Don’t forget where you put all the mounting screws and don’t forget that ground wire on the way back in.
- Return and Secure the Support Bracket
- Return and Secure the Knob Panel
- Return Burner Valve Screws
- Return the Burner Control Knobs
- Place Spark Wires in Burner Tops
- Return the Top Panel
- Secure the Grounding Wire
- Hook Right then Left Edge Under the Vent
- Press the Top Down Firmly
- Resecure Wires to Burner Heads
- Align and Re-Secure Burner Heads
- Return Burner Caps
- Return Burner Grate
- Plug the Stove Back In
- Switch On the Gas
Test Your Success
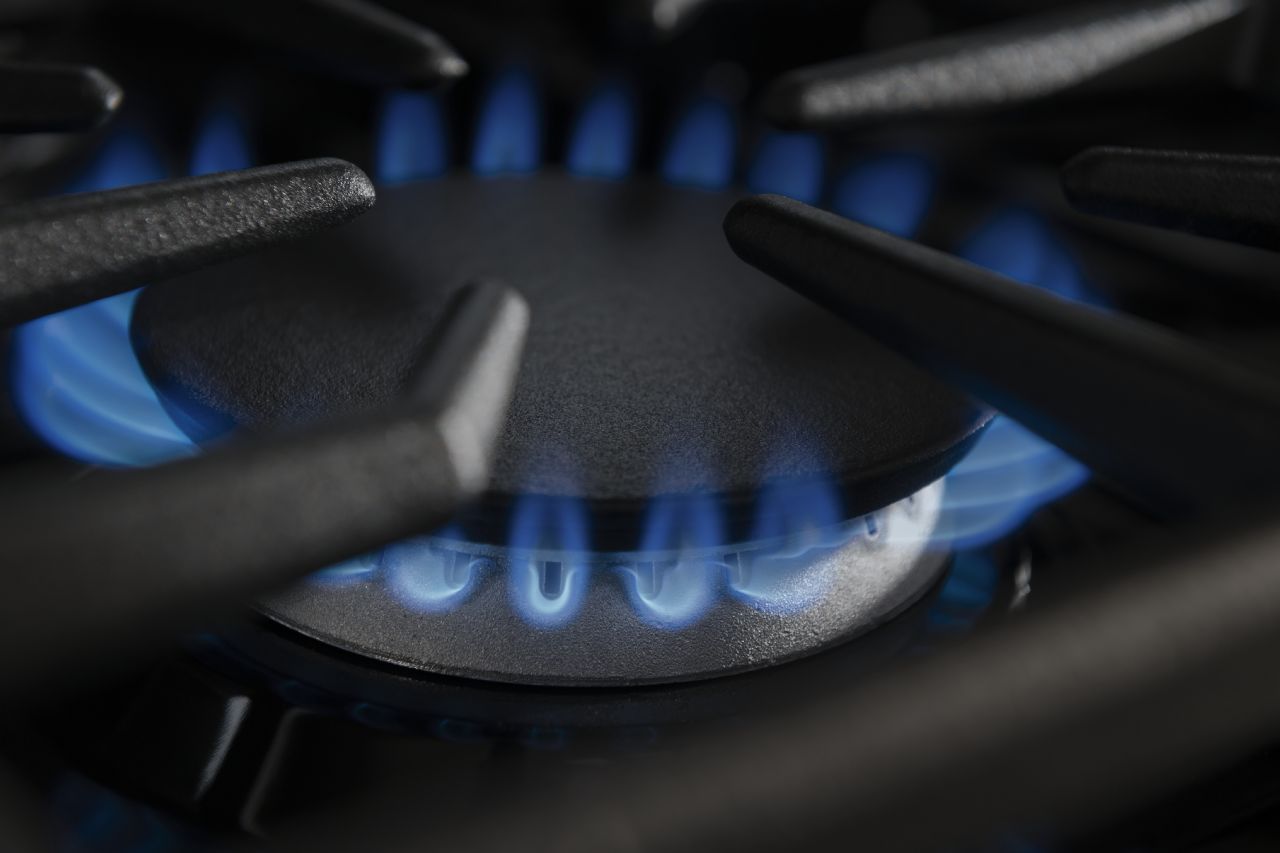
Now you can test to see if your valve replacement was successful. Flip on the burner in question and see if it creates a nice even circle of blue flame. If you’re still having trouble, contact us today to find out more about home appliance repair or to call for a technician’s home assistance.

Apr. 09, 2024
How to Resolve the Bosch Dishwasher E15 Error Code

Apr. 09, 2024
How to Balance a Washing Machine (5 Quick Tips)

Apr. 09, 2024
Solutions for a Frigidaire Gas Stove Oven Failure

Mar. 06, 2024
How to Fix a GE Ice Maker Not Working (Quick Fixes)

Mar. 06, 2024
How to Fix the Electrolux Dryer Error Code E64

Mar. 06, 2024
Is Your Whirlpool Ice Maker Not Working? Here’s Why

Feb. 05, 2024
Can Styrofoam Be Microwaved? (Safety and Risks)

Feb. 05, 2024
Agitator vs. No Agitator Washer: What’s Best?

Feb. 05, 2024
Why Is Your Refrigerator Compressor Hot? (6 Potential Causes)

Jan. 03, 2024
How to Use Dishwasher Pods

Jan. 03, 2024
How to Unlock Your Microwave

Jan. 03, 2024
How Many Watts Does a Refrigerator Use?

Dec. 11, 2023
How To Fix a KitchenAid Dishwasher That Isn’t Draining

Dec. 11, 2023
GE Oven F2 Error Code: Causes & Solutions

Dec. 11, 2023
Maytag Washer Not Spinning? 5 Simple Solutions

Nov. 06, 2023
Why Is Your Refrigerator Not Cooling?

Nov. 06, 2023
How to Get Rid of Burnt Smell in Microwave

Nov. 06, 2023
How to Fix a Dishwasher Not Cleaning Properly

Oct. 02, 2023
How Much Energy Does My Dryer Use?

Oct. 02, 2023
Maytag Washer Error Codes: How to Fix Them
(877) 560-8485Give us a call
(754) 345-5121Send us a text