

August 17, 2020
Oven Repair
Installing a gas cooktop stove is an important process, one that must be done more carefully than with an electric stove installation. Both removing the old stove and installing the new one. A gas cooktop has more than just a power plug, you also need to prepare and connect the gas line. If this is your first time installing a gas stove, you’re not alone. Thousands of people each year are replacing a gas stove for the first time, installing gas in their houses, or building a new house with a gas stove in the design.
For most, you’ll be replacing an existing stove, presumably gas. So we’re going to start from there. Follow along to prepare for your gas stove installation and then transition to a new, safely connected gas cooktop unit.
Close the Gas Line
The first step is to cut the gas. This is an absolutely necessary safety precaution. The connector from the gas line to the stove will be open for a while, so the valve that supplies that connector must be closed. If you don’t have an emergency valve just before the connector, now is the time to install one. You can add your new connector (you will need a new, unused connector) after the closed valve.
Disconnect and Discard the Gas Line Connector
With the gas line closed, open and discard the gas line connector. Use a pair of wrenches, one to hold and one to twist in order to release a tight connector.
Remove the Old Stove
Now that the stove is free from the gas line, unplug it from the wall and remove the older stove. Work carefully with a partner and, we suggest, an appliance dolly to safely take your stove out of the house. From here, you can decide how to put the stove to use. If it doesn’t work, you can recycle or scrap it. If it does work, you can repurpose it to another property, sell, or donate the stove.
Clean the Floor and Wall
The floor underneath the household stove is always the dirtiest, never cleaned space in the house. The wall behind is likely marked by cooking residue and built-up grime as well. This is your chance to get that space completely clean this once before the new stove goes in. Get ahead of the years of hidden built-up grime to come by mopping, scrubbing, and maybe even repainting the stove space while no stove is in occupancy.
Inspect, Clean, & Maintain the Exhaust Hood
This is also a unique opportunity to access the exhaust hood. Maintenance best practices advise that you take this chance to completely clean, scrub, and inspect your hood. If there’s a metal filter, remove it and blast it with hot water. Make sure the fan is working.
Change the lightbulb. Any removable parts can be soaked in soapy water to help clean away the layers of aerated cooking oil.
Clean the Outlet and Gas Line
Take a look at the connectors. Clean the power outlet and surrounding area with an all-surface cleaner. You might be amazed how much grime comes away. Then dust and clean the gas line itself without disturbing the valve.
Bring in the New Stove
Now that your space is completely clean and prepped, bring in your new gas cooktop stove. Turn it so the back faces the wall, but leave yourself plenty of room to work connecting the stove.
Connect & Open the Gas Line
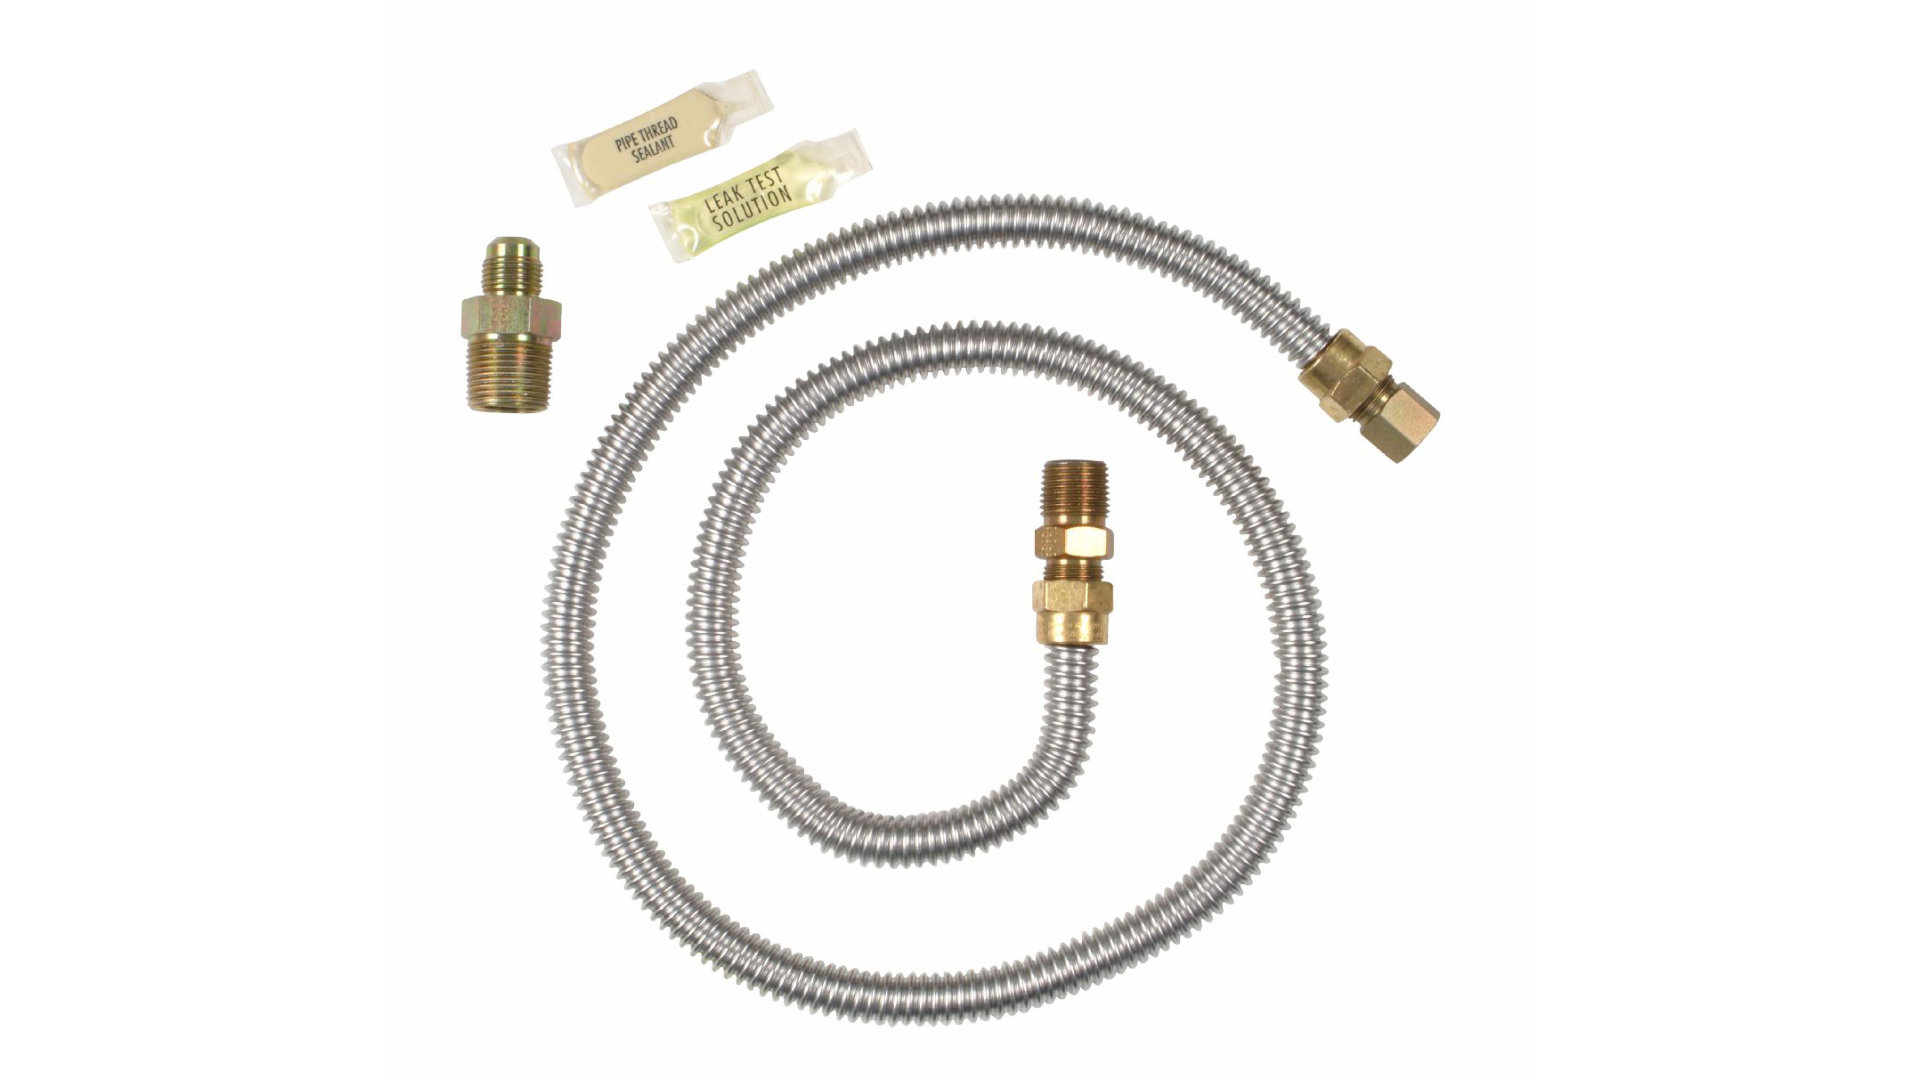
Get a new “range” gas line connector and add it to the gas line using a strip of teflon tape over the threads to seal the connection. Then connect the stove to the connector and use another strip of teflon tape. When the connectors are fully sealed and locked in, twist open the gas line from the nearby emergency valve. If you closed the gas at a higher point, open it there as well.
Test for a Gas Leak
Any time you change or adjust the gas connection, it is critical to test for a gas leak before walking away. There are a few different ways to do that. The first is a gas leak detector solution. This is a gooey liquid that you spread onto each gas connection and can be substituted with dish soap. If the liquid bubbles, there’s a leak.
The second method is a hand-held gas leak detector used in close vicinity to the connector. This is a hand-held electronic chemical sniffer device.
Plug In the Stove
Once you are confident that the gas connection is solid and safe, apply the power plug to the wall socket. This renders your stove useful. You should see evidence of your success with a 00:00 flashing display on the digital stove clock.
Level the Stove
Before you push the stove back into place, take a moment to level all four feet. Grab your bubble level and place it on top of the stove. Test the front, back, left, and right edges of the cooktop. Make sure the bubble is in the center. If the bubble tilts, extend or retract the twist-leveling oven feet until the oven is completely level.
Push the Stove Into Place
Now you are ready to push your stove into the nook that has been prepared. Carefully guide the power cord and gas line so they are not pinched by the maneuver. Work with a friend to adjust your new gas cooktop into place. If you have a method to bolt or secure it to the counter, do so.
Test Your Success
Congratulations! You have just installed your own new gas stove, possibly after replacing a previous gas stove in the same place. You have a clean, fresh, well-connected installation ready to cook your first meal. So get cooking! Test each burner for strength, alignment, and how easily they light. Cook a light pan of something on each burner to get a feel for your new stove. When you’re cooking, use the handheld gas leak detector one more time near the back of the stove, just in case. If you would like more DIY tips or professional services regarding your gas cooktop stove, contact us today!

Apr. 09, 2024
How to Resolve the Bosch Dishwasher E15 Error Code

Apr. 09, 2024
How to Balance a Washing Machine (5 Quick Tips)

Apr. 09, 2024
Solutions for a Frigidaire Gas Stove Oven Failure

Mar. 06, 2024
How to Fix a GE Ice Maker Not Working (Quick Fixes)

Mar. 06, 2024
How to Fix the Electrolux Dryer Error Code E64

Mar. 06, 2024
Is Your Whirlpool Ice Maker Not Working? Here’s Why

Feb. 05, 2024
Can Styrofoam Be Microwaved? (Safety and Risks)

Feb. 05, 2024
Agitator vs. No Agitator Washer: What’s Best?

Feb. 05, 2024
Why Is Your Refrigerator Compressor Hot? (6 Potential Causes)

Jan. 03, 2024
How to Use Dishwasher Pods

Jan. 03, 2024
How to Unlock Your Microwave

Jan. 03, 2024
How Many Watts Does a Refrigerator Use?

Dec. 11, 2023
How To Fix a KitchenAid Dishwasher That Isn’t Draining

Dec. 11, 2023
GE Oven F2 Error Code: Causes & Solutions

Dec. 11, 2023
Maytag Washer Not Spinning? 5 Simple Solutions

Nov. 06, 2023
Why Is Your Refrigerator Not Cooling?

Nov. 06, 2023
How to Get Rid of Burnt Smell in Microwave

Nov. 06, 2023
How to Fix a Dishwasher Not Cleaning Properly

Oct. 02, 2023
How Much Energy Does My Dryer Use?

Oct. 02, 2023
Maytag Washer Error Codes: How to Fix Them
(877) 560-8485Give us a call
(754) 345-5121Send us a text