

November 15, 2019
Oven Repair
Your stove is one of the single most important items in your home. Even if you’re not a gourmet chef, the stove is essential for making and heating meals at home. There are many things you can only make with a working burner or two and most homes have four burners to work with at maximum. So when one of your burners goes out, this can be a real problem. Especially if it’s your favorite burner.
So what do you do when a burner on your electric stovetop goes out? There are a few at-home tricks to try before you get into heavy-duty repair territory. So let’s dive right in and start seeing what works to get your stovetop working again.
Make Sure Your Burner is Cool
Before you start troubleshooting, make sure you’re not dealing with a hot burner. The chances of this are low if your burner has not been working, but it’s worth mentioning just in case your burner went out in the middle of cooking dinner. Do not try any troubleshooting tactics while your burner is hot. Be sure it is cool to the touch before grasping with no heat radiating from it.
You should also never work with a burner while the burner stove switch is on. The last thing you need is to discover your success with a burn as the burner suddenly flares back to life. Turn off all burner switches and wait 30 minutes before beginning troubleshooting or repairs.
Wiggle the Burner In Place
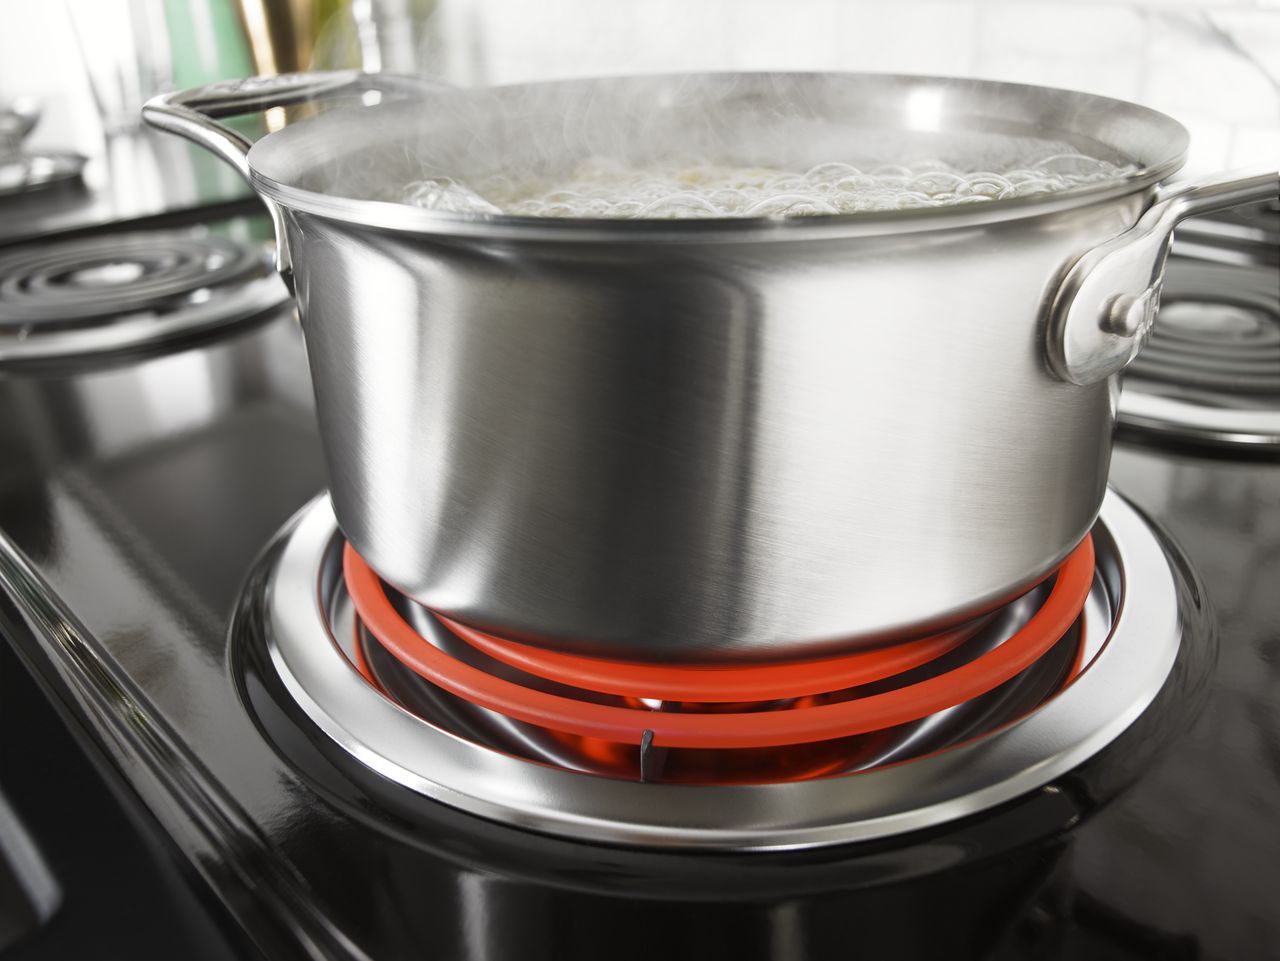
The kind of iron coil burner that is most common on electric cooktops is connected by two prongs that stick into the burner terminal. If these somehow become loose or unseated, then your burner will stop getting electrical power and therefore will stop heating.
With this in mind, the first burner repair step is simply to wiggle your burner. Try pressing it firmly but not forcefully into the socket terminal and wiggling it gently to see if it will settle back into the socket. Then carefully test your burner by turning on the switch to see if it heats red. Naturally, if your burner turns red then your problem was simply a loose socket that is now fixed.
Clean the Burner Posts
The next possibility is that a spill dribbled down the burner and down the posts. The wrong kind of spill in the wrong circumstances can cause a crust to form on your burner’s posts. If this happens, especially if the posts were loose to start with, the spill can cause your burner to lose electrical connection with the terminal and therefore stop heating.
This leads us to our next troubleshooting step which is a simple one. Pull your burner out and wash the posts. Because burners get very hot, you will likely need to use some serious scrubbing and perhaps a little steel wool to remove whatever has coated your burner posts. Be careful, however. If you scrub off the factory coating, this can ruin the burner by damaging the material designed to make contact with the terminal.
Once the posts are scrubbed, dry them very thoroughly and then run your test. Plug the burner back in and turn on the switch. If it glows, you were successful.
Swap It For a Same-Size Burner
One interesting trick that sometimes works is to swap the non-working burner with another burner of the same size, especially if the one that is out of commission is a close burner that you use often. Be sure that the two burners are the same size or the swapped burner won’t fit well into the socket.
This trick is useful for a couple of different reasons. The first is that you are testing to see whether the burner or the socket is broken. If the once dead burner heats up just fine when swapped, then it was never the burner that was the problem. And if the swapped burner works in the once-dead socket, then the socket was not the problem. Naturally, this can also reveal whether it was the burner or the socket if one does not work after the swap.
Interestingly, you may sometimes find that after the switch, both burners work just fine. This may mean that your terminal was loose to begin with and the act of pulling out and fully re-setting the swapped burners did the trick for getting your whole stove to work again.
Replace the Burner
If you do the swap and determine that your burner is bust because it doesn’t work in either terminal (and the other burner works in both terminals) then you’ll need to buy a replacement burner. If you can find your stove’s user manual based on the brand and model, it will give you the exact replacement part number.
You can also find replacement burners by getting the brand of your stove and taking a measurement. Measure the widest diameter (distance across) of your broken burner. This, along with the brand name, can often help you find the right burner for a replacement. When your replacement arrives, simply fit it into the socket like the last burner and run your test. Turn the switch and see if it glows.
Replace the Terminal
Finally, if you determine that it’s the terminal that is the problem, you may need to perform a more serious replacement task or call for professional repairs. Replacing the terminal will require you to cut power to your stove and pull out the socket terminal where your burner plugs in. You will need to carefully swap the wires onto a new terminal and then set the terminal back into place.
This is a potentially dangerous repair that could result in electrocution if you do not cut the power and maybe challenging, particularly if the terminal is burnt or covered in a charred spill, as can happen with a stove. If you’re not confident about replacing the burner terminal yourself, this is the safer bet. Contact us today and a skilled appliance repair technician will get your stove back into ship-shape.

Apr. 09, 2024
How to Resolve the Bosch Dishwasher E15 Error Code

Apr. 09, 2024
How to Balance a Washing Machine (5 Quick Tips)

Apr. 09, 2024
Solutions for a Frigidaire Gas Stove Oven Failure

Mar. 06, 2024
How to Fix a GE Ice Maker Not Working (Quick Fixes)

Mar. 06, 2024
How to Fix the Electrolux Dryer Error Code E64

Mar. 06, 2024
Is Your Whirlpool Ice Maker Not Working? Here’s Why

Feb. 05, 2024
Can Styrofoam Be Microwaved? (Safety and Risks)

Feb. 05, 2024
Agitator vs. No Agitator Washer: What’s Best?

Feb. 05, 2024
Why Is Your Refrigerator Compressor Hot? (6 Potential Causes)

Jan. 03, 2024
How to Use Dishwasher Pods

Jan. 03, 2024
How to Unlock Your Microwave

Jan. 03, 2024
How Many Watts Does a Refrigerator Use?

Dec. 11, 2023
How To Fix a KitchenAid Dishwasher That Isn’t Draining

Dec. 11, 2023
GE Oven F2 Error Code: Causes & Solutions

Dec. 11, 2023
Maytag Washer Not Spinning? 5 Simple Solutions

Nov. 06, 2023
Why Is Your Refrigerator Not Cooling?

Nov. 06, 2023
How to Get Rid of Burnt Smell in Microwave

Nov. 06, 2023
How to Fix a Dishwasher Not Cleaning Properly

Oct. 02, 2023
How Much Energy Does My Dryer Use?

Oct. 02, 2023
Maytag Washer Error Codes: How to Fix Them
(877) 560-8485Give us a call
(754) 345-5121Send us a text