

August 13, 2018
Washer Repair
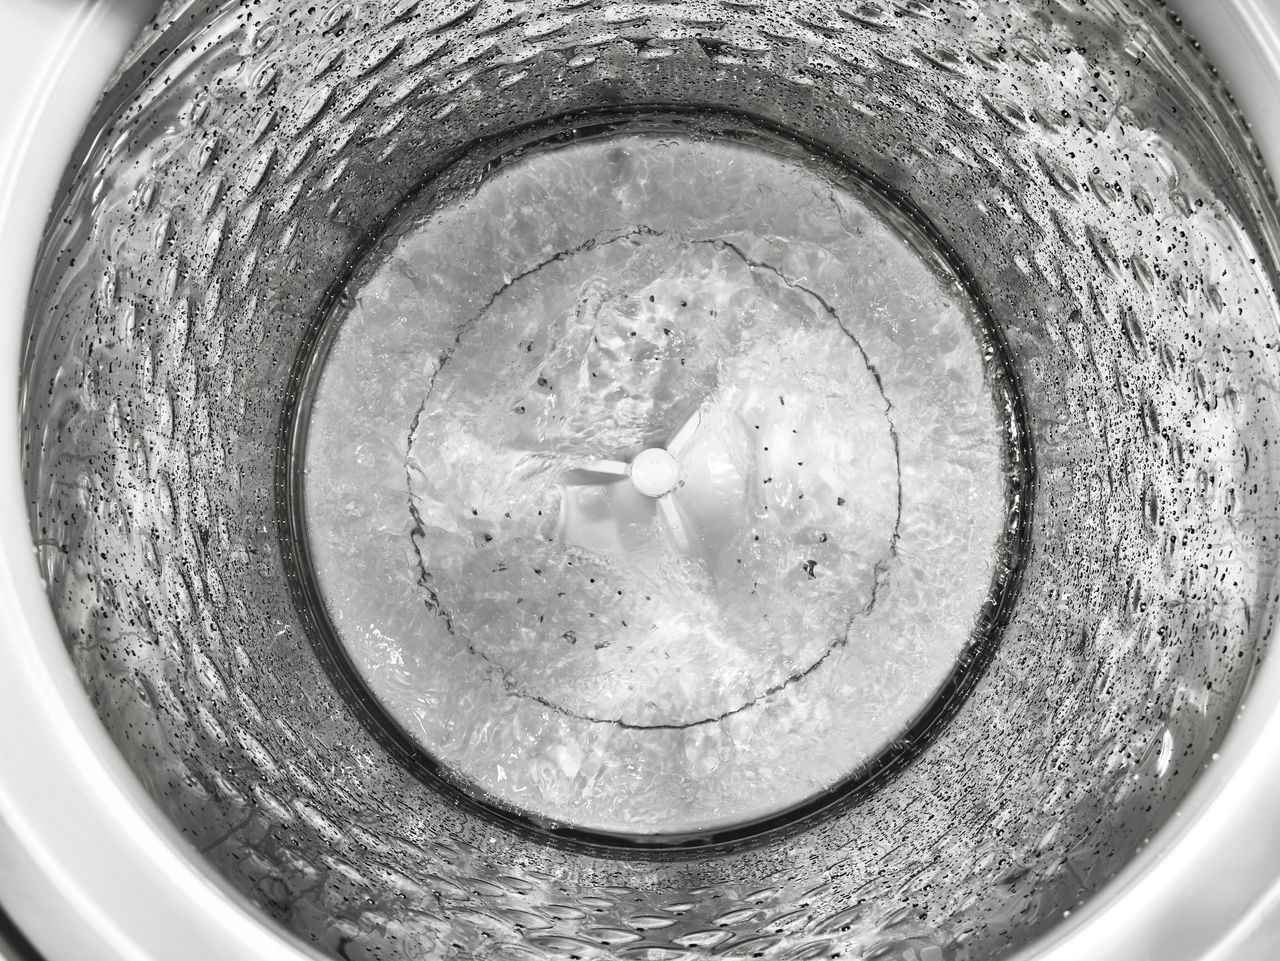
A washing machine that keeps filling up with water past the point when it should be agitating is a mess no one wants to deal with.
After the flood has been mopped up, you wonder how in the world are you ever going to get the water out of the washer tub. Before you start searching for a container large enough consider the following easy method for removing the water.
How to Remove Water in a Washer Tub
- Set the selector switch to spin and let it run.
- Allow the washer to drain the water to at least below the washer basket.
Okay, that was fairly simple. Now we can evaluate a few reasons why the washer tub keeps filling up with water. The water pressure switch could be defective, or the water inlet valve is stuck open allowing more water to fill the tub then what the switch is telling it to do. We’re going to take a look at the water switch first.
Today’s washer repair tutorial is for Whirlpool, KitchenAid, and Roper top loading washing machines.
Tools Needed
- #2 Philips screwdriver
- ¼ inch nut driver
- Multimeter
Before proceeding, to avoid serious electrical shock and injury, unplug your washing machine from its power source.
How to Access, Test, and Replace the Water Level Switch
- Locate and remove two screws that secure the control panel to the washing machine. The screws are positioned at the bottom of the panel, one to the far right and the other one to the far left. The location may vary depending on the model.
- Remove the switch knob.
- Flip the console up to access all of the washing machine switches.
- The water pressure switch (sometimes called a water level switch) is located on the far left of the console.
- Remove the clear rubber pressure hose from the water switch nipple.
The pressure hose runs from the water switch to the washer tub and as the tub fills with water the hose fills with pressure. The amount of pressure depends on whether the wash load is set for small, medium, or large.
- Using your nut driver, remove the ¼ inch screw that holds the switch to the console frame.
- Be careful of sharp edges!
- Lift the switch up from the tab slot and pull it straight out.
- Carefully remove three wires that connect to the switch. In order to prevent your hands from cuts, wait to remove the wires until after the switch has been released from the console frame. Consider marking the wires #1,2,3 to help remember which wire goes to which terminal.
How to Test a Water Level Switch
- Set the multimeter to OHMS x 1.
- The water level switch has three connections that will need to be tested in pairs.
- Place the meter probes on terminals 1 and 2. If the value is near 0.0, there is continuity. If it reads infinity, that would indicate no continuity.
- Place the probes on terminals 1 and 3 and note the reading.
- Finally, place the probes on 2 and 3 and note the reading.
- Two pairs should have no continuity and one pair should have continuity.
- If there is any other result, the switch is defective and needs to be replaced.
If the switch proves to be the reason your machine won’t stop filling with water, obtain your washing machine model number or the part number.
How to Install the New Water Pressure Switch
- Reconnect the wires to the appropriate terminals.
- Carefully slide the stem through its designated opening in the console frame.
- Line the tab on the bottom of the switch with the correct slot. Push the switch in place.
- Replace and tighten the screw that holds the switch to the frame.
- Replace the rubber pressure hose.
- Rotate the console back in place. Ensure the plastic tabs are lined up with the correct tabs.
- Reinstall the control knob to the water pressure switch.
- Secure and tighten the two screws that hold the control panel in place.
However, if the water pressure switch is not the problem, then we need to consider the water inlet valve. If you took a second to click on the link, the first thing you might notice is that water inlet valves come in several different shapes and sizes. Not to worry, though, as the following troubleshooter will help guide you in the most general manner.
How to Remove and Replace a Defective Water Inlet Valve
The water inlet valve is a mixing valve that allows both cold and hot water to enter the washer tub. The selector-setting, and the timer signal the valve which solenoid to actuate. Did you set it for hot, cold, or warm? This valve is usually located to the rear of your washing machine. Sometimes the valve will become stuck in an open position and when that happens, it’s time to replace it.
Before beginning this repair, make sure that the machine is still unplugged from its power source and the hot and cold water taps are turned off.
- Move the control panel out of the way. See the first step in this tutorial.
- Unplug the control panel wire harness and with a flathead screwdriver release the spring clamps from the top of the washer. These are the clamps that hold the cabinet and control panel in place.
- Tilt and pull the cabinet toward you and slide from the base frame.
- Using channel locks remove the water supply hoses from the defective water inlet valve and note that a small amount of water may come pouring out.
- Remove the 2 wire connectors from behind the valve.
- Remove the mounting screw and slide the old valve out from the back panel.
- Release the clamp that holds an interior water hose and removes the hose from the valve.
Now it’s time to install the new water inlet valve.
- Slide the interior water hose in place on the new valve and secure with the clamp.
- Insert the valve in the back panel and secure with the mounting screw.
- Reconnect the two wire harnesses.
- Reattach the water supply hoses.
- Reinstall the cabinet ensuring the front edge slides under the base frame.
- Line up tabs and slots appropriately as you push the cabinet in place.
- Carefully match up the cabinet with the rear panel.
- Reinstall the spring clamps.
- Reattach the control panel wire harness.
- Rotate the control panel down and lock clips in place.
- Replace the two screws that hold the control panel in place.
- Turn on the hot and cold water, plug the appliance back in and test it to ensure it’s functioning properly.
This concludes this tutorial. Send your queries here, if you are having any trouble with this repair or any other appliance repair issues.

Apr. 09, 2024
How to Resolve the Bosch Dishwasher E15 Error Code

Apr. 09, 2024
How to Balance a Washing Machine (5 Quick Tips)

Apr. 09, 2024
Solutions for a Frigidaire Gas Stove Oven Failure

Mar. 06, 2024
How to Fix a GE Ice Maker Not Working (Quick Fixes)

Mar. 06, 2024
How to Fix the Electrolux Dryer Error Code E64

Mar. 06, 2024
Is Your Whirlpool Ice Maker Not Working? Here’s Why

Feb. 05, 2024
Can Styrofoam Be Microwaved? (Safety and Risks)

Feb. 05, 2024
Agitator vs. No Agitator Washer: What’s Best?

Feb. 05, 2024
Why Is Your Refrigerator Compressor Hot? (6 Potential Causes)

Jan. 03, 2024
How to Use Dishwasher Pods

Jan. 03, 2024
How to Unlock Your Microwave

Jan. 03, 2024
How Many Watts Does a Refrigerator Use?

Dec. 11, 2023
How To Fix a KitchenAid Dishwasher That Isn’t Draining

Dec. 11, 2023
GE Oven F2 Error Code: Causes & Solutions

Dec. 11, 2023
Maytag Washer Not Spinning? 5 Simple Solutions

Nov. 06, 2023
Why Is Your Refrigerator Not Cooling?

Nov. 06, 2023
How to Get Rid of Burnt Smell in Microwave

Nov. 06, 2023
How to Fix a Dishwasher Not Cleaning Properly

Oct. 02, 2023
How Much Energy Does My Dryer Use?

Oct. 02, 2023
Maytag Washer Error Codes: How to Fix Them
(877) 560-8485Give us a call
(754) 345-5121Send us a text