

July 5, 2022
Washer Repair
Behind most leaky taps is a faulty washer, which is, thankfully, an easy DIY fix you can do at home. No one likes a dripping tap or the big water bill that comes with it. While you may not think it is wasting much water, a dripping tap may be wasting up to 24,000 liters of water a year.
There are a few signs that your taps need replacing. Constant dripping is the main indicator. Low water pressure is another sign. An inconsistent flow or change in pressure from your tap may also be caused by limescale, mineral build-up, or rust in your pipes. Like everything, your washers have a life expectancy, and depending on the type of washer, it may be less than you think. While modern ceramic washers can last years, older rubber washers may only last you 12 months, depending on how frequently they are used. Loud noises are also a sign that your taps may need to be replaced. If you are hearing screeching or whistling when you use your taps, you should always investigate.
Equipment needed
- Shifter
- Spanners
- Pliers
- Screwdriver
- high-quality tape
How do taps work?
Taps have made our lives easier for generations. Having water on hand whenever it is needed is a luxury most people take for granted. When you turn on the tap, it is actually the washer that allows the flow of water. Therefore, if your tap is leaking, the issue is most likely with the washer itself. Even the best washers eventually wear out and need to be replaced. If you have a washerless tap, then you will need to call an expert.
Can you change a tap yourself?
Changing a generic bathroom or laundry tap is one of the easier DIYs out there. As long as you have some common sense and can follow a few simple instructions, there is no reason you would need to call in an expert to do it.
How long does it take to change a tap?
Changing a tap and installing a new tap are very different jobs. The labor on changing a tap is minimal and shouldn’t take a novice more than an hour. However, installing a new tap can take skilled tradespeople about 1-3 hours.
Turn off the water
Before you start fiddling with any leaking taps, you will need to turn off your water at the mains. If you are going to be working on the hot water tap, you will also need to turn the supply off at the hot water system as well.
Empty the tap
Once you have turned the water off the mains, you will need to empty the tap. This is because there may still be water in the pipes. If you don’t empty them before you start work, they can cause a big mess once you start to change a tap washer. It is an easy job, just open up the tap and let the remaining water run out. If the water is still flowing, then you need to go back to the mains and turn it off properly.
Remove the handle
Start by removing the handle of the tap. The handle is the part you hold when you turn the tap on or off. How you remove the tap depends on the type of tap you have. The pillar tap is one of the most common and versatile types of taps. Think of those standard ”hot” and ”cold” taps you find in the laundry, and you’re thinking of the pillar type of tap.
To remove most tap handles, all you need to do is remove the button on top and unscrew the handle. Once you have gotten the handle off, you will need to use a spanner to get the bonnet and headgear off, exposing the tap washer.
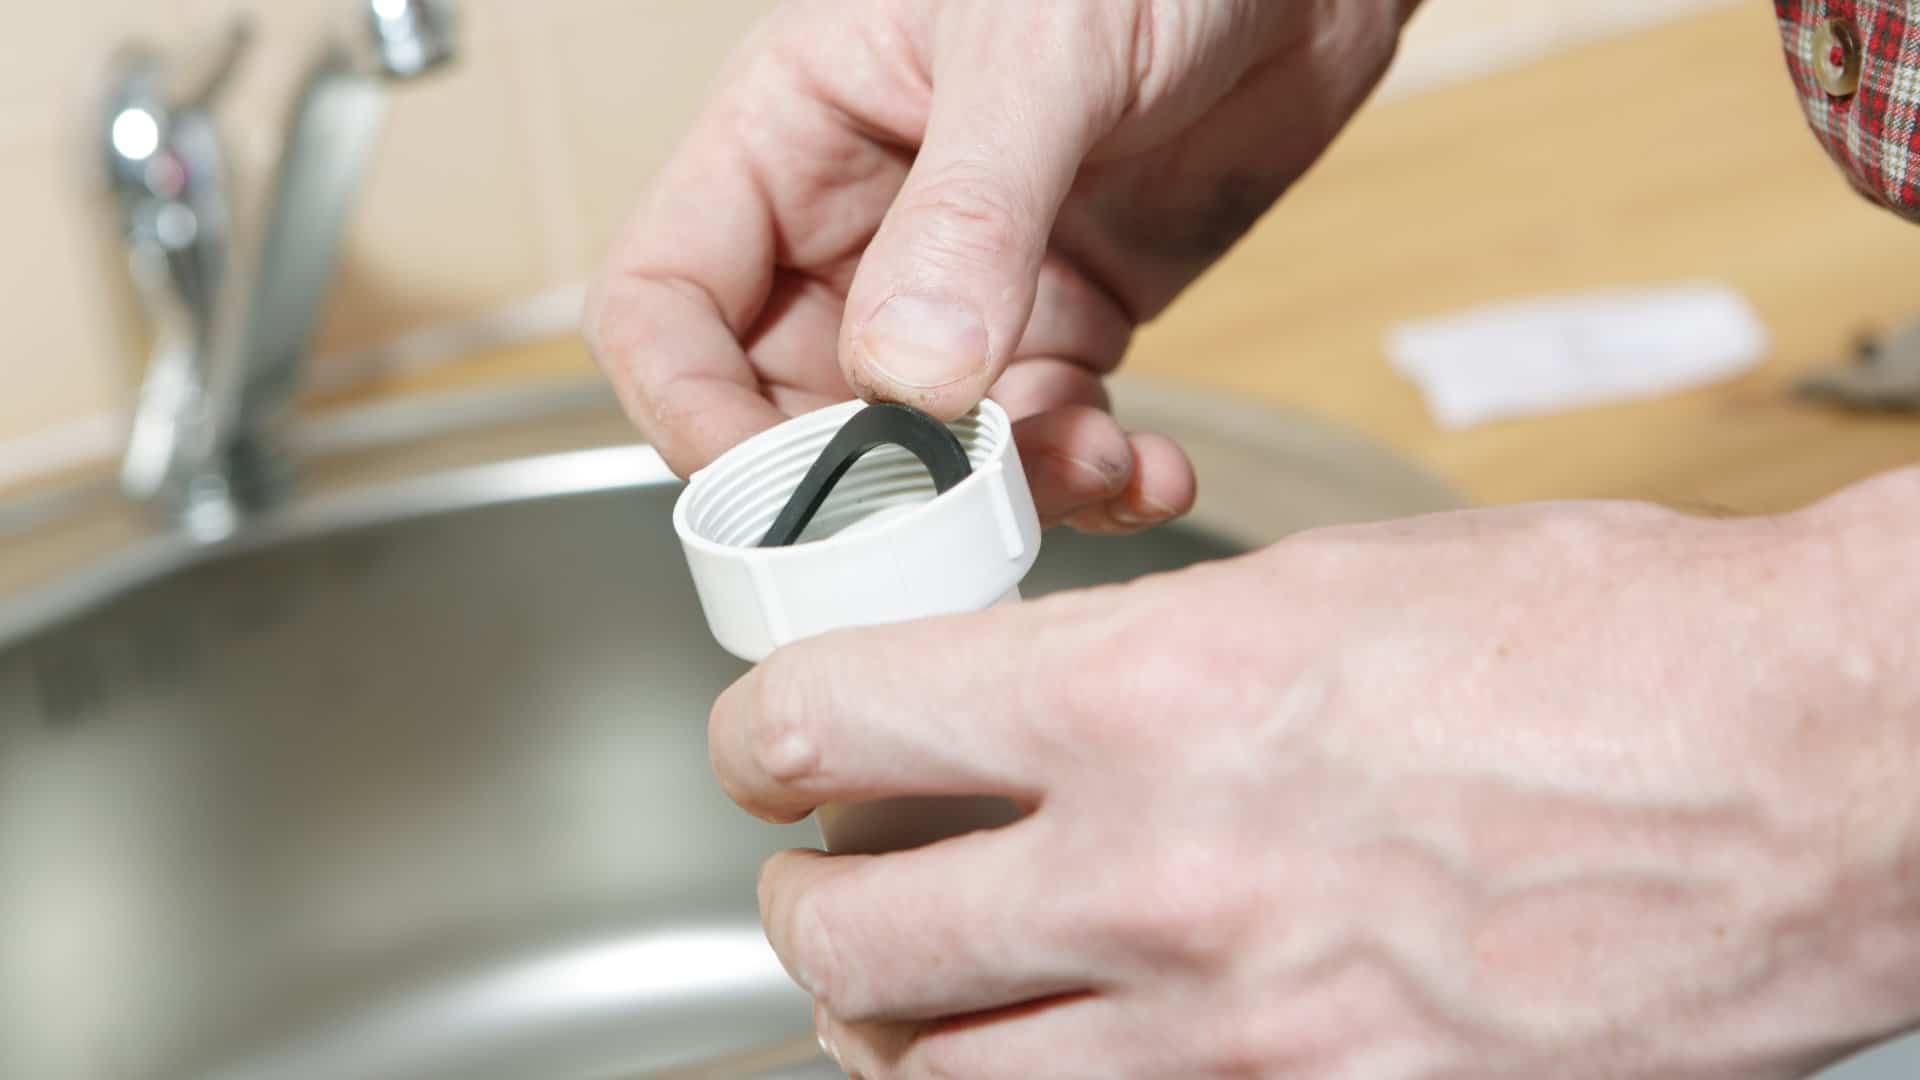
Remove the washer
Once you have exposed the washer, inspect it. Generally, you should be able to clearly see if the tap washer is split or broken, but a worn washer is harder for a novice to identify. Regardless of what you see, the washer will need to come out, so remove the old one.
Go get yourself a new washer
Once you have the old washer, you will need to get an exact replacement. It is best to take the original washer to a hardware store so you can get an exact match. If you get the wrong one, it won’t function correctly.
If you want to be extra careful and ensure you get the right one, you can take the tap handle along as well.
Put it all back together
Once you have the correct washer, it is time to pop the tap back together and test out your handy work. All you need to do is take out the new washer and then reconstruct the tap in the reserved order of how you took it apart. Follow the steps above, starting here and going up if you have forgotten.
Once the handle is back on, ensure it is turned all the way off before you put the mains back on. Turn your mains back on and check that the tap is no longer leaking.
Then give yourself a pat on the back for a job well done.

Apr. 09, 2024
How to Resolve the Bosch Dishwasher E15 Error Code

Apr. 09, 2024
How to Balance a Washing Machine (5 Quick Tips)

Apr. 09, 2024
Solutions for a Frigidaire Gas Stove Oven Failure

Mar. 06, 2024
How to Fix a GE Ice Maker Not Working (Quick Fixes)

Mar. 06, 2024
How to Fix the Electrolux Dryer Error Code E64

Mar. 06, 2024
Is Your Whirlpool Ice Maker Not Working? Here’s Why

Feb. 05, 2024
Can Styrofoam Be Microwaved? (Safety and Risks)

Feb. 05, 2024
Agitator vs. No Agitator Washer: What’s Best?

Feb. 05, 2024
Why Is Your Refrigerator Compressor Hot? (6 Potential Causes)

Jan. 03, 2024
How to Use Dishwasher Pods

Jan. 03, 2024
How to Unlock Your Microwave

Jan. 03, 2024
How Many Watts Does a Refrigerator Use?

Dec. 11, 2023
How To Fix a KitchenAid Dishwasher That Isn’t Draining

Dec. 11, 2023
GE Oven F2 Error Code: Causes & Solutions

Dec. 11, 2023
Maytag Washer Not Spinning? 5 Simple Solutions

Nov. 06, 2023
Why Is Your Refrigerator Not Cooling?

Nov. 06, 2023
How to Get Rid of Burnt Smell in Microwave

Nov. 06, 2023
How to Fix a Dishwasher Not Cleaning Properly

Oct. 02, 2023
How Much Energy Does My Dryer Use?

Oct. 02, 2023
Maytag Washer Error Codes: How to Fix Them
(877) 560-8485Give us a call
(754) 345-5121Send us a text