

April 8, 2019
Washer Repair
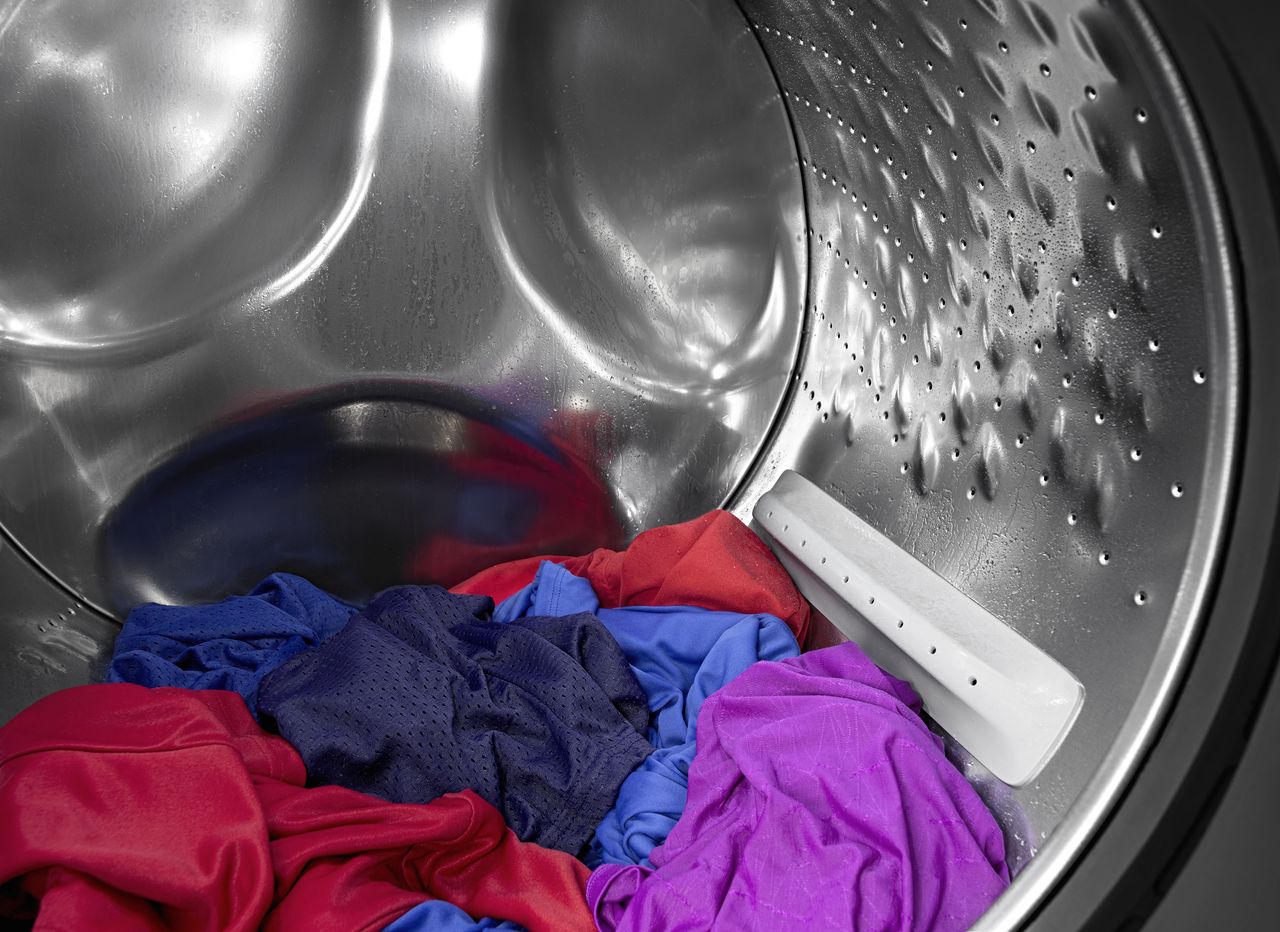
Your washer’s tumbling/washing cycle causes a lot of movement inside the machine. The shock absorbers are part of what support the tub so it doesn’t bang against other parts or move around too much. If the front shock absorbers break, you’ll hear a lot of banging during the washer’s agitation cycle. The tub will also sag because it’s missing
1. Unplug the washing machine.
The first step you should always take before disassembling an appliance is to unplug it or flip the connected circuit breaker off. This protects you from electrical shock. Also, pull your machine a few inches out from the wall. You’ll need to tilt the machine slightly up during part of the repair. If you have enough clearance, then you don’t have to worry about disconnecting the water hoses.
2. Disassemble the top of the washer.
The shock absorbers are at the bottom of the tub. But in order to access them, you will need to remove the top and front panels, which involves several smaller steps
Start by removing the top panel. Unscrew the two screws at the rear of the top panel. Then slide the panel towards the rear of the machine to release it from the front groove. Lift the panel up and set it aside
After that, remove the control panel. To do this, remove the two corner screws holding the control panel against the frame. Peel the top lip from the groove. Once the control panel is free, don’t just pull it away from the machine. Instead, tilt it down and disconnect the wire harness. Set the panel aside
3. Disassemble the front of the washer to access the shock absorbers.
Now you will need to open the door and separate the outer door seal from the front access panel. Start by removing the outer door clamp wire around the edge of the seal. Use pliers to grab the spring but be careful to not snip the seal material
After that, you’ll need to tilt the washer slightly back to remove the screws at the bottom of the front access panel. Either ask a second person to hold it in position or grab a wooden block and slightly tilt the washer up on top of it
4. Remove the shock absorbers.
Locate white hinge pins near front shock absorbers. The pin is pointed toward you, so reach around the assembly to find the head of the hinge pin. Use pliers to pull it free away from you and then pull the part out to set it aside
Repeat with the bottom hinge pin on the same shock absorber. This one
Next, pull the shock absorber free
5. Install the new front shock absorbers.
Slide bottom of the shock absorber into the bottom socket. Lubricate the hinge pin and slide it back into place. Make sure it goes through both the support bracket and shock absorber
6. Reassemble the washer.
First, hook the front access panel onto the protruding white tabs near the top. Tighten the top three support screws. Then tilt the washer up and retighten to bottom two screws. Set it back down on its feet once the front panel is secure
First, reconnect large white wire harness inside of the machine. Next, hold the control panel next to its place on the front and reconnect the smaller wire harness. Tilt it flush with the top of the front of the machine and push the top edge into place until you hear it click. The bottom of the panel should also click into place. Secure it with the two corner screws in the interior of the machine
After that, reattach the dispenser drawer housing with the three screws. Also, make sure you return each screw to the hole you removed it from. Push the drawer fully into place by pressing down the locking tab and sliding the drawer through the housing
Then reattach the front panel. Start by placing it with an inch extending on the back. Then slide it into place in the front gap. Secure it with the screws on the back. Push the washer back into position without pinching the hoses or power cord, and then plug it in

Apr. 09, 2024
How to Resolve the Bosch Dishwasher E15 Error Code

Apr. 09, 2024
How to Balance a Washing Machine (5 Quick Tips)

Apr. 09, 2024
Solutions for a Frigidaire Gas Stove Oven Failure

Mar. 06, 2024
How to Fix a GE Ice Maker Not Working (Quick Fixes)

Mar. 06, 2024
How to Fix the Electrolux Dryer Error Code E64

Mar. 06, 2024
Is Your Whirlpool Ice Maker Not Working? Here’s Why

Feb. 05, 2024
Can Styrofoam Be Microwaved? (Safety and Risks)

Feb. 05, 2024
Agitator vs. No Agitator Washer: What’s Best?

Feb. 05, 2024
Why Is Your Refrigerator Compressor Hot? (6 Potential Causes)

Jan. 03, 2024
How to Use Dishwasher Pods

Jan. 03, 2024
How to Unlock Your Microwave

Jan. 03, 2024
How Many Watts Does a Refrigerator Use?

Dec. 11, 2023
How To Fix a KitchenAid Dishwasher That Isn’t Draining

Dec. 11, 2023
GE Oven F2 Error Code: Causes & Solutions

Dec. 11, 2023
Maytag Washer Not Spinning? 5 Simple Solutions

Nov. 06, 2023
Why Is Your Refrigerator Not Cooling?

Nov. 06, 2023
How to Get Rid of Burnt Smell in Microwave

Nov. 06, 2023
How to Fix a Dishwasher Not Cleaning Properly

Oct. 02, 2023
How Much Energy Does My Dryer Use?

Oct. 02, 2023
Maytag Washer Error Codes: How to Fix Them
(877) 560-8485Give us a call
(754) 345-5121Send us a text