

March 19, 2020
Refrigerator Repair
Your ice maker is an appliance of convenience. Sure, you don’t need perfect, fresh ice on demand but it sure is nice to have. It feels inherently luxurious to set your glass into the fridge door and receive a few select cubes of ice. Unfortunately, ice makers don’t always work the way we expect them to. In concept, the ice maker is a very simple machine. A water line fills a mold with ice. The ice cubes freeze and the mold dumps the ice into your ice bin which then releases to the automated ice chute.
But there are situations where your ice maker may do it’s best yet fail to make ice at all. Maybe it’s not trying to make ice any more, or perhaps it’s trying and something about the situation is preventing your ice maker from producing ice. Whatever the problem, the good news is that ice makers only have so many parts and possible fixes. Most people can troubleshoot their own ice maker and enact repairs without having to call a technician or give up on icy convenience.
In this article, we’ll take a closer look at the many ways to repair an ice maker that has stopped making or stopped dropping ice.
Reset the Ice Maker
The first and best troubleshooting step is to power-cycle the ice maker. Every ice maker is different so it may take different steps to reset the device. For control-panel ice makers, there may be a simple reset button to press that will cycle the power and the default settings for your ice maker.
More manual models without a control panel may require simply that you raise the fill-bar and lower it. You can also cut power to the fridge or ice maker and then restore power to attempt a reset.
Resetting the ice maker returns it to default settings and a default program. If your ice maker has gotten confused or if a minor electrical malfunction caused it to stop making ice, ice production should return shortly after the ice maker is reset.
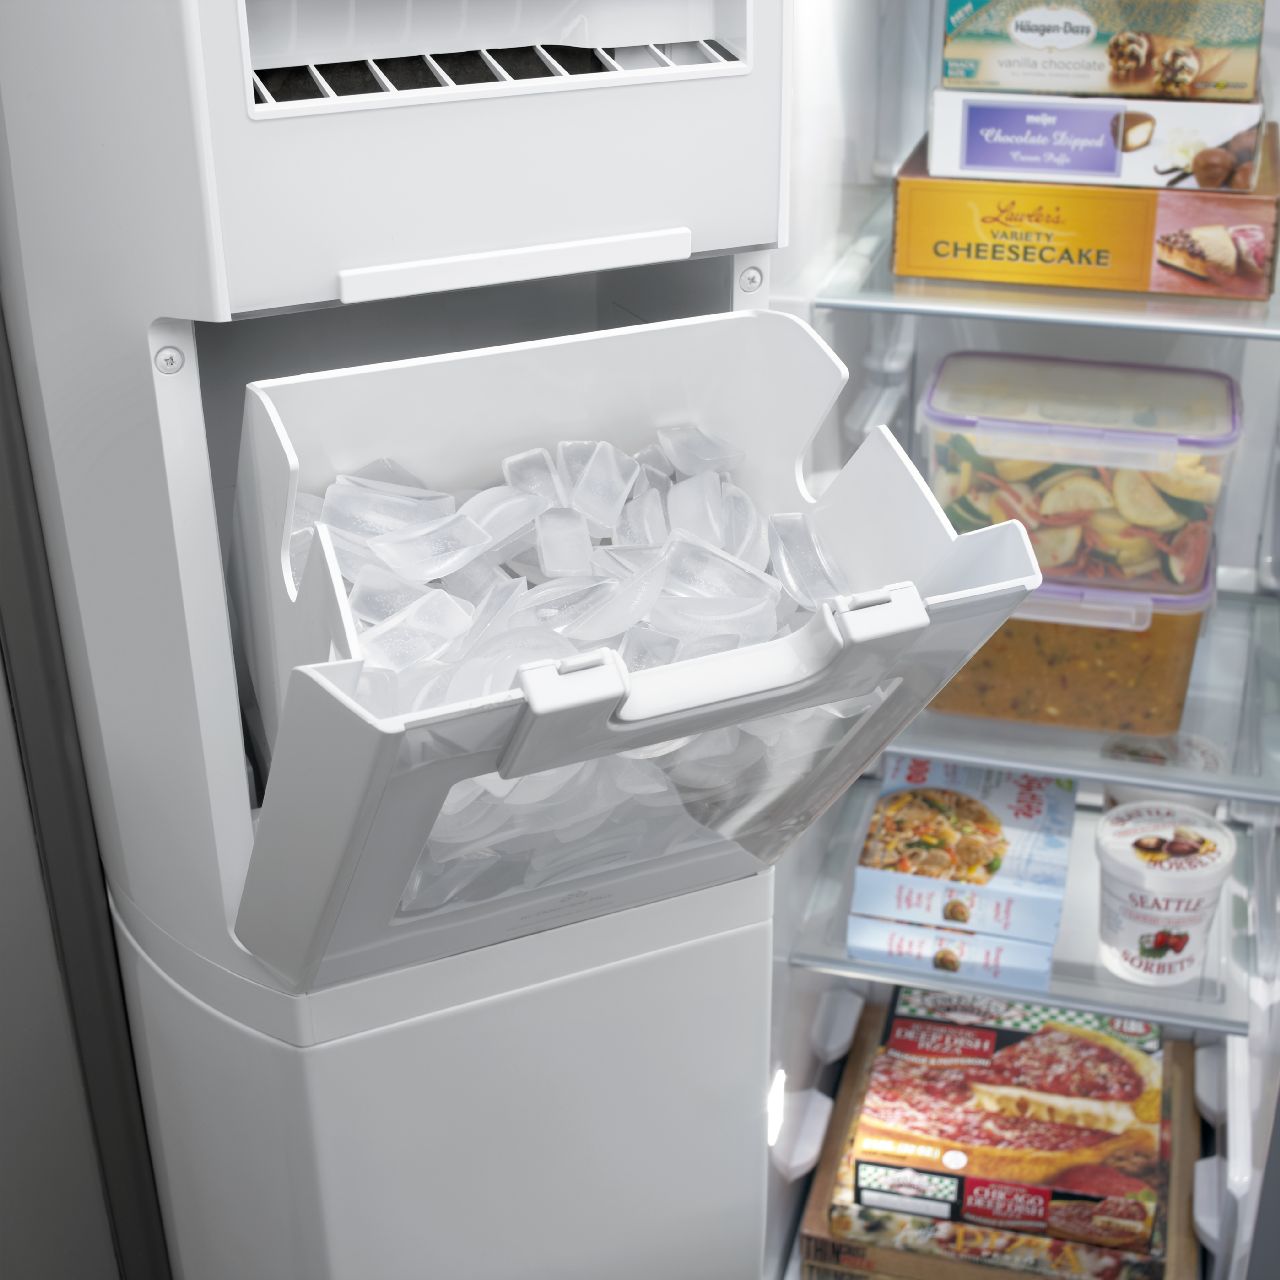
Dump and Clean the Ice Bin
The next common possibility for why you’re not seeing ice down the chute is that it’s stuck in the bin. Ice can partially melt and re-freeze together to form big clumps of ice, or pieces too small to rake are all that’s left in the bottom of the bin. This problem most often happens to people who use ice very rarely (the bin gets too full and freezes together) or very frequently (nothing but ice chips).
The solution, either way, is to clean out your ice bin. Some people just level off the top, but it’s a better bet to fully remove the ice bin and clean it to remove any remaining ice chips or clumps. If you faintly smell mildew in the plastic, wash with white vinegar in addition to warm water and soap. A clean ice bin can, surprisingly, solve many of the most common ice maker problems.
Check the Freezer Temperature
Get yourself a little metal shelf thermometer and place it in the freezer. The freezer’s own thermostat may not be functioning properly. Sometimes, ice doesn’t form because it never fully melts. This would be the result of a freezer that is not getting cold enough to achieve a real freeze. You can discover this problem with a free-standing thermometer placed in the freezer for a few hours.
If your freezer is too warm, there are a few things you can do. Check to make sure the vent from the condenser coils (where the cold comes from) is not blocked by boxes or bags in the freezer. Likewise, ensure the vent between freezer and fridge is not blocked on either side. Turn down your fridge/freezer temperature on the dial. Then consider cleaning your condenser coils. Too much dust on the coils can reduce the amount of cold that your fridge and freezer can produce.
Condenser coils are usually found behind or underneath the fridge and they always get dusty over time.
Unjam the Ice Tray
The next possibility is that the ice is sticking to the tray. If you’ve ever used a manual ice tray that still had ice-bits stuck to it after breaking out the rest of the ice, you know this is something that happens. Sometimes, the ice just doesn’t want to let go of the mold. Some ice maker molds heat up to help release the ice, but some don’t.
Most likely, the ice is sticking because there is minor grime to stick to the ice mold surface. Therefore, the best way to unjam the ice tray is to clean it. Most DIY experts recommend pouring a cup of hot water into the frozen-up ice maker tray. This will melt the existing ice along with anything that might be causing the ice to stick. Wipe down the ice tray to ensure there are no remaining chips or debris. Then clean the ice bin and let your ice maker try again.
Inspect the Water Line
If your ice maker’s completely fine, the problem might be with the water supply instead. Naturally, your ice maker can’t make ice without water to freeze. So trace the water line backward. Find out if there’s a clog, a malfunction, or if it goes all the way back to the filter. Kinks in the water line, for example, might cause a water stoppage so that the ice tray can’t fill. Clogs and buildup can block the waterline, as can having the water valve behind the fridge closed completely.
Check for any practical water line problems that you can see and inspect and resolve them.
Replace the Water Filter
Finally, check your fridge water filter. If it’s been more than 6 months since it was changed (or you only just noticed that your fridge has a water filter) then it’s time for a replacement. An old water filter, just like an old air filter, can get clogged. When this happens, water flow slows down significantly because all water must flow through the filter. This is supposed to keep your family safe, drinking only filtered water and using only filtered-water ice. But if the water filter is clogged, you may see a stoppage in the waterline and in ice production.
A quick change-out of your water filter should be all you need to make it right. But you might want to reset the filter light and the ice maker once everything is correct and ready to go.
—Looking for more appliance repair help? Contact us today!

Apr. 09, 2024
How to Resolve the Bosch Dishwasher E15 Error Code

Apr. 09, 2024
How to Balance a Washing Machine (5 Quick Tips)

Apr. 09, 2024
Solutions for a Frigidaire Gas Stove Oven Failure

Mar. 06, 2024
How to Fix a GE Ice Maker Not Working (Quick Fixes)

Mar. 06, 2024
How to Fix the Electrolux Dryer Error Code E64

Mar. 06, 2024
Is Your Whirlpool Ice Maker Not Working? Here’s Why

Feb. 05, 2024
Can Styrofoam Be Microwaved? (Safety and Risks)

Feb. 05, 2024
Agitator vs. No Agitator Washer: What’s Best?

Feb. 05, 2024
Why Is Your Refrigerator Compressor Hot? (6 Potential Causes)

Jan. 03, 2024
How to Use Dishwasher Pods

Jan. 03, 2024
How to Unlock Your Microwave

Jan. 03, 2024
How Many Watts Does a Refrigerator Use?

Dec. 11, 2023
How To Fix a KitchenAid Dishwasher That Isn’t Draining

Dec. 11, 2023
GE Oven F2 Error Code: Causes & Solutions

Dec. 11, 2023
Maytag Washer Not Spinning? 5 Simple Solutions

Nov. 06, 2023
Why Is Your Refrigerator Not Cooling?

Nov. 06, 2023
How to Get Rid of Burnt Smell in Microwave

Nov. 06, 2023
How to Fix a Dishwasher Not Cleaning Properly

Oct. 02, 2023
How Much Energy Does My Dryer Use?

Oct. 02, 2023
Maytag Washer Error Codes: How to Fix Them
(877) 560-8485Give us a call
(754) 345-5121Send us a text