

January 10, 2020
Refrigerator Repair
The mold in your ice maker is what determines the size, shape, and quality of the ice produced by your fridge. If your ice is big or small, if it’s round or squared or rounded slices. The ice mold is at the heart of your ice maker because it is where the ice is made. So if something goes wrong with your ice maker mold, you will need to take apart the entire ice maker to replace the part. The good news is that the repair is easy if you follow the process step-by-step for your make and model of ice maker.
We’re here to offer you a detailed guide for most ice makers. But be sure to also check your refrigerator manual and make adjustments for any way that your ice maker is different.
Safety First
The ice maker is an electrical component of the refrigerator which can be dangerous. Always remember to unplug your refrigerator or otherwise cut off the power before you begin this repair. If you can’t reach the refrigerator’s plug, you can alternately flip off the fuse that supplies your refrigerator. Take this important safety step before you begin.
Supplies
Collect your tools at the beginning of a repair to be sure that you can complete the repair without needing to look for something. The most important piece, of course, is the replacement ice mold. Be sure to look up the correct make and model of your fridge and the exact replacement parts that will fit.
- 1/4″ Nut Driver
- Phillips and Flat Screwdrivers
- Needle-Nose Plier
- Replacement Ice Mold
Expose Ice Maker
First, you’ll need to clear the way to your ice maker assembly so it can be removed and worked on.
- Empty Freezer
- Start by taking out the food from the freezer. Consider storing it in a cooler with ice or in your fridge for the duration of this repair.
- Lift Bar to Turn Off Ice Maker
- Reach into the ice maker and lift the horizontal metal bar called the shutoff lever.
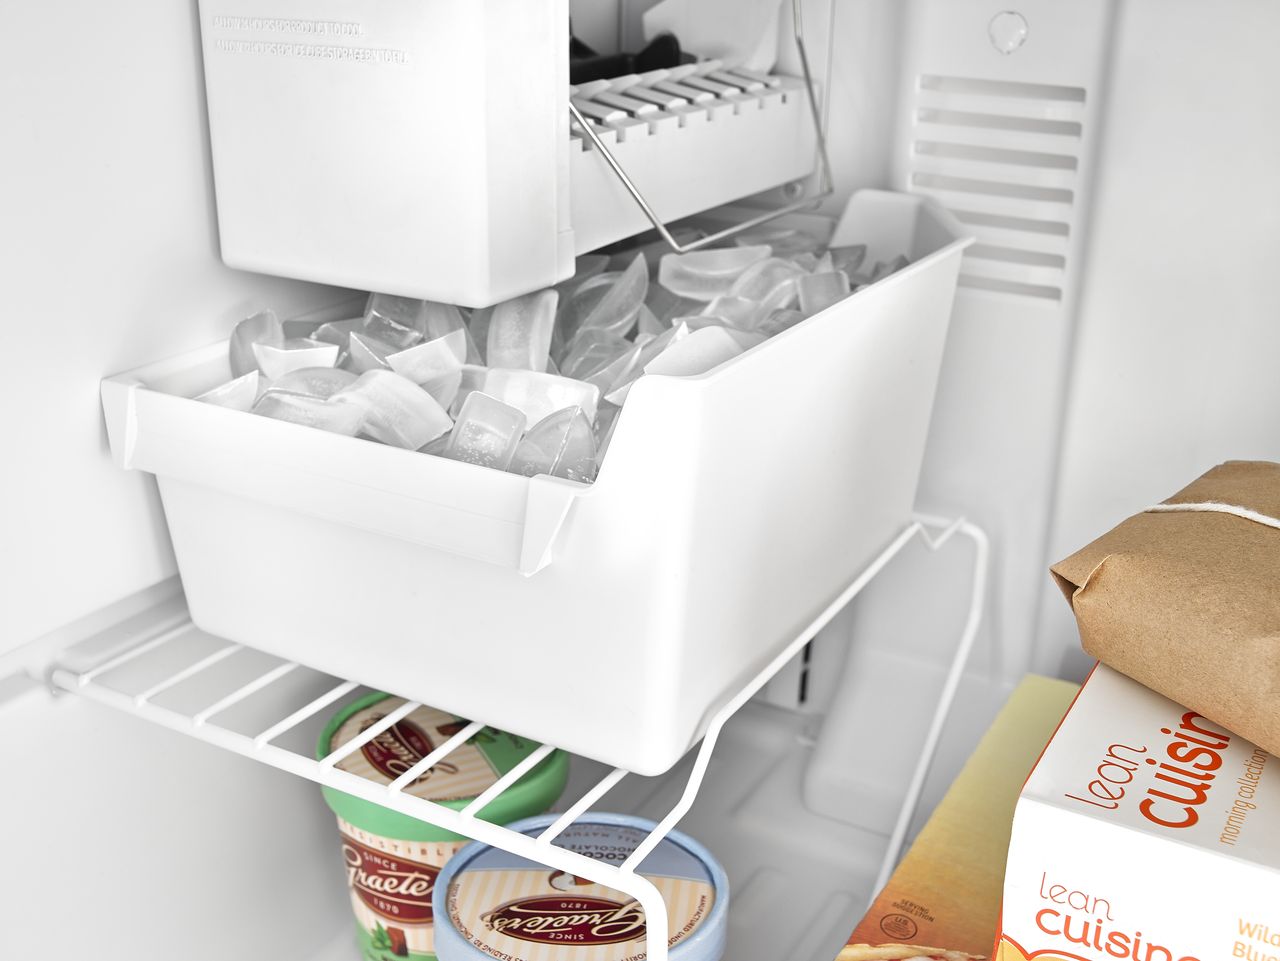
- Remove Ice Bucket
- Lift and pull out the ice bucket, the bin underneath the ice machine that catches the ice cubes as they are made.
Remove the Ice Maker Assembly
- Take Out the Hex Mounting Screws
- There will be about three mounting screws on the ice maker assembly, two hex, and one Phillips. Use the nut driver on the hex screws to start with.
- Support the Ice Maker
- Hold the ice maker up as it comes loose from the first set of screws.
- Extract the Phillips Mounting Screw
- While holding the ice maker, remove the final screws. Set all screws aside in a safe place.
- Lift and Disconnect the Ice Maker
- Lift the ice maker assembly off the tabs that fasten it to the freezer wall. Lift and pull away to disconnect the assembly from the freezer wall.
- Release the Wire Harness
- There will be a wire harness, a plastic sheath, and a clip of wires, connecting the ice maker assembly to the mounting fixtures. Release this wire clip.
- Place on a Work Surface
- Fully remove your ice maker assembly and move it to a safe work surface like the counter or kitchen table.
Uninstall the Old Ice Mold
Now you’ll need to take apart the ice maker assembly to reach the ice mold.
- Remove the Leveling Bracket
- The leveling bracket is what fastenes the ice maker to the side of the freezer and helps keep the ice maker level. It is an L-shaped metal bracket and can be removed by extracting the single hex screw.
- Remove the Wire Harnesss Connector
- The wire harness connector is the plastic-encased flexible tube. Pull it out from the metal clip.
- Release Clip with Flat Screwdriver
- The clip you just pulled the wires from should be removed as well. Pry it off with the flat screwdriver.
- Remove Ice Maker Cover
- The cover of the ice maker is a plastic case or end-piece. Most are friction-fixed meaning they can also be pried off with the flat screwdriver. Go carefully applying pressure all the way around.
- Uninstall the Ice Maker Assembly
- Remove the heavy machine part of the ice maker assembly by taking out two screws behind the cover. Then fit the assembly off of the ice mold.
Separate Old Mold Parts
Now for stage-two of isolating the ice mold. You’ll want to remove the pieces that are directly connected to the ice mold.
- Slide Out the Guide and Eject Arms
- The two pieces that look like jagged teeth are the guide are and the eject arm. Slip them off the mounting tabs that hold them on the ice mold.
- Twist and Pull Away the Fill Cup
- There is a small cup called the filled cup attached to the top of one side of the ice mold. Twist gently to help remove it.
Install the New Ice Mold
Now reverse that dis-assembly to attach everything to the new replacement ice mold. Essentially, build the ice maker back around the new ice mold.
- Place the Wire Harness Clip
- Place and hammer the wire harness clip onto the metal loop beneath the new ice mold.
- Install the Leveling Mount Bracket
- Now reattach the leveling mount bracket, that L-shaped piece of metal you detached early.
- Attach the Fill Cup
- Pop the fill cup back on with a light twist and by aligning the mounting tabs.
- Clip-On the Guide and Eject Arms
- Now put the teeth-shaped pieces back on. Fit the guide and eject arms back onto the mold and hold them in place. They may be a bit loose.
- Install the Ice Maker Assembly
- Now carefully fit everything onto the head of the ice maker assembly. Fit each piece into the slot and press it. Then refasten the mounting screws to hold the assembly together.
- Clip the Wire Harness Into Place
- Press the thick bundle of wires into the metal clip you just hammered into place. Make sure it hooks firmly.
- Line Up and Lock the Shutoff Lever
- The shutoff lever is the loose bar of metal. Line it up on the assembly and then lock it into place.
- Replace the Ice Maker Cover
- Finally, fit the plastic cover back over the ice maker assembly.
Put the Ice Maker Back In
With the ice maker re-assembled, it’s time to install it back into your fridge’s freezer. Open the freezer back up for reinstallation.
- Connect the Wire Harness
- Hold the ice maker near its place and connect the loose wire harness. This will leave you with enough flexibility to mount.
- Align the Ice Maker
- Align the ice maker mounting tabs with the slots in the fixture and the wall of the freezer. Prepare to settle.
- Slide Ice Maker Into Place
- Slot the ice maker into place and settle it so that the mounting tabs feel firm and level.
- Return Mounting Screws
- While supporting the ice maker, return the three or more mounting screws. Do not secure too tightly.
- Level and Secure
- Make sure that the ice maker is level first, then tightly secure the ice maker.
- Return the Ice Bin
- Now you can slide the ice bin back into place below the ice maker.
- Lower the Shutoff Arm
- Finally, flip down the metal shutoff arm to put your ice maker back into the on position.
Turn On and Celebrate
Your final stage is to plug the refrigerator back in or flip on the breaker. Then give your fridge time to generate new ice and test your success. Contact us for more great repair tips or for in-person professional help.

Apr. 09, 2024
How to Resolve the Bosch Dishwasher E15 Error Code

Apr. 09, 2024
How to Balance a Washing Machine (5 Quick Tips)

Apr. 09, 2024
Solutions for a Frigidaire Gas Stove Oven Failure

Mar. 06, 2024
How to Fix a GE Ice Maker Not Working (Quick Fixes)

Mar. 06, 2024
How to Fix the Electrolux Dryer Error Code E64

Mar. 06, 2024
Is Your Whirlpool Ice Maker Not Working? Here’s Why

Feb. 05, 2024
Can Styrofoam Be Microwaved? (Safety and Risks)

Feb. 05, 2024
Agitator vs. No Agitator Washer: What’s Best?

Feb. 05, 2024
Why Is Your Refrigerator Compressor Hot? (6 Potential Causes)

Jan. 03, 2024
How to Use Dishwasher Pods

Jan. 03, 2024
How to Unlock Your Microwave

Jan. 03, 2024
How Many Watts Does a Refrigerator Use?

Dec. 11, 2023
How To Fix a KitchenAid Dishwasher That Isn’t Draining

Dec. 11, 2023
GE Oven F2 Error Code: Causes & Solutions

Dec. 11, 2023
Maytag Washer Not Spinning? 5 Simple Solutions

Nov. 06, 2023
Why Is Your Refrigerator Not Cooling?

Nov. 06, 2023
How to Get Rid of Burnt Smell in Microwave

Nov. 06, 2023
How to Fix a Dishwasher Not Cleaning Properly

Oct. 02, 2023
How Much Energy Does My Dryer Use?

Oct. 02, 2023
Maytag Washer Error Codes: How to Fix Them
(877) 560-8485Give us a call
(754) 345-5121Send us a text