

February 11, 2019
Refrigerator Repair
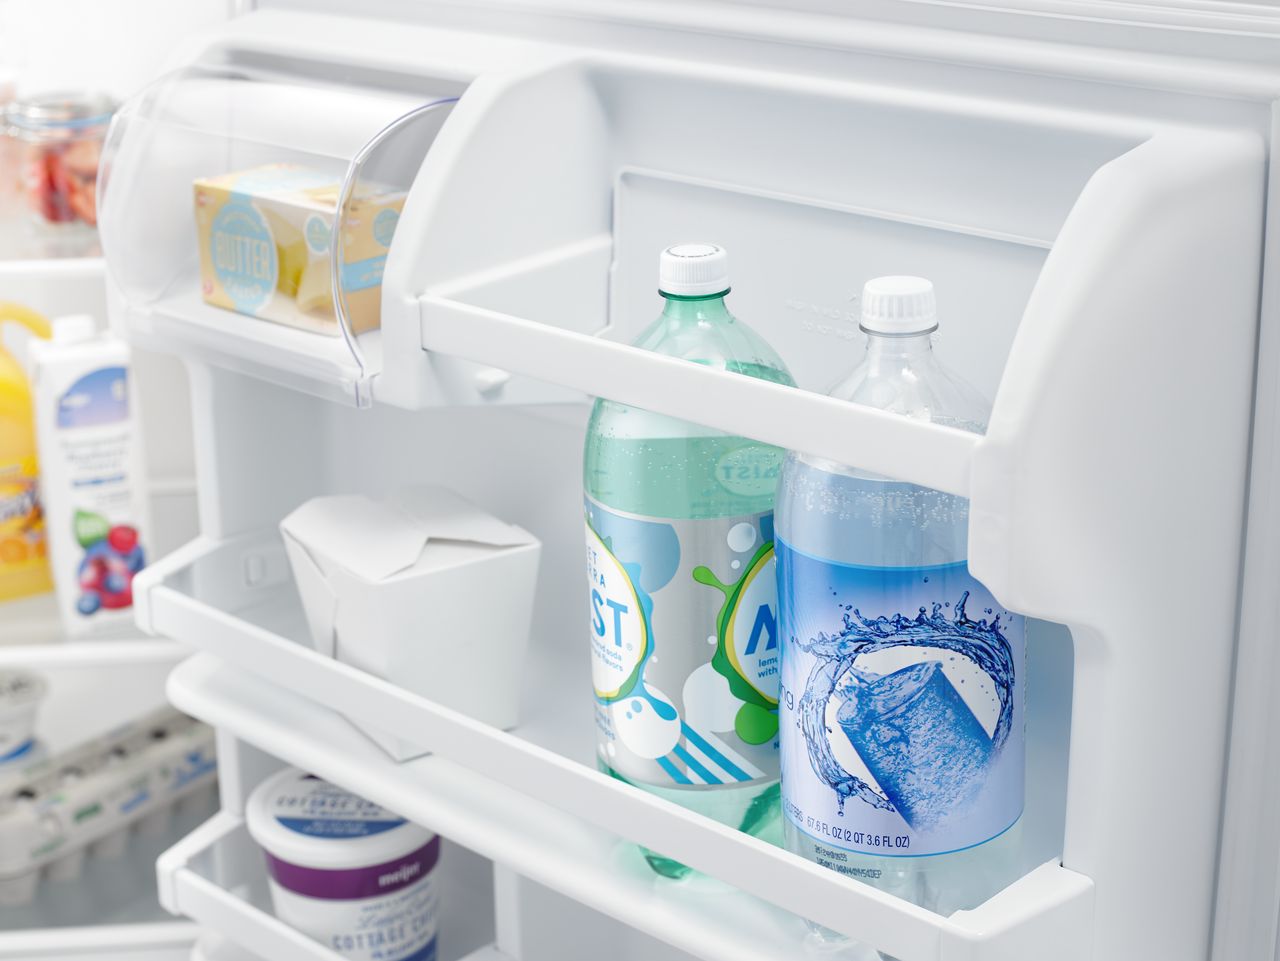
A refrigerator with an ice maker is a luxury most homeowners don’t think twice about, that is until the component suddenly stops operating. If your appliance’s ice maker has called it quits, don’t worry, most ice maker malfunctions are not difficult to fix. To help you get started, we’ve put together a list of some of the most common defects and maintenance issues that causes the component to no longer function properly.
Maintenance Issues
- Your freezer temperature should be no higher than five degrees Fahrenheit. If for some reason it is set at 10 degrees Fahrenheit or higher than your ice maker will not produce ice efficiently. Dirty condenser coils, a malfunctioning condenser fan, or frost covered evaporator coils can also cause your freezer temperature to drastically increase. Before you take apart your ice maker to find the malfunction, check the temperature in your freezer to ensure the compartment is cold enough to produce ice.
- Neglecting to change your water filter every six months can cause the filter to become clogged. That clog will obstruct the flow of water entering your ice maker, which will either stop ice production all together or slow it down to an inefficient rate. If you can’t remember the last time you changed the water filter in your refrigerator, swap out the old one for a new one and see if it fixes your ice dispenser’s lack of ice.
- Poor water pressure in your home is another possible culprit. For your ice maker to function properly, the water inlet valve, which supplies your ice maker with water, requires a water pressure of 20 psi. Anything lower than 20 psi can cause the water and ice dispenser in your appliance to stop working.
How to Repair a Faulty Ice Maker in an Estate Refrigerator
Before performing any of the ice maker repairs provided below, unplug your appliance and turn off its water supply to avoid getting electrocuted. Work gloves and safety goggles should also be worn while you fix your ice maker.
The Ice Maker Cycling Thermostat
The cycling thermostat senses the temperature inside your ice maker’s ice tray. When the tray achieves the proper temperature, the ice maker expels the ice cubes inside the tray and begins filling with water to make new ice. If the cycling thermostat is not working, your ice maker will no longer make ice.
How to Replace the Ice Maker Cycling Thermostat in Your Estate Refrigerator
- Open your freezer door and lift up the ice maker access door to detach it from the ice bin assembly. Then, push the ice arm up and take out the shelf that sits on top of the ice maker. Next, slide the ice bin out of your freezer and set it aside.
- Now that you have gained access to the top and bottom of the ice maker assembly, take out the screws that hold the assembly to the freezer wall. Once the screws are loose, take the assembly off the wall and disconnect the ice maker wire harness from the freezer’s back wall. Then, take the assembly out of the freezer and place it on a flat surface to disassemble the component.
- Pull the front cover off the ice maker. Detach the wire harness plugged into the ice maker assembly by disengaging the locking tab with a flat head screwdriver. Next, remove the ice maker arm.
- Using a Phillips screwdriver, unthread the screws securing the control head module to the ice maker assembly. Pull the module off the assembly and place it somewhere safe and out of the way.
- Remove the control module housing by taking out the two screws holding it in place. Then, slide the part forward and off the ice maker assembly. On the back of the housing you’ll find the cycling thermostat. To separate the thermostat from the housing, push on the thermostat’s two pins, which are located on the front of the control module housing. The new thermostat comes with new retaining clips, so before you begin installing the new part, remove the old retaining clips from the housing.
- Now that the old thermostat and retaining clips are detached, you can install the new ones. To begin, push the retaining clips into the small indents on the control module housing and then insert the new thermostat into the large opening in the housing.
- Before you reattach the housing to the ice maker, you’ll need to squeeze some alumilastic on the back of the thermostat. Alumilastic helps the thermostat read the proper temperature of the ice tray. If you forget to put the substance on, your new thermostat may not work.
- After the new thermostat is situated and you applied alumilastic to the back of it, you can push the control module housing back onto the ice maker assembly and rethread the screws you removed earlier.
- Next reattach the control head module to its housing, and reinsert the ice maker arm. Then, reconnect the wire harness that runs to the back of the module. Lastly, snap the front cover back on the control head module.
- With the ice maker reassembled, you can head back to your freezer to reinstall the component. Start by reconnecting the ice maker wire harness to the freezer’s back wall. Then, place the assembly onto the two mounting screws on the side wall and tighten the screws with a Phillips screwdriver. Next, to fully secure the ice maker to the inside of the freezer, rethread the bottom mounting screws.
- To finish off your repair, slide the ice bin back into the freezer, and replace the top shelf and the ice maker access door.
- Once everything is back in place, plug-in your refrigerator and turn its water supply back on.
Other Possible Malfunctions
- The door switch shuts off the ice and water dispenser when you open your freezer door. A defective door switch can stop your dispenser from working. If you think the door switch on your appliance is malfunctioning, you’ll need to swap it out for a new one.
- The ice maker control module is activated when the cycling thermostat indicates the inside of the ice tray has dropped to the proper temperature. At that point, the control module ejects the ice already in the tray, and opens the water inlet valve to fill the tray with water. A faulty control module will not open the water inlet valve, meaning your ice maker will no longer produce ice cubes. Once again, the only way to remedy this issue is by replacing the defective control module.
If the ice maker in your refrigerator has stopped working and you’re having a difficult time discovering what part is causing the malfunction, please contact us today, and we’ll be happy to help you diagnose the issue.

Apr. 09, 2024
How to Resolve the Bosch Dishwasher E15 Error Code

Apr. 09, 2024
How to Balance a Washing Machine (5 Quick Tips)

Apr. 09, 2024
Solutions for a Frigidaire Gas Stove Oven Failure

Mar. 06, 2024
How to Fix a GE Ice Maker Not Working (Quick Fixes)

Mar. 06, 2024
How to Fix the Electrolux Dryer Error Code E64

Mar. 06, 2024
Is Your Whirlpool Ice Maker Not Working? Here’s Why

Feb. 05, 2024
Can Styrofoam Be Microwaved? (Safety and Risks)

Feb. 05, 2024
Agitator vs. No Agitator Washer: What’s Best?

Feb. 05, 2024
Why Is Your Refrigerator Compressor Hot? (6 Potential Causes)

Jan. 03, 2024
How to Use Dishwasher Pods

Jan. 03, 2024
How to Unlock Your Microwave

Jan. 03, 2024
How Many Watts Does a Refrigerator Use?

Dec. 11, 2023
How To Fix a KitchenAid Dishwasher That Isn’t Draining

Dec. 11, 2023
GE Oven F2 Error Code: Causes & Solutions

Dec. 11, 2023
Maytag Washer Not Spinning? 5 Simple Solutions

Nov. 06, 2023
Why Is Your Refrigerator Not Cooling?

Nov. 06, 2023
How to Get Rid of Burnt Smell in Microwave

Nov. 06, 2023
How to Fix a Dishwasher Not Cleaning Properly

Oct. 02, 2023
How Much Energy Does My Dryer Use?

Oct. 02, 2023
Maytag Washer Error Codes: How to Fix Them
(877) 560-8485Give us a call
(754) 345-5121Send us a text