

May 16, 2019
Oven Repair
Glass or ceramic (also known as smooth-top) is a popular choice in kitchens these days. When they are regularly cleaned and well cared for, they make a great overall kitchen design even better. People have more choices than ever, whether they want a smooth-top range or countertop cooktop.
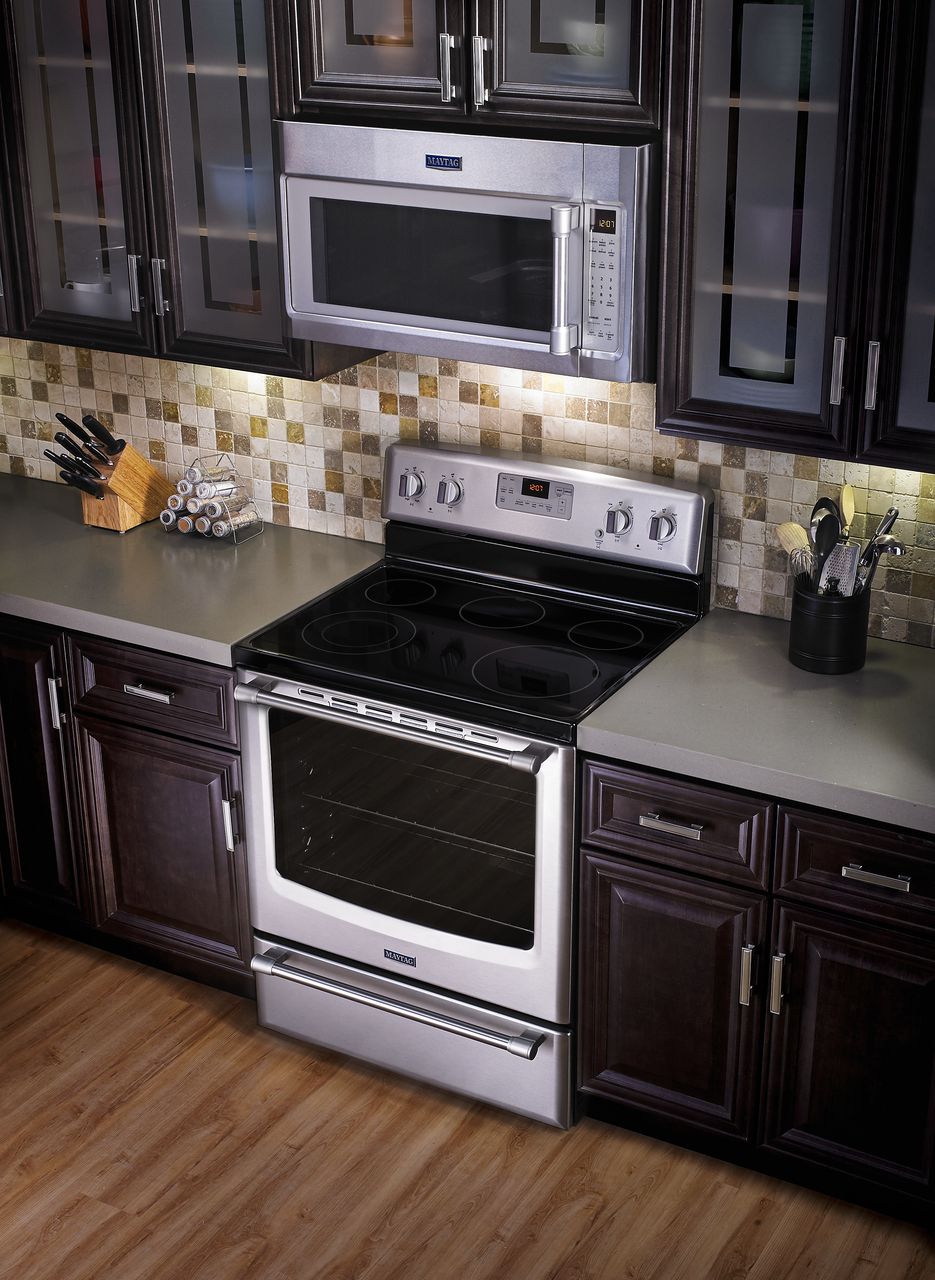
According to Consumer Reports, electric cooktops like the Maytag MER8700DS1 Stove Cooktop have a life expectancy of around 13 years. But what do you do when it’s time to replace it? How do you even know that it needs to be replaced? Read on for more information about when to replace a smooth-top stove top, what you’ll need to do it, and how to do it.
Why replace the cooktop?
Whatever materials your cooktop is made of, it will experience wear and tear over time. Because the Maytag MER8700DS1 Stove Cooktop is made of glass, it can sustain cracks or other cosmetic damage from regular use, irregular use, and well-intended attempts to clean or maintain its smooth surface. Here are a few things that can cause it:
- Using cookware with rough bottoms
- Abrasive cleaning solutions or equipment
- Putting too much weight on the stove top at one time
- Leaving stirring utensils on the stove top while it’s still warm
If these issues occur, or there are other noticeable flaws, it may finally be time to replace the cooktop.
Before you get started
In order to replace your damaged Maytag MER8700DS1 Stove Cooktop, you will need the following tools and equipment:
- #2 Philips Screwdriver
- Work gloves (to protect your hands)
- Two towels (to set the old and new stove tops on when they are not on the range)
You should also purchase a replacement cooktop that is compatible with your stove.
Maytag Replacement Part Number: W10691696
On the day you plan to do the work, lay out the two towels you intend to use for the cooktops on the ground near the stove Also, the stove needs to be completely disconnected from its power source before you start work. You can do this in one of two ways:
- Pull the stove far enough away from the wall to reach the power outlet and unplug it.
- Locate the correct circuit on your circuit breaker board and flip the switch.
Once you have done so, put on your work gloves and grab your screwdriver because you are ready to get to work.
How to remove the old cooktop:
After the range has been unplugged, there are three steps involved in removing the old cook top.
- First, open the over door and locate the two screws on the underside of the cooktop that are holding it in place. They should be at or near its front corners.
- Second, use the #2 Philips screwdriver to remove the screws. You will need them later, so set them aside in a safe place until you are ready to install the new cooktop.
- Third, lift up the cooktop and gently tug on it, then wiggle it the rest of the way out.
Once the stove top is separated from the range, carry over to one of the towels you put out earlier and lay it – top side down – on there for later disposal.
How to install the replacement:
If you did not already, open up the package with the replacement part and remove it, then take it over to where you are working before you begin the process of installation. Lay it on the other towel, top side down like the other.
Once you have done so, here are the necessary steps in order to correctly install your new cooktop.
- Position the new cooktop where the old cooktop used to be, back first. Once you’ve done that, slide the cooktop into place. It may be necessary to wiggle the cooktop slightly as you do so.
- Check to make sure there is no overhang on the sides and nothing that looks abnormal in the front. If there is, pull the cooktop out and try again. Double check that the screw holes on the underside are lined up properly.
- Use the #2 Philips screwdriver to reinstall the screws from the old cooktop to secure the new cooktop.
After securing the cooktop in place with the screws, give the cooktop a quick pull to make sure the screws are in the right place and tightened enough to hold it in place. If the top moves, the screws will need to be tightened further.
After you are finished
Now that you have successfully replaced the damaged glass cooktop on your Maytag stove, restore power to the unit. If you pulled it out and unplugged it, then plug it in and push the range back into place. If you turned off the circuit, then flip the switch for it into the “On” position again. Find a way to dispose of the old cooktop safely.
Maintaining your new cooktop
After going to all of the time and effort of replacing your cooktop, chances are you will want to maintain its pristine condition for as long as possible. Here are a few tips from The Spruce:
- Avoid using cookware that can scratch the surface of your stove (i.e. cast iron, ceramic, and stoneware).
- Use soft sponges, cloth, and cleaning solutions meant for glass and ceramic cooktops to clean it.
- Do not put too much weight on the stove.
- Find another place to set hot glass cookware that needs to cool (like on a dry towel on the counter next to the stove).
Conclusion
If you are having trouble with your stove (or any other appliance in your home), start by checking our blog for other quick, helpful guides to appliance repairs you can tackle on your own. Didn’t see a guide? Or do you think the problem is more than you can handle by yourself? Schedule a service appointment with any member of our team of trained appliance service technicians. You can do it any time through the 24/7 online scheduler on our website.
Was this repair guide helpful? Let us know in the comments below.

Apr. 09, 2024
How to Resolve the Bosch Dishwasher E15 Error Code

Apr. 09, 2024
How to Balance a Washing Machine (5 Quick Tips)

Apr. 09, 2024
Solutions for a Frigidaire Gas Stove Oven Failure

Mar. 06, 2024
How to Fix a GE Ice Maker Not Working (Quick Fixes)

Mar. 06, 2024
How to Fix the Electrolux Dryer Error Code E64

Mar. 06, 2024
Is Your Whirlpool Ice Maker Not Working? Here’s Why

Feb. 05, 2024
Can Styrofoam Be Microwaved? (Safety and Risks)

Feb. 05, 2024
Agitator vs. No Agitator Washer: What’s Best?

Feb. 05, 2024
Why Is Your Refrigerator Compressor Hot? (6 Potential Causes)

Jan. 03, 2024
How to Use Dishwasher Pods

Jan. 03, 2024
How to Unlock Your Microwave

Jan. 03, 2024
How Many Watts Does a Refrigerator Use?

Dec. 11, 2023
How To Fix a KitchenAid Dishwasher That Isn’t Draining

Dec. 11, 2023
GE Oven F2 Error Code: Causes & Solutions

Dec. 11, 2023
Maytag Washer Not Spinning? 5 Simple Solutions

Nov. 06, 2023
Why Is Your Refrigerator Not Cooling?

Nov. 06, 2023
How to Get Rid of Burnt Smell in Microwave

Nov. 06, 2023
How to Fix a Dishwasher Not Cleaning Properly

Oct. 02, 2023
How Much Energy Does My Dryer Use?

Oct. 02, 2023
Maytag Washer Error Codes: How to Fix Them
(877) 560-8485Give us a call
(754) 345-5121Send us a text