

August 10, 2022
Oven Repair
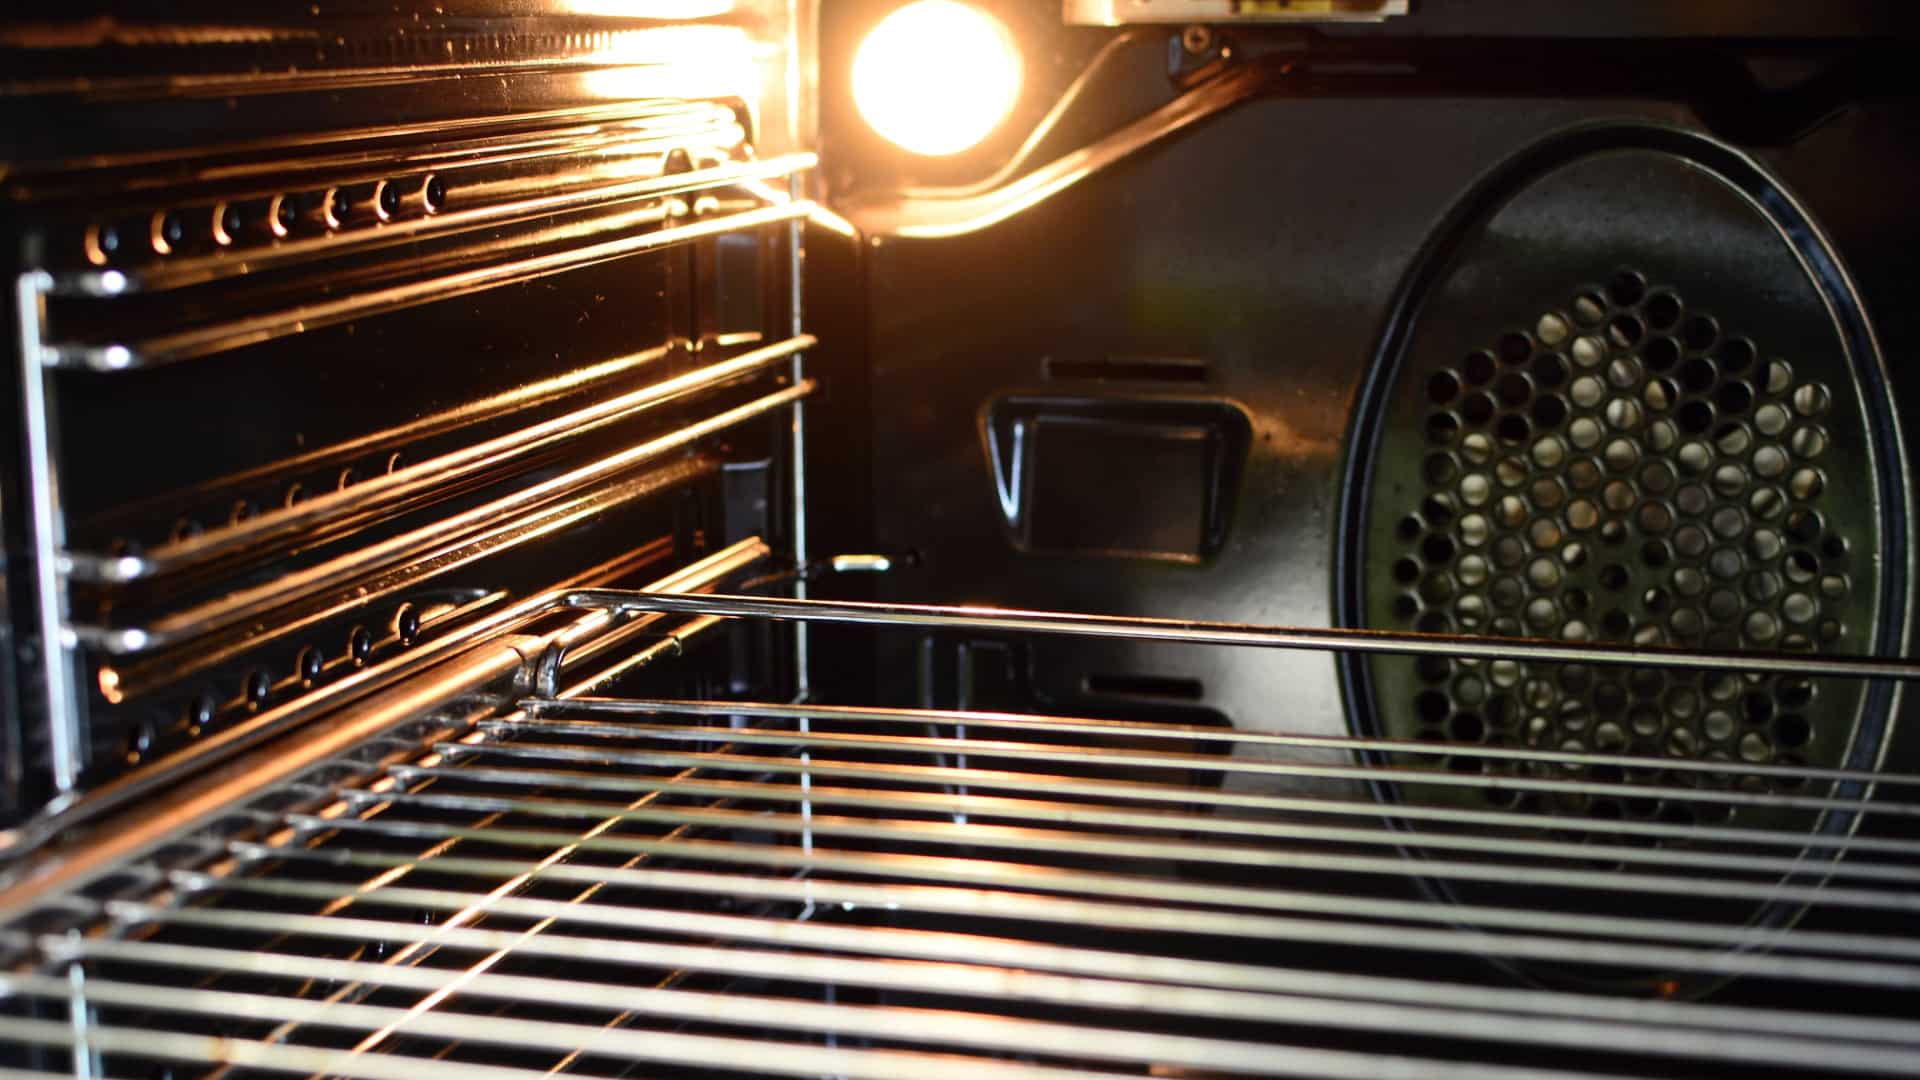
Having a light bulb in an oven makes things infinitely easier when you are cooking. It lets you know that the oven is on and heating up and allows you to watch your food as it cooks to ensure it doesn’t burn.
Will any light bulb work in my oven?
The light bulbs used in ovens have been specifically designed and manufactured to make them suitable for use in the high temperatures created inside an oven.
There are a few well-known and trusted brands that manufacture high-quality oven bulbs such as Samsung, Osram, and Crompton Lamps. If you are unsure where to buy an oven bulb replacement, these companies are a good place to start.
What bulbs are safe for ovens?
Oven bulbs are not made like normal bulbs because of the high heat they have to endure. Halogen or incandescent light bulbs are the most common types of bulbs used in domestic ovens as they can operate in temperatures of up to 300°C.
Halogen light bulbs are made from a glass quartz material. This material is resistant to the high temperatures of an oven. They are also manufactured with heat-resistant components which make them suitable.
Should I use LED light bulbs in my oven?
No, LED light bulbs should not be used in an oven as they do not have the heat-resisting properties of a specialist light bulb.
It is recommended that you use a halogen or incandescent light bulb that has been designed specifically for this purpose.
1. Make sure the bulb is the problem
You should always start by eliminating any other causes before replacing parts. If your oven light isn’t coming on then, check that your oven has power to it and that the switch that signals the light to turn on is not damaged. This switch is located inside the oven door.
2. Buy the correct bulb
As discussed above, you can’t just put any bulb into your oven and expect it to work. You should consult your owner’s manual to find out which bulb is required. If your owner’s manual has been misplaced (lost), then you can also google it using the make and model of your oven as the keywords. If all else fails, go down to your friendly hardware store and ask their team to lend a hand. Make sure you take the old bulb and the make and model info of your oven.
3. Let the oven cool completely and unplug it
Once you are sure that the bulb is the issue and you have a new one ready, you can go ahead and replace the faulty bulb. Make sure that your oven has cooled down completely. It can be best to leave it overnight before you start any repairs. You should also disconnect it from its power source to avoid any possible electric shocks.
4. Find the bulb inside the oven
You may need a flashlight for this step as it is impressive how dark your oven can be when there is no light on. Locate the bulb, it will usually be behind a guard or cover of some sort. Remember not to put any of your weight on the oven door as the hinges are not load bearing.
5. Un-clip and unscrew
Once you have located the guard or cover, you should be able to remove it with a gentle pull or twist. In some cases, the covers may have wire clips or even screws holding them in place. These will need to be removed as well to access the covers.
Pay extra attention not to break these covers when you are removing or reinstalling them.
6. Screw in the new bulb
Once you have found the old bulb, get your replacement ready. Make sure you have removed all the plastic and packaging from the new bulb. Inspect your new bulb to make sure it is not damaged before you put it in. If it is an incandescent bulb, then check that the filament is intact.
Once your bulb is ready, gently screw it into the oven’s socket. Make sure you are wearing cotton gloves or using a tissue when handling the bulb. Stop turning the bulb when you feel resistant or that it is firmly seated. Be careful not to over-tighten the lightbulb.
7. Return the light cover
Once the new bulb has been installed, you will need to replace the light cover. If it twisted free, all you need to do is gently twist it back to a secure position.
If there were screws, then simply screw them back into place. If there were clips or rings, just re-fasten them to ensure the light cover is held firmly in place.
8. Test your new bulb
You will need to reassemble the oven before you test it, so pop the racks and anything else you have taken out of your oven back inside. You will also need to restore power to your oven, so you should plug it back in, or if you flipped the breaker switch, return it back to the ON position.
When you test your light bulb, you can use the oven light switch to see if it works. Flip it on and off a few items to ensure your light is working. The other way you can test it is to open and close your oven door. This should trigger the light and cause it to turn on if it has been installed correctly.
If you have followed the steps above and are still having issues, you will need to consult a qualified technician.

Apr. 09, 2024
How to Resolve the Bosch Dishwasher E15 Error Code

Apr. 09, 2024
How to Balance a Washing Machine (5 Quick Tips)

Apr. 09, 2024
Solutions for a Frigidaire Gas Stove Oven Failure

Mar. 06, 2024
How to Fix a GE Ice Maker Not Working (Quick Fixes)

Mar. 06, 2024
How to Fix the Electrolux Dryer Error Code E64

Mar. 06, 2024
Is Your Whirlpool Ice Maker Not Working? Here’s Why

Feb. 05, 2024
Can Styrofoam Be Microwaved? (Safety and Risks)

Feb. 05, 2024
Agitator vs. No Agitator Washer: What’s Best?

Feb. 05, 2024
Why Is Your Refrigerator Compressor Hot? (6 Potential Causes)

Jan. 03, 2024
How to Use Dishwasher Pods

Jan. 03, 2024
How to Unlock Your Microwave

Jan. 03, 2024
How Many Watts Does a Refrigerator Use?

Dec. 11, 2023
How To Fix a KitchenAid Dishwasher That Isn’t Draining

Dec. 11, 2023
GE Oven F2 Error Code: Causes & Solutions

Dec. 11, 2023
Maytag Washer Not Spinning? 5 Simple Solutions

Nov. 06, 2023
Why Is Your Refrigerator Not Cooling?

Nov. 06, 2023
How to Get Rid of Burnt Smell in Microwave

Nov. 06, 2023
How to Fix a Dishwasher Not Cleaning Properly

Oct. 02, 2023
How Much Energy Does My Dryer Use?

Oct. 02, 2023
Maytag Washer Error Codes: How to Fix Them
(877) 560-8485Give us a call
(754) 345-5121Send us a text