

August 6, 2019
Oven Repair
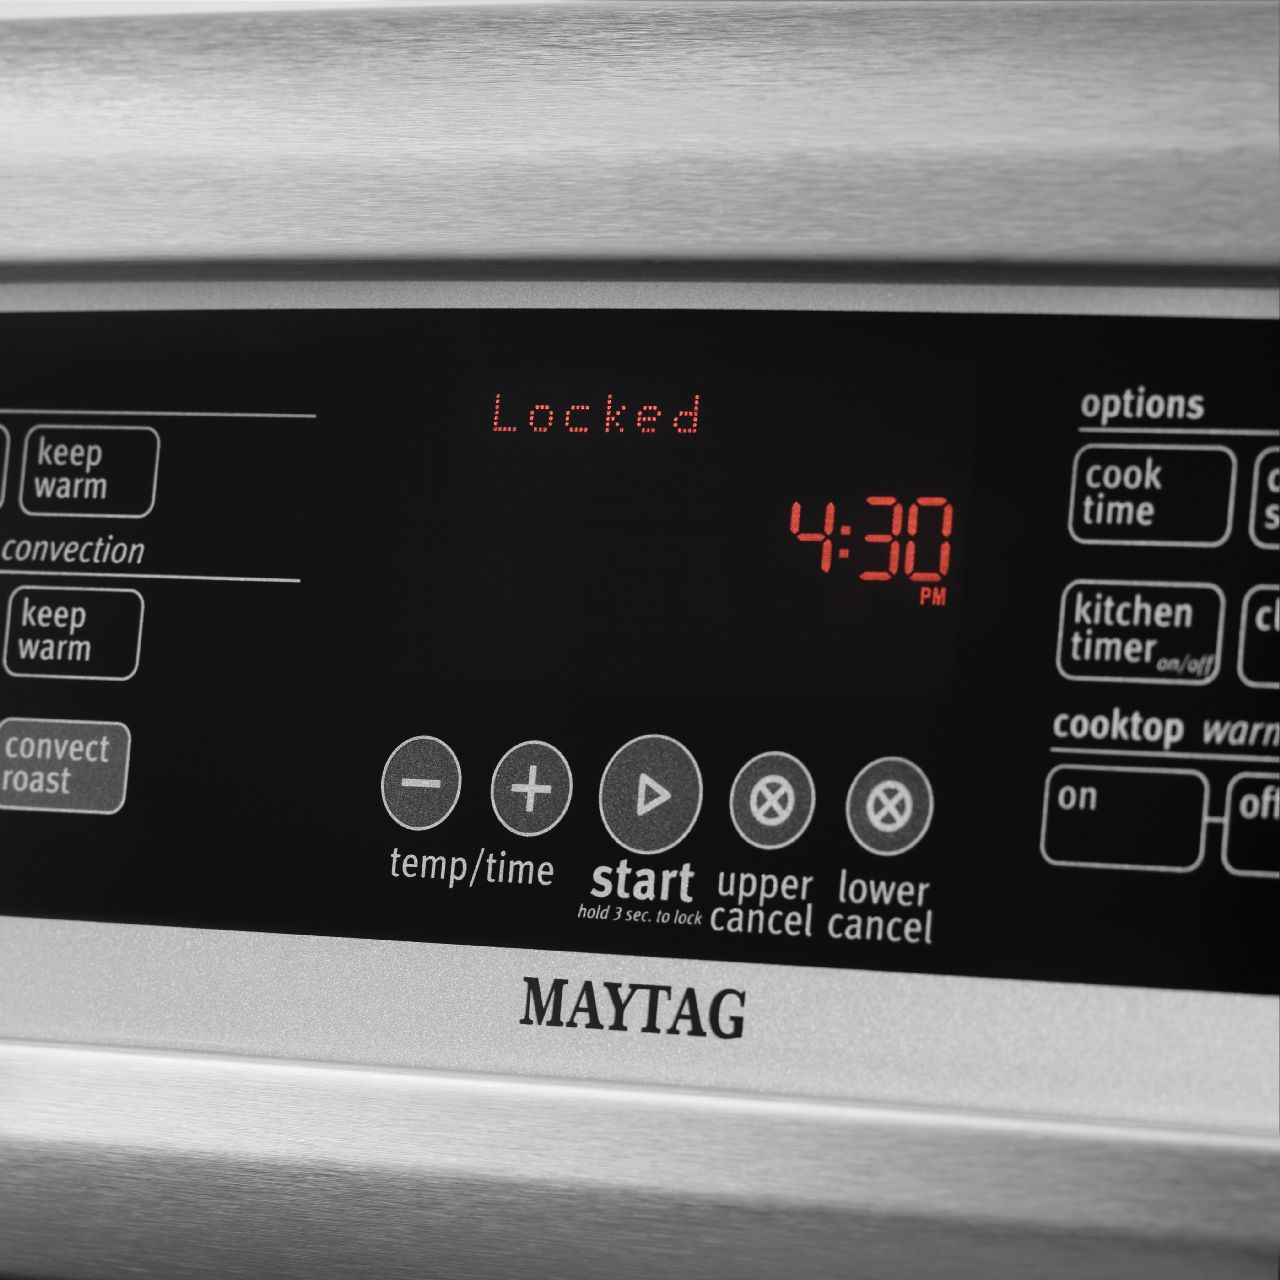
There are two kinds of oven door locks. Some ovens have a lever-latch that allows you to manually lock the oven during long cook sessions. We’re not talking about this kind of oven door lock. Today, we’re here to talk about the automatic oven door lock that closes the oven during self-cleaning procedures and other oven functions. This is the automatic oven door lock assembly controlled by a small motor in the back of the oven. These designs can vary by model so we will be looking at a generalized replacement process that can usually work with all models.
There are several reasons you might want to replace your automatic oven door lock assembly. Perhaps you can’t clean your oven because the door lock won’t engage. Or perhaps you already cleaned your oven and now the door lock won’t unlatch so you can go on using the oven in a normal fashion. Or you may have experienced another more unique problem that indicates that the oven door lock assembly is at fault.No matter what your motivation, this guide will help you locate and replace the oven door lock assembly that controls the automatic lock on your oven door.
Unplug the Oven
The first step when repairing or maintaining any electronic appliance is to pull the power plug. This ensures that no matter what happens, the oven can’t turn on while you’re working on it and you can’t get electrocuted or shocked by accident during the repair.
Disconnect the oven power cable from the wall to be certain your repair can be done in safety.
Pull the Range Away from the Wall
The automatic door lock assembly is located in the back of the oven, not the door itself. This means you’ll need access to the back of your oven so you’ll most likely need to pull the whole appliance away from the wall.
It is recommended that you get a friend to help you with this task. A piece of cardboard can protect the floor and make a decent temporary sliding aid. Carefully pull the range away from the wall until you have room to work behind it.
Remove the Power Cable
It may be necessary at this point to disconnect the power cable from the range unit in order to remove the back panel. Check your model of range to see if removing the power cable is necessary. If not, simply loop the cable out of your way for now.
Remove the Back Panel
Now you’ll need to remove the back panel to access the door lock assembly. The back panel will be attached with screws around the perimeter. Have a friend hold the panel into place as you remove the final screws so the panel does not torque as you are manning the screwdriver.
Carefully pull away and lower the back panel of your oven. You may want to place it on a towel or piece of cardboard on the floor nearby.
Locate the Door Lock Assembly
Your next task is to locate the door lock assembly for your model of oven. If you have done your homework and are prepared for the repair, no doubt you have a replacement part in hand. Look for the identical match to your replacement part inside the exposed back of your oven. This is the door lock assembly you’ll be replacing.
Take Note of Wire Connection Details
This is a very important step: Take a few photos of how the door lock assembly is installed, including the exact way the wires are attached. You may also or alternately want to use colored tape to clearly indicate where each wire connects.
Disconnect the Wires from the Door Locking Assembly
The next step is to carefully remove the photoed and labeled wires from the broken door locking assembly. Because the oven is unplugged, this is safe to do without rubber gloves but you still want to treat the task gingerly. Remember where each wire came from and how they will connect to the new part.
Remove the Assembly Part
Now you are ready to remove the broken door lock assembly.
Carefully remove the screws holding it into the housing and ease it out. You may have to tip the assembly back and pull it down to release it from mounting tabs. Don’t be afraid to be firm, or to use a light to investigate how the door lock assembly is held into place. Pulling out the old door lock assembly to throw away means it’s OK if you’re worried about being a little rough.
Fit the New Assembly Into Place
Remember how you got the old assembly out and reverse the processes to insert the new door lock assembly part. Carefully slot it into place, locking in any mounting tabs. Then reapply the screws each in the same place they came out of. This will ensure that your new door lock assembly is mounted firmly and correctly into place.
Reconnect the Wires Exactly the Same Way
Refer to your photos and/or colored tape when attaching the control wires to the new door lock assembly. Photos are a great resource for being certain that the new assembly looks exactly like the old one did before it was removed. The tape will ensure that you can keep track of each individual wire in a real-world application while performing an unfamiliar repair.
Close Up the Back Panel
With the mounting screws and wires in place, you have effectively replaced your oven’s automatic door lock assembly and it’s time to close back up. With the help of a friend, lift the back panel back into place and slot it in if necessary. Ask your friend to hold the back panel in place while you apply the screws around the perimeter. After about three screws, you should be able to continue without help. Secure the back panel firmly, tightening the screws so that there’s no risk of shaking.
Plug In the Range
You’re ready to put your oven and stove back into use. Now that your hands are out of the oven innards, it’s safe to plug the appliance back in and you may want to do this before you push the oven into place depending on where the outlet is. If you removed the cable, reattach it now. THen plug the oven back into the wall.
Push the Range Back Into Place
Finally, get the help of a friend to lift the oven off its floor covering and push it back into place between your counter sections. Congratulations, you have just fully replaced your automatic oven door lock assembly. Pat yourself on the back and test to see if your oven once again locks/unlocks as it’s supposed to.

Apr. 09, 2024
How to Resolve the Bosch Dishwasher E15 Error Code

Apr. 09, 2024
How to Balance a Washing Machine (5 Quick Tips)

Apr. 09, 2024
Solutions for a Frigidaire Gas Stove Oven Failure

Mar. 06, 2024
How to Fix a GE Ice Maker Not Working (Quick Fixes)

Mar. 06, 2024
How to Fix the Electrolux Dryer Error Code E64

Mar. 06, 2024
Is Your Whirlpool Ice Maker Not Working? Here’s Why

Feb. 05, 2024
Can Styrofoam Be Microwaved? (Safety and Risks)

Feb. 05, 2024
Agitator vs. No Agitator Washer: What’s Best?

Feb. 05, 2024
Why Is Your Refrigerator Compressor Hot? (6 Potential Causes)

Jan. 03, 2024
How to Use Dishwasher Pods

Jan. 03, 2024
How to Unlock Your Microwave

Jan. 03, 2024
How Many Watts Does a Refrigerator Use?

Dec. 11, 2023
How To Fix a KitchenAid Dishwasher That Isn’t Draining

Dec. 11, 2023
GE Oven F2 Error Code: Causes & Solutions

Dec. 11, 2023
Maytag Washer Not Spinning? 5 Simple Solutions

Nov. 06, 2023
Why Is Your Refrigerator Not Cooling?

Nov. 06, 2023
How to Get Rid of Burnt Smell in Microwave

Nov. 06, 2023
How to Fix a Dishwasher Not Cleaning Properly

Oct. 02, 2023
How Much Energy Does My Dryer Use?

Oct. 02, 2023
Maytag Washer Error Codes: How to Fix Them
(877) 560-8485Give us a call
(754) 345-5121Send us a text