

March 7, 2023
Oven Repair
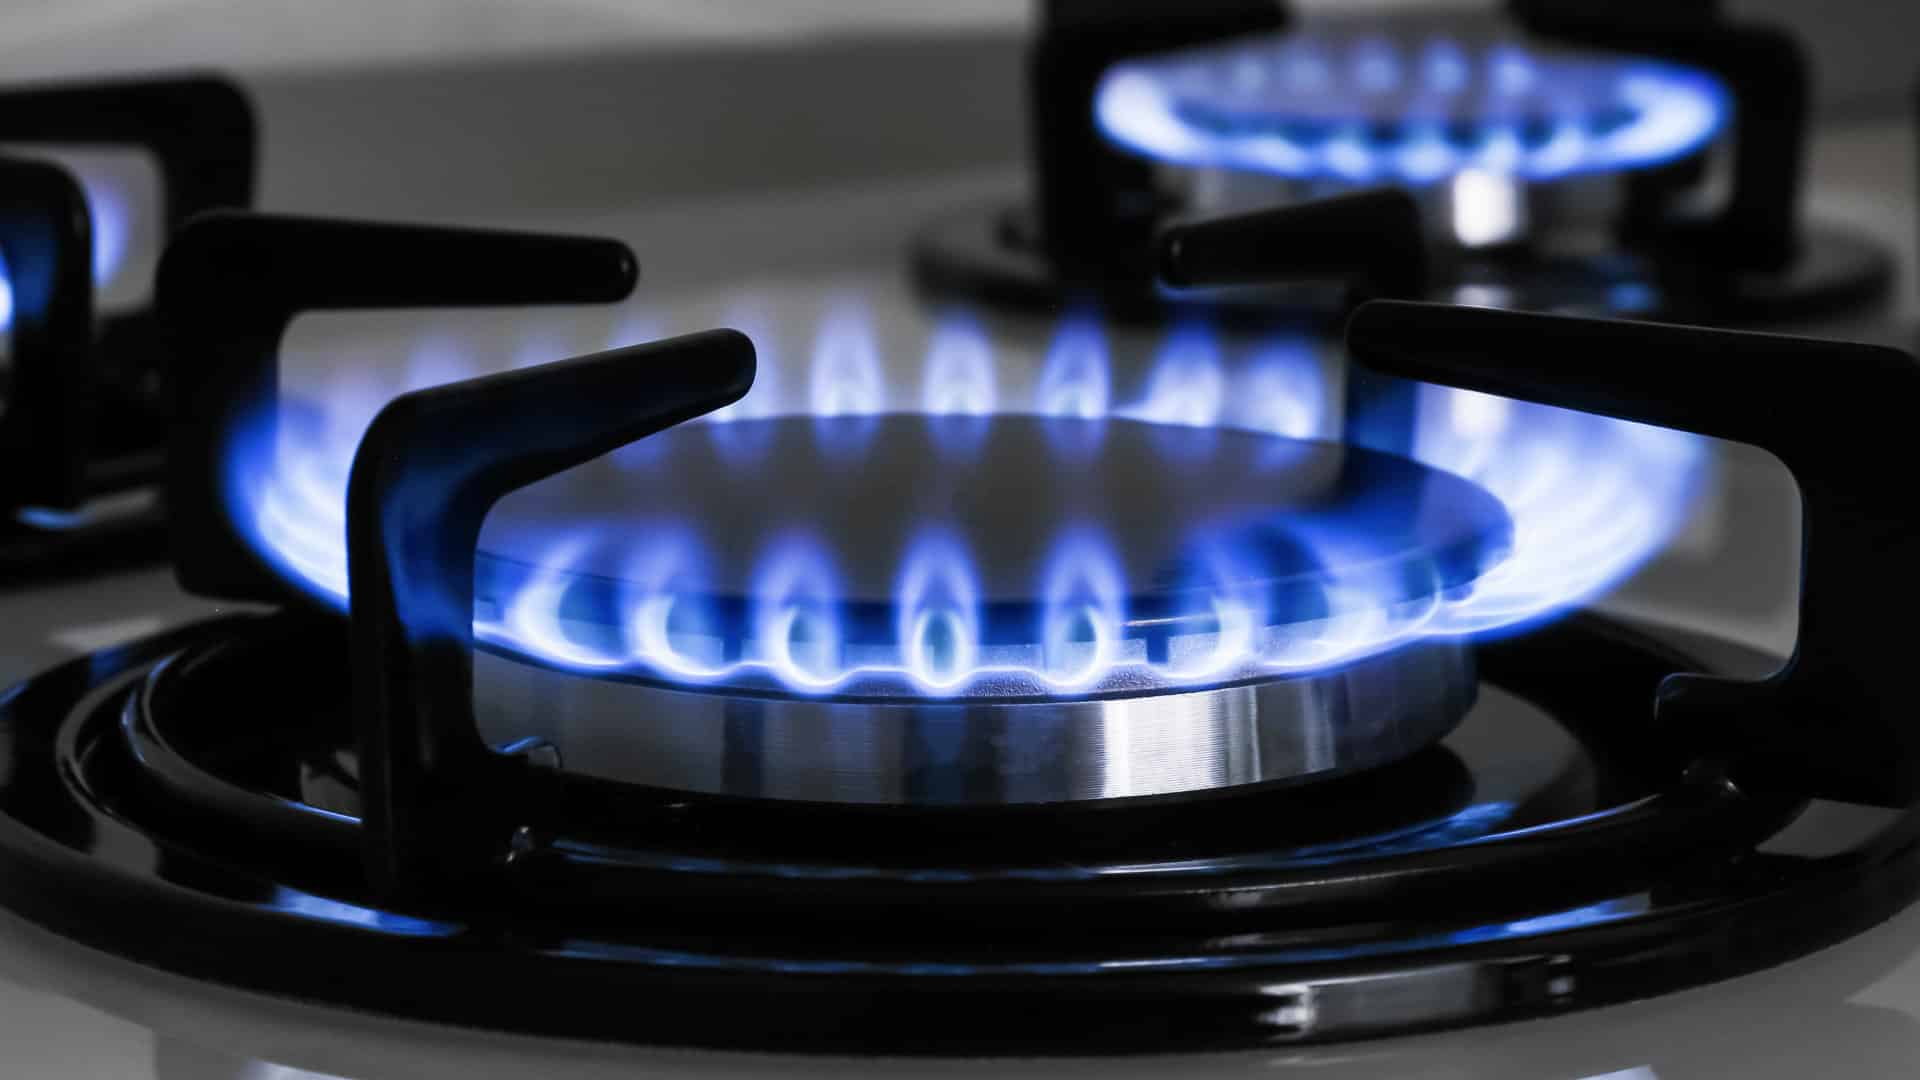
Gas burners are an efficient and reliable way to cook restaurant quality food — until they fail to light. A gas burner that won’t light is not only an inconvenience, but it can also be a safety hazard if left unresolved because it could point to a gas leak.
Fortunately, most gas burner issues can be resolved with a few simple steps that can be completed in just a matter of minutes. In this article, we will guide you through the process of fixing a gas burner that isn’t lighting, providing you with the knowledge and skills you need to safely and effectively troubleshoot the problem.
If your gas burner isn’t lighting, here are a few things you can try to fix it:
1. Check the gas supply
Make sure that the gas supply is turned on and that there is gas flowing to the burner. If you have a gas oven, check to see if the oven is working properly as the burner may not light if the oven is not functioning.
- Ensure that the gas valve to your home or apartment is turned on.
- Check that the gas line is properly connected to the burner.
- Turn on the burner and listen for the sound of gas flowing.
- Check the burner for the smell of gas.
- Look at the flame to see if it is blue and steady. If the flame is yellow or flickering, there may not be enough gas supply.
- If you suspect that there is an issue with the gas supply, turn off the burner and contact a licensed technician to inspect and repair the gas line.
2. Clean the burner
Sometimes, gas burners can become clogged with food debris or other particles, which can prevent the gas from flowing properly. Here are the steps to clean a gas burner that isn’t lighting:
- Turn off the gas supply to the burner and unplug it from the power source.
- Remove the burner grate and any other removable parts.
- Use a soft-bristled brush or toothbrush to clean the burner ports and surrounding area.
- If there is debris that is difficult to remove, use a needle or toothpick to carefully clean out the ports.
- Soak the parts in warm soapy water for at least 15 minutes, then rinse and dry them thoroughly.
- Reassemble the parts and reconnect the burner to the gas supply.
- Turn on the gas and test the burner to see if it is lighting properly.
- If the burner is still not lighting, consider contacting a professional technician for assistance.
Note: Make sure that the burner is completely dry before using it again. Wet burners can cause dangerous gas leaks or other issues.
3. Check the igniter
If the igniter is not functioning properly, the burner will not light. Here are the steps to check a gas burner igniter:
- Turn off the gas supply to the burner and unplug it from the power source.
- Remove the burner grate and any other removable parts to gain access to the igniter.
- Inspect the igniter for any visible damage, such as cracks, chipping, or discoloration.
- Check the wires connecting the igniter to the burner and control module for any damage, such as fraying or broken connections.
- Turn on the burner and look for a visible spark at the igniter. If there is no spark, there may be a problem with the igniter or the wiring.
- If the igniter is not visibly damaged and there is no spark, use a multimeter to test the resistance of the igniter. If the resistance is outside of the manufacturer’s recommended range, the igniter may need to be replaced. You will be able to order a replacement part from your oven manufacturer.
- Once you have replaced the igniter, reassemble the parts and reconnect the burner to the gas supply.
- Turn on the gas and test the burner to see if it is lighting properly.
4. Check the control valve
The control valve is the part that regulates the flow of gas to the burner. If the valve is not working properly, the burner may not light. Here are the steps to check a gas burner control valve:
- Turn off the gas supply to the burner and remove the grate and any other removable parts.
- Check the control valve for any visible damage, such as cracks or corrosion.
- Check the wiring connecting the control valve to the burner and control module for any damage, such as fraying or broken connections.
- Turn on the burner and listen for gas flow. If there is no gas flow, the control valve may be faulty.
- Check the valve’s position by turning it to the “on” and “off” positions. If the valve is difficult to turn or is stuck, it may be faulty.
- Use a multimeter to test the resistance of the valve. If the resistance is outside of the manufacturer’s recommended range (this will be listed in the user manual), the valve may need to be replaced.
- Once the control valve has been replaced, reassemble the parts and reconnect the burner to the gas supply.
- Turn on the gas and test the burner to see if it is lighting properly.

Apr. 09, 2024
How to Resolve the Bosch Dishwasher E15 Error Code

Apr. 09, 2024
How to Balance a Washing Machine (5 Quick Tips)

Apr. 09, 2024
Solutions for a Frigidaire Gas Stove Oven Failure

Mar. 06, 2024
How to Fix a GE Ice Maker Not Working (Quick Fixes)

Mar. 06, 2024
How to Fix the Electrolux Dryer Error Code E64

Mar. 06, 2024
Is Your Whirlpool Ice Maker Not Working? Here’s Why

Feb. 05, 2024
Can Styrofoam Be Microwaved? (Safety and Risks)

Feb. 05, 2024
Agitator vs. No Agitator Washer: What’s Best?

Feb. 05, 2024
Why Is Your Refrigerator Compressor Hot? (6 Potential Causes)

Jan. 03, 2024
How to Use Dishwasher Pods

Jan. 03, 2024
How to Unlock Your Microwave

Jan. 03, 2024
How Many Watts Does a Refrigerator Use?

Dec. 11, 2023
How To Fix a KitchenAid Dishwasher That Isn’t Draining

Dec. 11, 2023
GE Oven F2 Error Code: Causes & Solutions

Dec. 11, 2023
Maytag Washer Not Spinning? 5 Simple Solutions

Nov. 06, 2023
Why Is Your Refrigerator Not Cooling?

Nov. 06, 2023
How to Get Rid of Burnt Smell in Microwave

Nov. 06, 2023
How to Fix a Dishwasher Not Cleaning Properly

Oct. 02, 2023
How Much Energy Does My Dryer Use?

Oct. 02, 2023
Maytag Washer Error Codes: How to Fix Them
(877) 560-8485Give us a call
(754) 345-5121Send us a text