

November 5, 2018
Microwave Repair
Microwaves generally make a loud whirring noise when they’re in use. Any other noises are a sign that a problem is developing. If you hear a loud, clunky noise whenever your microwave’s turntable is spinning, check the motor. It may have knocked itself loose or started to malfunction. Over time, a bad motor could interfere with other parts or stop spinning altogether.
If you know your microwave’s turntable motor is the problem, replace it. All you need is replacement part #8183954 and some time to uninstall and replace the broken part. Follow these steps to do it yourself, or contact a trained technician on our team.
1. Unplug the microwave or turn off the circuit breaker.
The first step to any appliance repair is to disconnect the appliance from its power source. This repair involves disconnecting wires and removing electronic parts. Disconnect the appliance to keep yourself and the surrounding area safe.
Many of the microwave oven combo units wire directly into their house’s power. If you can’t simply unplug the appliance, flip the appropriate circuit breaker to make sure electricity can’t reach it.
2. Dismantle the microwave to reach the internal wiring.
Remove loose parts in the microwave.
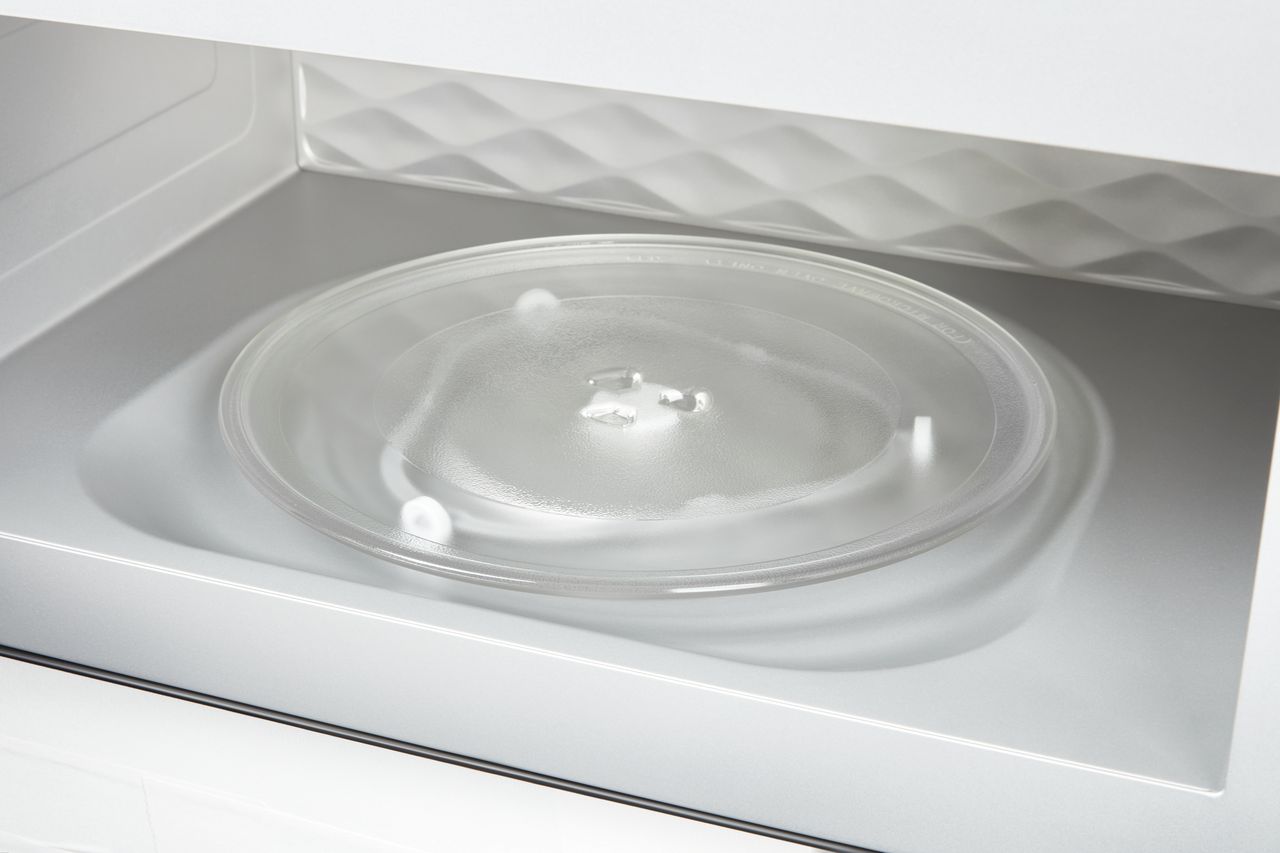
During the first few steps, you will be taking apart the unit so you can reach the wires and motor. That means you’ll have to remove the microwave from the frame entirely. Before you do, make sure you open the microwave and remove the loose parts. This includes the turntable tray, its support, and the detachable coupler. Set them aside for now.
Remove the exterior casing.
First, remove the screws securing the control panel. Pull the control panel up and off the top groove. Then set it on top of the unit; don’t pull it completely away because that will stretch or disconnect the wires. Also, make sure the control panel’s sharp sides don’t pinch any wires as you work.
Next, uninstall the grill on top of the unit. Start by loosening the screws holding it in position. Then pull the vent grille free. Loosen the screws securing the bottom grille, too, and remove the part.
After that, loosen the two bottom screws securing the microwave to the mounting frame. These screws sit behind the vent grille’s position. Once the unit is loose, pull the microwave out a few inches to give yourself room to work.
Now you’ll be removing the exterior panels. Before you start, hang the control panel back in place on the top groove so it’s safely out of the way.
Remove the top access panel by removing the screws two screws on each side and the top rear. Also, remove the rear access panel. Set the panels aside. The internal wiring is now visible.
Disconnect the wiring.
If this is your first time working with appliance wiring, there are a few ways to make the procedure less stressful. The most useful trick is to take pictures before each step. This will give you an exact picture guide as you reconnect the wiring.
Also, keep in mind that the reconnection process is just working backward. Don’t worry that a given step makes the wiring less organized or that you have a lot of disconnected wires near the end.
First, loosen the screw holding the green ground wire in place.
Next, disconnect the main wire harness, which is white, and cut the zip tie holding the collection of wires together.
After that, disconnect the two red wires connected to the power transformer on the side. Trace the red wires back to the control panel and the two wire harnesses they connect to on the circuit board. Disconnect these two wire harnesses, as well as the small white wire harness with two wires near the bottom of the board.
The microwave unit is now completely disconnected from the frame and the wiring. Pull out the whole microwave and set it on a work table.
3. Replace the turntable motor.
Set the microwave on its side.
On the bottom, there will be an oval-shaped metal plate with four pinch points for wire cutters. Cut those points and push the plate in to break the seal, then remove the plate. This will give you access to the turntable motor.
Next, loosen the screws securing the turntable motor. Pull the motor out and disconnect the wires. Make sure the wires don’t slip inside the microwave casing.
Set the old part aside and unwrap the new motor.
Connect the new motor to the wires. Either wire can connect to either port. Position the old coupler, place the motor in the hole, and secure it with screws.
Add the metal plate back to cover the hole. Straighten the plate’s bent tabs and secure it in place with short screws. The plate should have two protruding tabs with screw holes to make this simple.
After that, turn the microwave right side up and ensure the top insulation is still in place. Then pick it up and slide it back into the combo microwave oven frame. make sure the wires are pushed to the side so they don’t get pinched or cut. If you need to open the door to push it fully into place.
4. Reassemble the microwave unit.
During this step, you will be reversing what you disconnected in the second step.
First, flip the control panel over so you can access the wiring. Reconnect the small white plug and two black wire harnesses. The tabs on the harnesses will prevent you from doing the wrong way, but you can also use pictures as a guide.
Next, hang the control panel in position so you can organize the unit’s internal wiring.
Reconnect the two red wires to the power transformer, and then reconnect the main white wire harness. After that, tighten the screw holding down the ground wires.
Once everything is reconnected, pull the excess wire lengths together and secure them with a zip tie for easy organization.
Now you will start reassembling the outer casing of the microwave combo unit. Install the rear access panel and then the top access panel.
Next, install the two vent grilles at the top and bottom. Before you attach the bottom vent, don’t forget to add back the two bottom screws that secure the microwave to the frame.
Hold the control panel and reattach the last white wire harness. Then swing the panel over and rest the top of the panel along the groove. Push the top corners into position and then the bottom corners. Secure the panel with the screws.
Last, reinsert all the parts inside the microwave: the coupler, the supports, and the turntable.
Your microwave turntable should now spin freely without any noise or pauses. Contact us at Flamingo Appliance Service for more appliance repair tips or a technician who can help.

Apr. 09, 2024
How to Resolve the Bosch Dishwasher E15 Error Code

Apr. 09, 2024
How to Balance a Washing Machine (5 Quick Tips)

Apr. 09, 2024
Solutions for a Frigidaire Gas Stove Oven Failure

Mar. 06, 2024
How to Fix a GE Ice Maker Not Working (Quick Fixes)

Mar. 06, 2024
How to Fix the Electrolux Dryer Error Code E64

Mar. 06, 2024
Is Your Whirlpool Ice Maker Not Working? Here’s Why

Feb. 05, 2024
Can Styrofoam Be Microwaved? (Safety and Risks)

Feb. 05, 2024
Agitator vs. No Agitator Washer: What’s Best?

Feb. 05, 2024
Why Is Your Refrigerator Compressor Hot? (6 Potential Causes)

Jan. 03, 2024
How to Use Dishwasher Pods

Jan. 03, 2024
How to Unlock Your Microwave

Jan. 03, 2024
How Many Watts Does a Refrigerator Use?

Dec. 11, 2023
How To Fix a KitchenAid Dishwasher That Isn’t Draining

Dec. 11, 2023
GE Oven F2 Error Code: Causes & Solutions

Dec. 11, 2023
Maytag Washer Not Spinning? 5 Simple Solutions

Nov. 06, 2023
Why Is Your Refrigerator Not Cooling?

Nov. 06, 2023
How to Get Rid of Burnt Smell in Microwave

Nov. 06, 2023
How to Fix a Dishwasher Not Cleaning Properly

Oct. 02, 2023
How Much Energy Does My Dryer Use?

Oct. 02, 2023
Maytag Washer Error Codes: How to Fix Them
(877) 560-8485Give us a call
(754) 345-5121Send us a text