

March 7, 2022
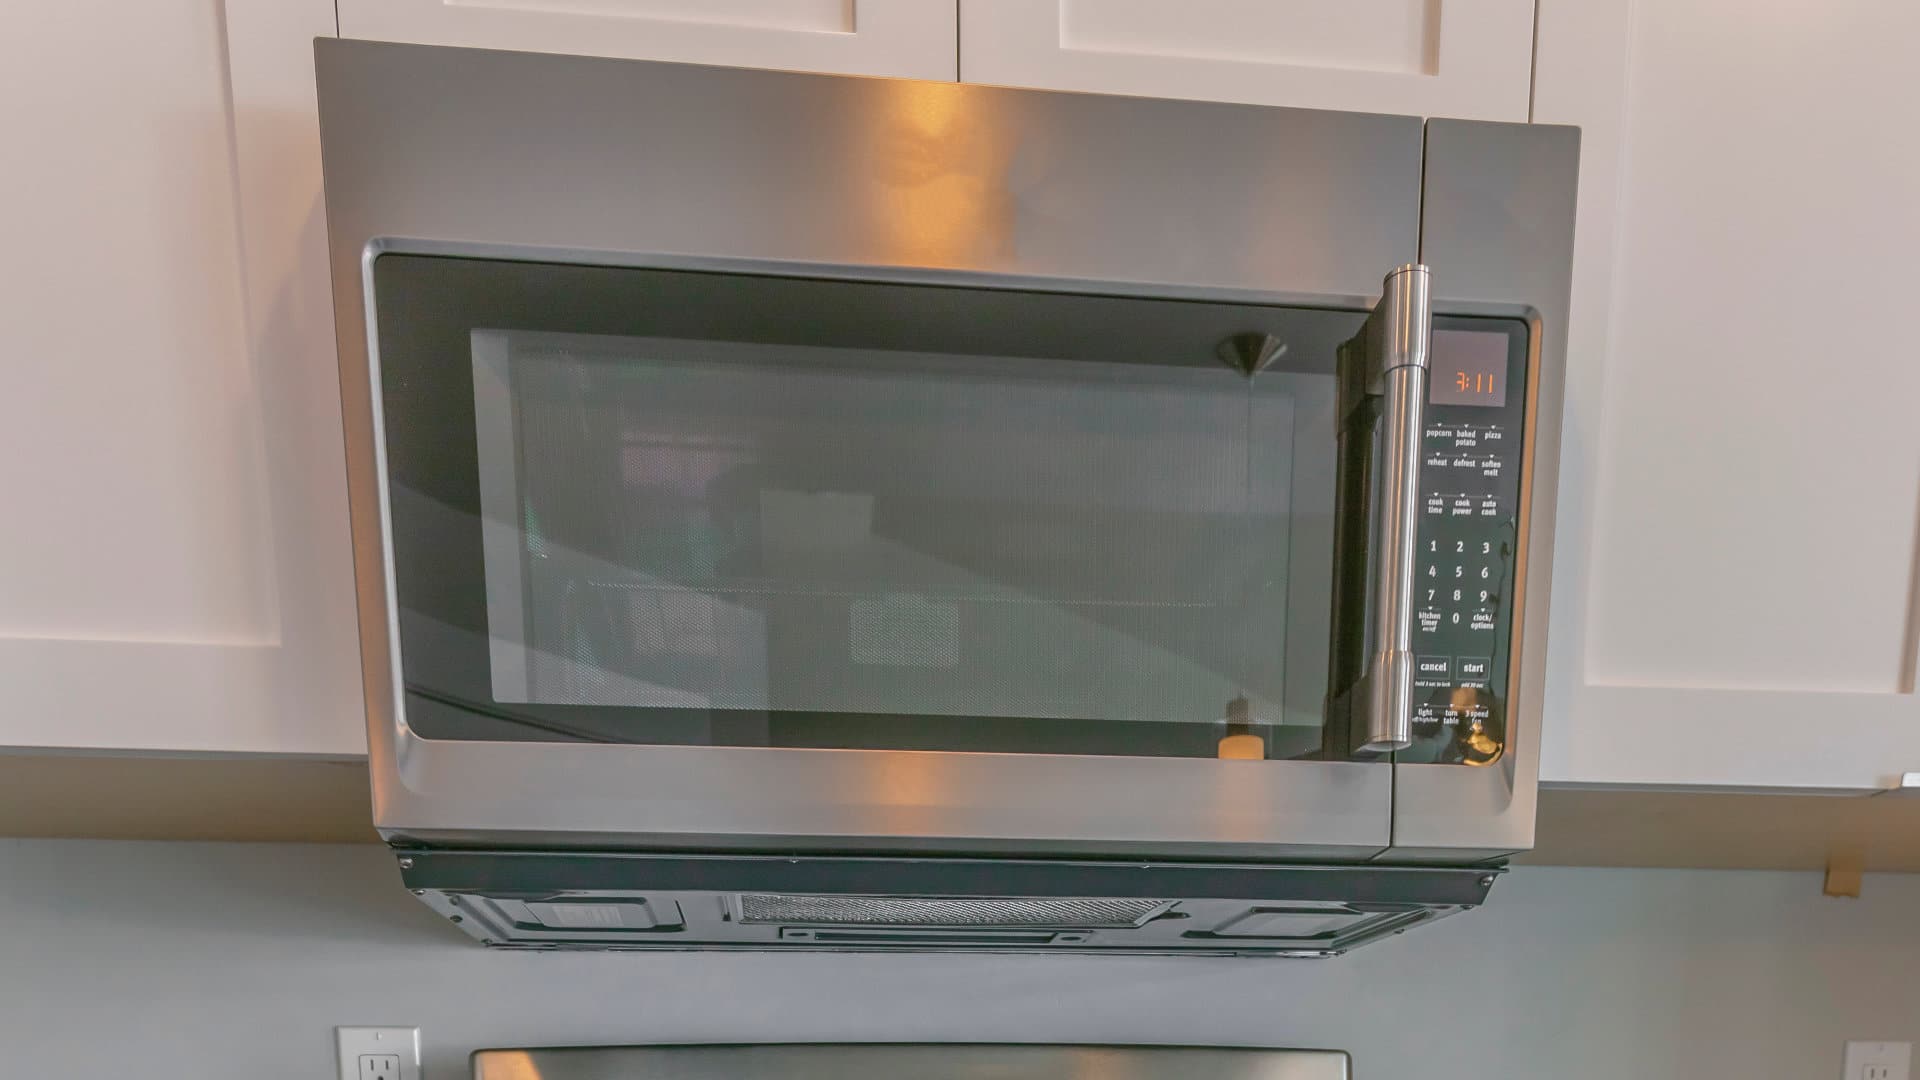
Microwave Repair
Replacing an over-the-range microwave is a relatively straightforward DIY home project. Microwaves are heavy, though, so it’s a good idea to get someone to help you hold the microwave at certain steps during the installation.
The project will require a drill, stud finder, measuring tape, and a pencil. The drill bits, bolts, and screws required will depend on your home and the type of microwave you are installing.
Let’s get to it.
1. Disconnect the power
Before we start, unplug the old microwave.
2. Measure and check specifications
For safety reasons, an over-the-range microwave needs to be installed to certain specifications, which can vary depending on the type of range you have, the type of microwave, and regulations specific to your area.
If you are installing a microwave over a gas range, the microwave must be rated to sit above your specific gas range. You should consult the microwave manufacturer’s specifications and your local codes to make sure the microwave does not pose a fire or safety risk.
It is also useful to measure the gap between the range and microwave, the microwave base to the cabinet, the width of the microwave, and the depth of the microwave, to ensure the installation goes smoothly.
3. Remove the screws
For this step, you are going to need someone to hold the microwave while you remove the screws that secure the microwave to the cabinet.
4. Lift the microwave off the bracket
With the screws removed and someone to help you, you should be able to tilt the top of the microwave and lift it off the bracket. As you remove the microwave, pull the power cord through at the same time.
5. Remove the mounting bracket
If you are installing the same type of microwave, you may be able to reuse the existing mounting bracket. However, in most cases, you will need to remove the existing bracket and install a new one that is specific to the new microwave. If the old bracket is worn or damaged, you might as well replace the bracket with the new one (which should come with the new microwave anyway).
Unthread the screws that secure the mounting bracket.
The mounting bracket will likely have toggle bolts (butterfly anchors). Toggle bolts can be difficult to remove, as you need to pull on the bolt while also pushing the bolt to make it spin and come out of the wall. Therefore, you need to put something like a putty knife behind the bolt-head while you unscrew it.
Once the mounting screws have been removed, you can remove the bracket from the wall.
6. Prepare the new microwave
If the new microwave is still in the box, make sure to follow the unpackaging instructions on the microwave box.
The new microwave should come with a mounting bracket secured to the back of it. With the microwave positioned face-down, unthread the mounting bracket screws and remove the bracket from the microwave.
7. Mark the location of the studs
Next, you will need to use your stud finder to locate the studs behind the wall where the new bracket will be mounted. Use a pencil to mark the location of the studs.
8. Mark the center and the studs
With a measuring tape and a pencil, locate and mark the center of the space where the new microwave will go. Mark the bottom-center and top-center.
Next, draw a line extending down from the studs (or stud) to the wall beneath where the microwave will go. Repeat the same process for the bottom-center mark. These vertical lines will help you identify the stud(s) and the microwave center’s location during the next few steps.
9. Position the template
The new microwave should have come with a paper template to help with installation. Unfold the template and put some tape on the back of it, so that it can be stuck to the wall.
Position the template so that it lines up with the bottom of the cabinet and is in line with the centerline. Once the template is attached, use a leveling tool to make sure the bottom of the template is level.
The template should show where the screws will be needed. Mark the location of the screws with a pencil. Also, draw a horizontal line that marks the bottom of the template.
Now you can remove the template.
10. Drill the rear-wall holes
If there is not a stud where a screw is required, you will need to use a toggle bolt to ensure the mounting bracket is secure. There should be at least one stud that you can use, otherwise, the bracket may not hold.
Drill the hole(s) needed for toggle bolts, and the hole(s) needed for regular bolts. The regular bolt(s) that should have come with the microwave will be used where there is a stud.
11. Position the upper-cabinet template
The upper-cabinet template needs to be stuck to the bottom of the upper cabinet to show you where to drill the upper cabinet screws.
Use a pencil to mark where the upper-cabinet screws will go. If there is not already a hole for the power cord to go through, mark where the power cord hole will go.
Now you can remove the template.
12. Drill the upper-cabinet holes
First, drill pilot holes from the bottom through to the cabinet so that you can drill down from inside the cabinet to avoid splintering the wood. Then, change the drill bit to the required one, and drill the holes – drilling down from inside the cabinet.
If necessary, drill the power cord hole.
13. Secure the mounting plate
First, attach the toggle bolt(s) to the mounting bracket by putting the bolt(s) through the mounting bracket hole(s) and screwing on the toggle(s).
Next, position the mounting bracket on the wall, aligning it with the screw holes. Then, thread the toggle bolt(s) and secure the mounting bracket.
Now, thread and secure the remaining bolt(s). Make sure the mounting bracket is level.
14. Set up the blower motor
This stage will depend on how you intend to ventilate the microwave. Most microwaves will come set up to exhaust out their top. If you require your microwave to exhaust out the back or through a filter back into the kitchen, you will need to adjust the exhaust.
Adjusting the exhaust should be relatively easy. You will need to remove the screws that secure the exhaust, pull the panel down, and rotate the exhaust in the direction that you require.
15. Install the microwave
Have someone help you lift the microwave onto the mounting bracket. Push the power cord through the power cord hole. Now, lock the microwave into the mounting bracket tabs.
If you have a recessed cabinet, wood filler blocks will be required to prevent damage to the cabinet when tightening the mounting screws. Place the wood filler blocks between the microwave and the cabinet.
Thread and tighten the upper cabinet mounting screws, then check to make sure the microwave is secure.
Finally, plug the microwave in and check that everything is working correctly. You should now be all set!

Apr. 09, 2024
How to Resolve the Bosch Dishwasher E15 Error Code

Apr. 09, 2024
How to Balance a Washing Machine (5 Quick Tips)

Apr. 09, 2024
Solutions for a Frigidaire Gas Stove Oven Failure

Mar. 06, 2024
How to Fix a GE Ice Maker Not Working (Quick Fixes)

Mar. 06, 2024
How to Fix the Electrolux Dryer Error Code E64

Mar. 06, 2024
Is Your Whirlpool Ice Maker Not Working? Here’s Why

Feb. 05, 2024
Can Styrofoam Be Microwaved? (Safety and Risks)

Feb. 05, 2024
Agitator vs. No Agitator Washer: What’s Best?

Feb. 05, 2024
Why Is Your Refrigerator Compressor Hot? (6 Potential Causes)

Jan. 03, 2024
How to Use Dishwasher Pods

Jan. 03, 2024
How to Unlock Your Microwave

Jan. 03, 2024
How Many Watts Does a Refrigerator Use?

Dec. 11, 2023
How To Fix a KitchenAid Dishwasher That Isn’t Draining

Dec. 11, 2023
GE Oven F2 Error Code: Causes & Solutions

Dec. 11, 2023
Maytag Washer Not Spinning? 5 Simple Solutions

Nov. 06, 2023
Why Is Your Refrigerator Not Cooling?

Nov. 06, 2023
How to Get Rid of Burnt Smell in Microwave

Nov. 06, 2023
How to Fix a Dishwasher Not Cleaning Properly

Oct. 02, 2023
How Much Energy Does My Dryer Use?

Oct. 02, 2023
Maytag Washer Error Codes: How to Fix Them
(877) 560-8485Give us a call
(754) 345-5121Send us a text