

June 13, 2019
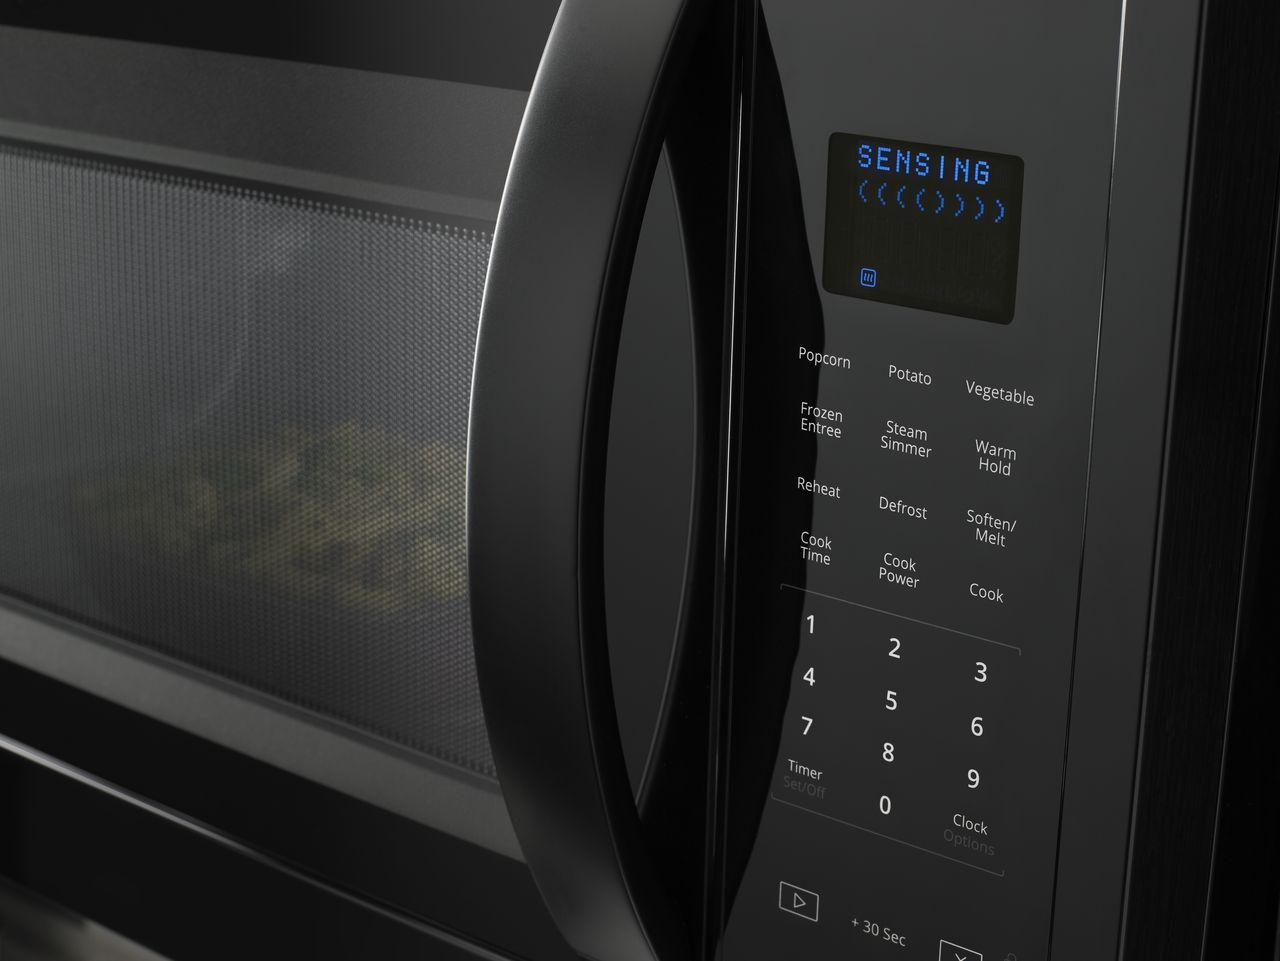
Microwave Repair
For most microwave owners, the microwave is basically one continuous part. Except, of course, for the plate that sometimes needs to be removed to wash off some boiled-over soup or oatmeal. But every now and then, you may have a reason to remove the microwave door.
Some microwaves have doors that can be reversed for the benefit of lefties or awkwardly designed kitchens. In other cases, you may be replacing a microwave door with a worn-out latch or cracked plastic. Whatever your reason, it’s important to be very careful about removing and reattaching a microwave door. While the hinge itself is sturdy, there are many small delicate clips that are unfortunately easy to break in the process.
Here’s how to correctly remove or replace a common home microwave door design:
Unplug Your Microwave
Whenever you start working with an appliance, it’s best to unplug it. This helps to prevent a number of potential disasters, from shocking yourself to short-circuiting the machine. The same rule applies to your microwave.Unplug your microwave from its socket and pull it away from the wall.
Remove the Glass Plate
You’re going to be moving the microwave and working with the inside of it, so remove the glass plate and any other loose parts. Put them in a safe place off to the side where you can find them again when the door is repaired. This is also a great opportunity to soak and then clean the plate and spinner while the microwave is out of use.
Set Up a Flat Work Surface
Your workspace should be a clear waist-high surface, either a counter or table, where you can safely work with the microwave and swing the door as needed without straining or stretching. Consider putting down a cloth or towel and place your microwave at the center of the work surface. You will also want to have a flat head screwdriver, a wrench, and a putty knife.
– Unmounting a Microwave
If your kitchen microwave is mounted above or inside the cabinetry, you may need to unscrew the bolts that hold it into place. These will often be found at the front and back of a microwave and will need to be detached before you can continue.It is possible to work on a microwave door while the microwave is mounted, but often awkward and tiring to hold your arms aloft while doing the careful work necessary. If you can’t find the front bolts, they may beneath the cover of the front panel.
Carefully Remove Door Interior Cover
Now that your microwave is in place, you’ll need to expose the mounting pins inside the hinges. To do this, you will most likely need to remove the interior cover of the microwave door. This is a delicate process and includes those fragile clips we mentioned earlier. It’s also a good opportunity to wash the inside of your microwave door.
– Pry the Edges Away from the Seal
Using a flat tipped screwdriver or a putty knife, carefully pry the edges of your microwave door apart so that the inner cover loosens. Be careful not to snap any clips during this part. You are just trying to start the split and make room to get a small view of the clips inside the door. This is a good time to work with a headlamp or a friend with a flashlight.
– Carefully Find and Release the Clips
Now that you can see inside (consider using a light), carefully open each small plastic clip. These clips are thin and easy to break, which can render your microwave door unfixable if snapped. Be gentle with the clips and use the proper release mechanism if possible. However, if you are already discarding and replacing the door, you may choose to use less care.
– Pull Cover Away to Reveal Bolts
Once the clips are released, you can pull the interior door cover away to reveal the bolts of the hinges. Place the cover to the side or set it to soak with the glass plate and spinner.
Remove the Door From Its Hinges
Now it’s time to remove the door by manipulating the hinges and mounting pins. This step is easier to do with a friend to hold the door in place.
– Fully Open the Microwave
Swing the microwave door open as wide as it will go. This will give you the most space to work with around the exposed hinge.
– Loosen Bolts, If Any
Microwave hinges are usually connected with mounting pins but there may be a bolt or nut to hold the pin in place. Carefully use a wrench or, if appropriate, a screwdriver to release the mounting pin.
– Prop Up the Door
The door is hanging on the mounting pins you want to remove, and it’s easier to work with the door propped up. As a friend to hold the door steady or use something to hold the door aloft in place while you work.
– Remove the Mounting Pins
Finally, you can pull the mounting pins that hold the microwave door hinges in place. This may take some work and lining up the door just right while you pull.
Reinstall in Reverse
Whether you are replacing, repairing, or cleaining the door it’s assumed you’ll want to reattach it to put your microwave back into use. Fortunately, the process isn’t hard. Just perform the detachment procedures in reverse. With less finicky clip work.
– Prop the Door and Replace Mounting Pins
Start by propping the door in place, holding the hinges perfectly aligned. Then slip the mounting pins back into place and attach bolts if there were any to start with.
– Fit the Interior Cover Back Into Place
Next, fit the interior microwave cover back into place and push it into the hold of the clips. Now your microwave is basically complete.
– Return the Glass Plate
Grab the microwave plate from the dishwasher and reinstall it with its spinner.
– Reinstall Your Microwave
Place your microwave back in its original place. If it was mounted, re-mount it using the same screws and fastening until snugly in place. Then plug your microwave back in and enjoy your achievement.
—Want to know more about fixing your microwave or other home appliances? Check out our blog for tons of helpful guides that can be easily followed step by step. Or if your issue is beyond the time and skill you have available, contact us today to consult on any repair services you may need. Did this guide work for you? Let us know in the comments!

Apr. 09, 2024
How to Resolve the Bosch Dishwasher E15 Error Code

Apr. 09, 2024
How to Balance a Washing Machine (5 Quick Tips)

Apr. 09, 2024
Solutions for a Frigidaire Gas Stove Oven Failure

Mar. 06, 2024
How to Fix a GE Ice Maker Not Working (Quick Fixes)

Mar. 06, 2024
How to Fix the Electrolux Dryer Error Code E64

Mar. 06, 2024
Is Your Whirlpool Ice Maker Not Working? Here’s Why

Feb. 05, 2024
Can Styrofoam Be Microwaved? (Safety and Risks)

Feb. 05, 2024
Agitator vs. No Agitator Washer: What’s Best?

Feb. 05, 2024
Why Is Your Refrigerator Compressor Hot? (6 Potential Causes)

Jan. 03, 2024
How to Use Dishwasher Pods

Jan. 03, 2024
How to Unlock Your Microwave

Jan. 03, 2024
How Many Watts Does a Refrigerator Use?

Dec. 11, 2023
How To Fix a KitchenAid Dishwasher That Isn’t Draining

Dec. 11, 2023
GE Oven F2 Error Code: Causes & Solutions

Dec. 11, 2023
Maytag Washer Not Spinning? 5 Simple Solutions

Nov. 06, 2023
Why Is Your Refrigerator Not Cooling?

Nov. 06, 2023
How to Get Rid of Burnt Smell in Microwave

Nov. 06, 2023
How to Fix a Dishwasher Not Cleaning Properly

Oct. 02, 2023
How Much Energy Does My Dryer Use?

Oct. 02, 2023
Maytag Washer Error Codes: How to Fix Them
(877) 560-8485Give us a call
(754) 345-5121Send us a text