

November 12, 2020
Microwave Repair
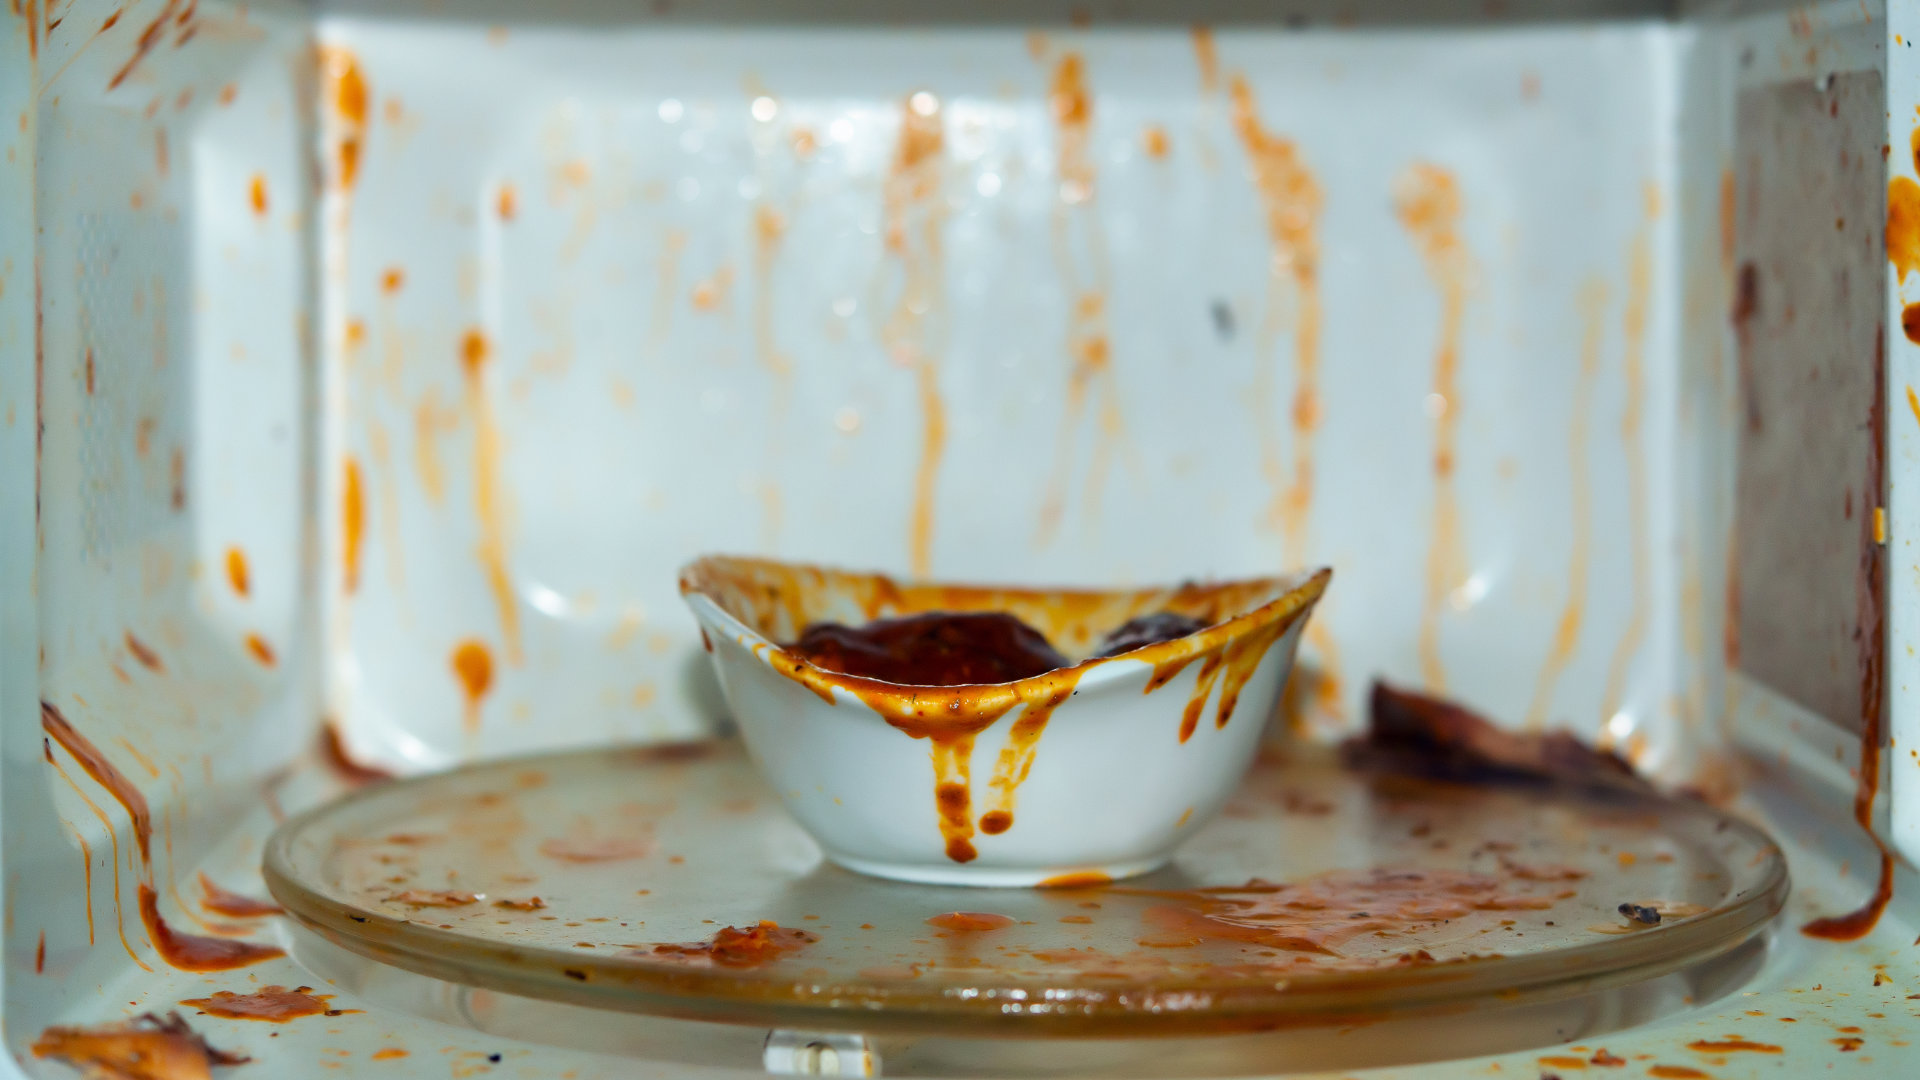
Some of us need to have a clean kitchen. It might be a personal choice, it might be a medical necessity. Whether it’s nature or routine, being able to clean the inside and out of every item in your kitchen is vital. Your microwave is no exception, but it would like to be. Microwaves, like ovens, are sometimes the only dirty thing in the whole kitchen. The elusive grease buildup between the door window panels and the constant residue just under the spinning plate are enough to drive some to distraction.
Today, we’re here to approach cleaning your microwave like appliance technicians. Here’s how to make your microwave get clean, no matter what angle is or is not convenient to reach from a standard countertop approach.
Supplies
- Quick-Evaporating Surface Cleaner
- Soapy Water
- Clean Sponge
- Housework Towels (not your best bathtowels)
- Putty Knife or Thin Flat-Blade Screwdriver
Unplug the Microwave
You know things are serious when you need to unplug an appliance to clean it. This is a smart safety maneuver any time you’ll be maneuvering an electrical item, especially if you’re about to approach with soapy water. To protect yourself and the microwave, pull that plug.
While you’re at it, wipe down the cord with your soapy sponge and notice the grease and spill build-up that comes away with a little effort. Then tie the cord with a cable-tie that prevents it from snaking around on the counter and underneath the microwave.
Remove & Soak the Spinning Plate
The spinning plate receives most of the spills and many of the splatters that occur inside the microwave. Even if you never spill, aerated food inside the microwave after a meal is cooked will condensate on the surface and form a film on your microwave plate. This kind of mess is serious, and awkward to try and scrub with your arm stuck inside the microwave chamber.
The only real solution is to soak it every few weeks (or days) depending on use. Pull the plate and the roller guide underneath it. Toss both into your sink full of hot, soapy water. Let them sit for a few minutes before scrubbing. You can also forget about that soaking plate assembly while you work on the rest of the microwave. It will be good and ready to scrub by the time you’re back to it.
Scrub the Outside
Now that your microwave is empty, you can go to town scrubbing the outside. Put a towel down on the counter and put the microwave on the towel. If it’s more comfortable for you, set up sitting on the floor instead. Now use your sponge and soapy water to attack every speck of grime, grease, or dust on your microwave.
Completely scrub it, and feel free to tip it in various directions and turn it around while you do. Scrub until you can run your clean hands over the microwave and it also feels clean to the touch.
Flip the Microwave Upside Down
Now turn the microwave upside-down so that you’re looking at its feet. This is likely an angle you’ve never seen your microwave from, or not since the day it was installed. Take your time cleaning the underside of the microwave, using the cleaner instead of soapy water any place there is a vent that might reach internal electrical components. The fast-drying cleaner like Windex or Isopropyl are safer for electronics because they don’t waterlog the machinery or suds.
Scrub the Inside Spotless
Now you’re ready to clean the inside, with zero grime on the outside about to ruin your good work. We advise placing the microwave on its feet or on its back, however you can achieve the best leverage to get your arm into the microwave. Don’t be shy about spinning the microwave around to more comfortably scrub the side walls and ceiling that get a lot of splatter during normal microwave use.
You may need to roll up your sleeves for this part to get your arm into the compartment up to the elbow with a soapy sponge. The one thing that we don’t recommend is pouring water into the microwave, especially if it is tipped any way but upright. The microwave cabinet includes vents that do lead directly to machinery inside.
Use a Brush on the Grates
Speaking of those grates and vents, how do you clean them of months or years of built-up grease-dust sludge? The answer is a small brush. This could be a nail brush, a bottle brush, or a floor brush. It just needs to fit in your hand with small plastic bristles. Use a light amount of soapy water or, better, fast-drying cleaner on the brush to scrub away grime built up on grates and vents.
Take Apart & Clean the Microwave Door
The microwave door is a unique and challenging structure that is nearly impossible to clean – unless you know the trick. The fact is that your microwave door comes in halves. An inner half and an outer half. Both have a window and, yes, grease gets trapped in between. That’s why your microwave always looks dirty, no matter how much you clean the accessible surfaces.
These are generalized instructions as it can vary by brand and model. Feel free to contact us for in home repair service which includes disassembly of a door.
Using your putty knife or thin slot screwdriver, slip the metal between the edge and panel inside your microwave door. Slide along the seam until you feel a latch, press and release. Do this for every tiny plastic latch inside your microwave door perimeter. Release the latches very gently, as they are prone to breaking but you don’t really need all of them.
When the inner door comes away, you can soak it with the plate and get to work scrubbing the inside & outside of the outer door panel.
Cleaning the Counter
The last task before reassembling and enjoying your clean microwave is to clean the counter. Before you put that spotless microwave back into place, make sure it’s home is clean as well. Wipe down and scrub the counter your microwave’s been sitting on. Chances are, it’s become a hidden repository of crumbs and spill stains. When the counter is also spotless, you are ready to enjoy your truly pristine kitchen.
Contact us for more appliance repair and home maintenance guides!

Apr. 09, 2024
How to Resolve the Bosch Dishwasher E15 Error Code

Apr. 09, 2024
How to Balance a Washing Machine (5 Quick Tips)

Apr. 09, 2024
Solutions for a Frigidaire Gas Stove Oven Failure

Mar. 06, 2024
How to Fix a GE Ice Maker Not Working (Quick Fixes)

Mar. 06, 2024
How to Fix the Electrolux Dryer Error Code E64

Mar. 06, 2024
Is Your Whirlpool Ice Maker Not Working? Here’s Why

Feb. 05, 2024
Can Styrofoam Be Microwaved? (Safety and Risks)

Feb. 05, 2024
Agitator vs. No Agitator Washer: What’s Best?

Feb. 05, 2024
Why Is Your Refrigerator Compressor Hot? (6 Potential Causes)

Jan. 03, 2024
How to Use Dishwasher Pods

Jan. 03, 2024
How to Unlock Your Microwave

Jan. 03, 2024
How Many Watts Does a Refrigerator Use?

Dec. 11, 2023
How To Fix a KitchenAid Dishwasher That Isn’t Draining

Dec. 11, 2023
GE Oven F2 Error Code: Causes & Solutions

Dec. 11, 2023
Maytag Washer Not Spinning? 5 Simple Solutions

Nov. 06, 2023
Why Is Your Refrigerator Not Cooling?

Nov. 06, 2023
How to Get Rid of Burnt Smell in Microwave

Nov. 06, 2023
How to Fix a Dishwasher Not Cleaning Properly

Oct. 02, 2023
How Much Energy Does My Dryer Use?

Oct. 02, 2023
Maytag Washer Error Codes: How to Fix Them
(877) 560-8485Give us a call
(754) 345-5121Send us a text