

December 21, 2018
Dryer Repair
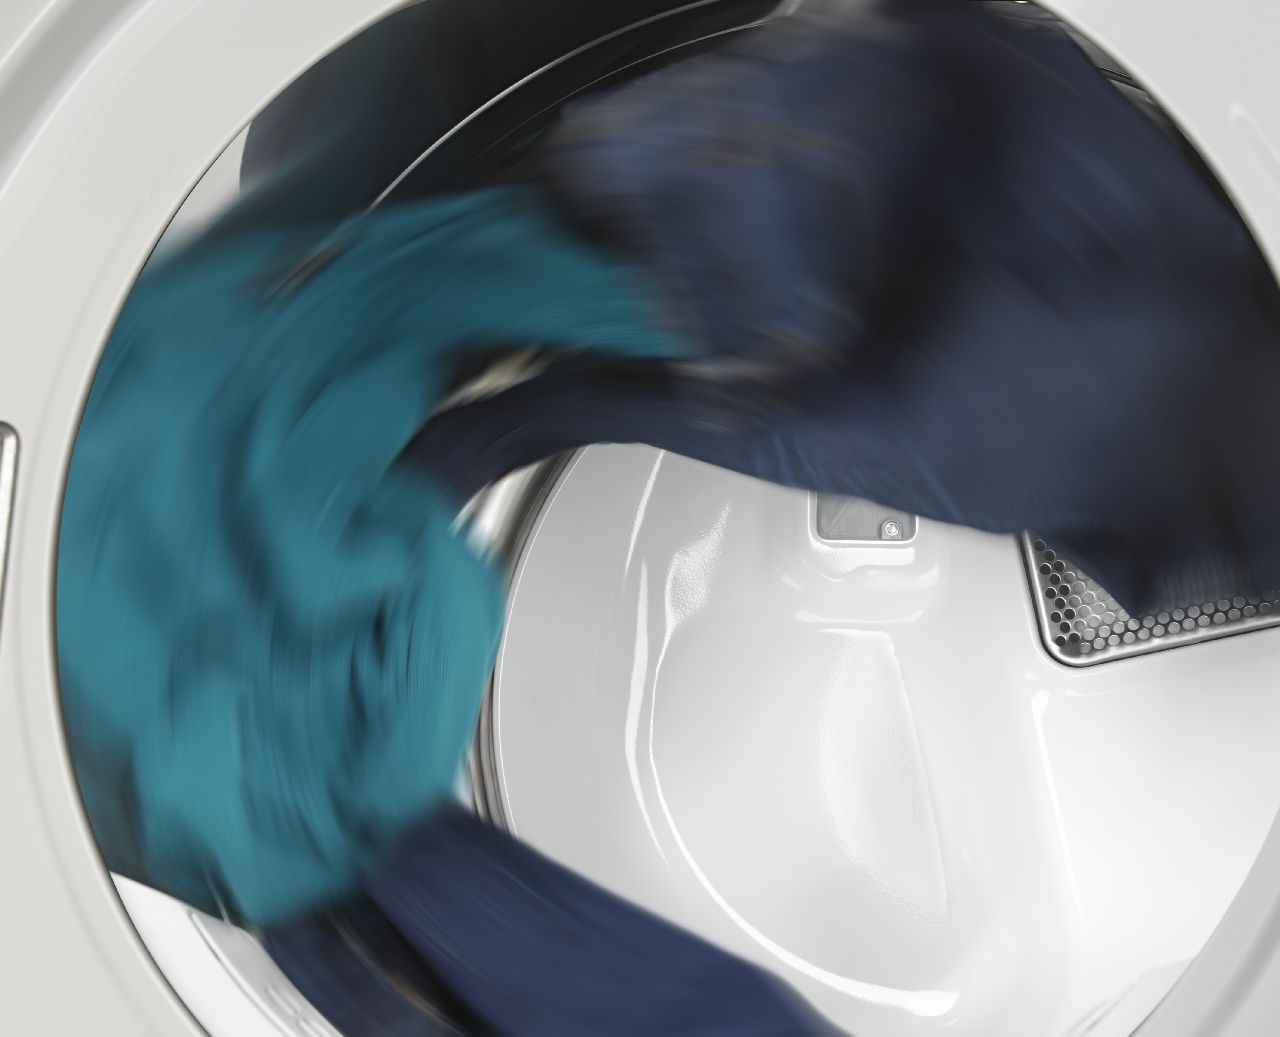
If your Whirlpool dryer model WED75HEFW is overheating, it’s crucial you take immediate action. A higher than normal temperature in your appliance is a safety hazard that can lead to your dryer and your home catching fire. Before you begin inspecting your appliance, allow it to cool down; otherwise, you may end up burning yourself as you examine its components. There are several parts in your dryer that can malfunction and cause an abnormally high operating temperature. To help you troubleshoot and repair your appliance, we’ve created a list of faulty components that often lead to a dryer overheating.
Dryer Repair Tips
After your dryer has cooled down, unplug it from the wall or turn it off at the circuit breaker. We highly recommend wearing safety goggles and work gloves while you troubleshoot and repair your appliance.
Venting Issues
Before you blame a malfunctioning component on your dryer’s high temperature, take a minute to inspect your appliance’s lint trap housing and vent tube, which runs from the back of your dryer to the outside of your house. Lint build up in either place will drastically restrict your appliance’s airflow, meaning the hot air generated during operation can’t escape. Unfortunately, poor ventilation can raise the temperature in your dryer to a dangerous level. If you find excessive lint in the lint trap housing or in the vent tube, use either a lint brush or your vacuum cleaner to get rid of it. After you’ve removed the lint obstruction from your dryer’s venting system, your appliance should no longer overheat.
The Thermistor
Your dryer is equipped with a component called a thermistor. The thermistor regulates the temperature inside the dryer drum. When the air temperature reaches the proper drying level, the thermistor tells the control board to turn off the heat, or when the air temperature falls below the required level, the component signals the control board to turn the heat back on. If the thermistor is damaged it may not sense the correct temperature in the dryer drum, meaning it will tell the control board to keep the heat on even though the dryer has reached or surpassed the proper drying temperature.
How to Replace the Thermistor in Your Maytag Dryer
- Start the repair by unthreading the screws securing the dryer’s main top panel to the appliance. Once the screws are out, pull the panel back, and lift it up and off your dryer.
- Move to the front of your appliance and remove the screws holding the control housing onto the appliance. Then, detach the control panel wiring from the control board. Now take the control panel off the front of your dryer.
- Find the door switch wire harness inside the dryer cabinet on the left side, and pull the wires apart.
- To take the dryer’s front panel off, you’ll need to tilt the appliance back slightly and slip an object, such as a block of wood, underneath the front, bottom edge of the dryer. With the appliance raised, you can unthread the bottom screws that secure the panel to the machine. Once the screws are removed, carefully lift up your appliance and remove the wooden block from underneath it.
- Now take out the three screws at the top of the front panel. Next, open the dryer door and unthread the last two screws securing the panel to the appliance. Lift the front panel up and off your machine.
- For easy access to the thermistor, you’ll need to remove the dryer’s front bulkhead. To do so, unthread the screws that go to the control housing bracket. Then, take out the screws securing the front of the control board bracket to the dryer cabinet. Next, create support for the bracket by tying it to the side of your appliance. Now lift the control housing bracket up and off your dyer.
- Locate the moisture sensor wire harness and pull the wires apart to disconnect them.
- Move to the bottom of your appliance, and take out the screw that supports the bulkhead’s lower retaining bracket. Then remove the screws securing the bulkhead to the dryer’s frame. Lift the bulkhead up and off the dryer drum and place it somewhere safe and out of the way.
- With the bulkhead removed, locate the thermistor, which sits near the blower wheel. Disconnect the wires running to the component and unthread the screws securing the thermistor to the blower house assembly. Pull the defective thermistor out of your dryer.
- Grab your new thermistor and attach it to the blower house assembly with the screws you removed earlier. Next, reconnect the wires to the proper terminals.
- Now it’s time to reassemble your appliance. Begin by reattaching the bulkhead to the dryer frame. Once you’ve secured all the screws and replaced the retaining clip, you can reconnect the moisture sensor wire harness.
- Next, realign the control housing bracket with the dryer frame and rethread the screws you took out earlier. After that, untie the control board bracket from the side of your dryer and reattach its screws to hold it in place.
- Before you replace the dryer’s front panel, feed the door switch wire harness through the opening under the control house mounting bracket. Once the wire is inserted, reattach the appliance’s front panel.
- Reconnect the control panel by feeding the control board wires through the hole in the mounting bracket. Then, snap the control panel in place before reattaching its screws.
- Reconnect the door switch harness and the control board wires inside the dryer cabinet.
- Slide the main top panel back on your appliance and secure it with the screws you removed earlier.
- Plug your dryer back in and test it out by drying a load of laundry.
Additional Malfunctions
- The Front Panel Felt Seal keeps hot air from escaping the dryer drum and entering the appliance’s cabinet. Due to years of wear and tear, the seal can become damaged. Unfortunately, when this happens, hot air can leak into the dryer cabinet which will cause the appliance to overheat.
- The Heating Element in your dryer heats up the air before it travels into the dryer drum. A faulty element can continue to operate even after the proper air temperature is reached. If this occurs, your dryer will end up overheating.
- The Blower Wheel and the drive motor function together to pull air into the appliance’s drum and to push air out of the dryer through an exhaust vent. If the blower wheel is defective, and the hot air in the appliance is not circulating, the temperature inside your dryer cabinet can reach dangerous levels.
If your dryer is overheating and you don’t know the cause, please contact us today, and we’ll send out one of our highly skilled repair technicians to diagnose and fix the issue before it turns into a fire hazard.

Apr. 09, 2024
How to Resolve the Bosch Dishwasher E15 Error Code

Apr. 09, 2024
How to Balance a Washing Machine (5 Quick Tips)

Apr. 09, 2024
Solutions for a Frigidaire Gas Stove Oven Failure

Mar. 06, 2024
How to Fix a GE Ice Maker Not Working (Quick Fixes)

Mar. 06, 2024
How to Fix the Electrolux Dryer Error Code E64

Mar. 06, 2024
Is Your Whirlpool Ice Maker Not Working? Here’s Why

Feb. 05, 2024
Can Styrofoam Be Microwaved? (Safety and Risks)

Feb. 05, 2024
Agitator vs. No Agitator Washer: What’s Best?

Feb. 05, 2024
Why Is Your Refrigerator Compressor Hot? (6 Potential Causes)

Jan. 03, 2024
How to Use Dishwasher Pods

Jan. 03, 2024
How to Unlock Your Microwave

Jan. 03, 2024
How Many Watts Does a Refrigerator Use?

Dec. 11, 2023
How To Fix a KitchenAid Dishwasher That Isn’t Draining

Dec. 11, 2023
GE Oven F2 Error Code: Causes & Solutions

Dec. 11, 2023
Maytag Washer Not Spinning? 5 Simple Solutions

Nov. 06, 2023
Why Is Your Refrigerator Not Cooling?

Nov. 06, 2023
How to Get Rid of Burnt Smell in Microwave

Nov. 06, 2023
How to Fix a Dishwasher Not Cleaning Properly

Oct. 02, 2023
How Much Energy Does My Dryer Use?

Oct. 02, 2023
Maytag Washer Error Codes: How to Fix Them
(877) 560-8485Give us a call
(754) 345-5121Send us a text