

October 8, 2018
Dishwasher Repair
Even high-powered dishwashers need hot water to get your dishes completely clean. If the water isn’t getting hot, then the most likely culprit is the heater at the base of your dishwasher. This heater is also supposed to heat the air while your dishes are drying. If you have a Maytag dishwasher, this is a repair you can handle yourself with a replacement heater and just a few tools. Order replacement part W10283681 and follow these steps to get your dishwasher working again.
1. Unplug the dishwasher and turn off the water supply.
Whenever you’re repairing an appliance, unplug it before you get started. This keeps you, the appliance, and your work area safe. This step is even more important if you’re handling appliances that use both electricity and water.
During the course of this repair, you’re going to be partially uninstalling your dishwasher. So you also need to turn off the water supply to the appliance. Take the opportunity to put a towel under the water’s connection point to catch any potential spills.
2. Uninstall the dishwasher.
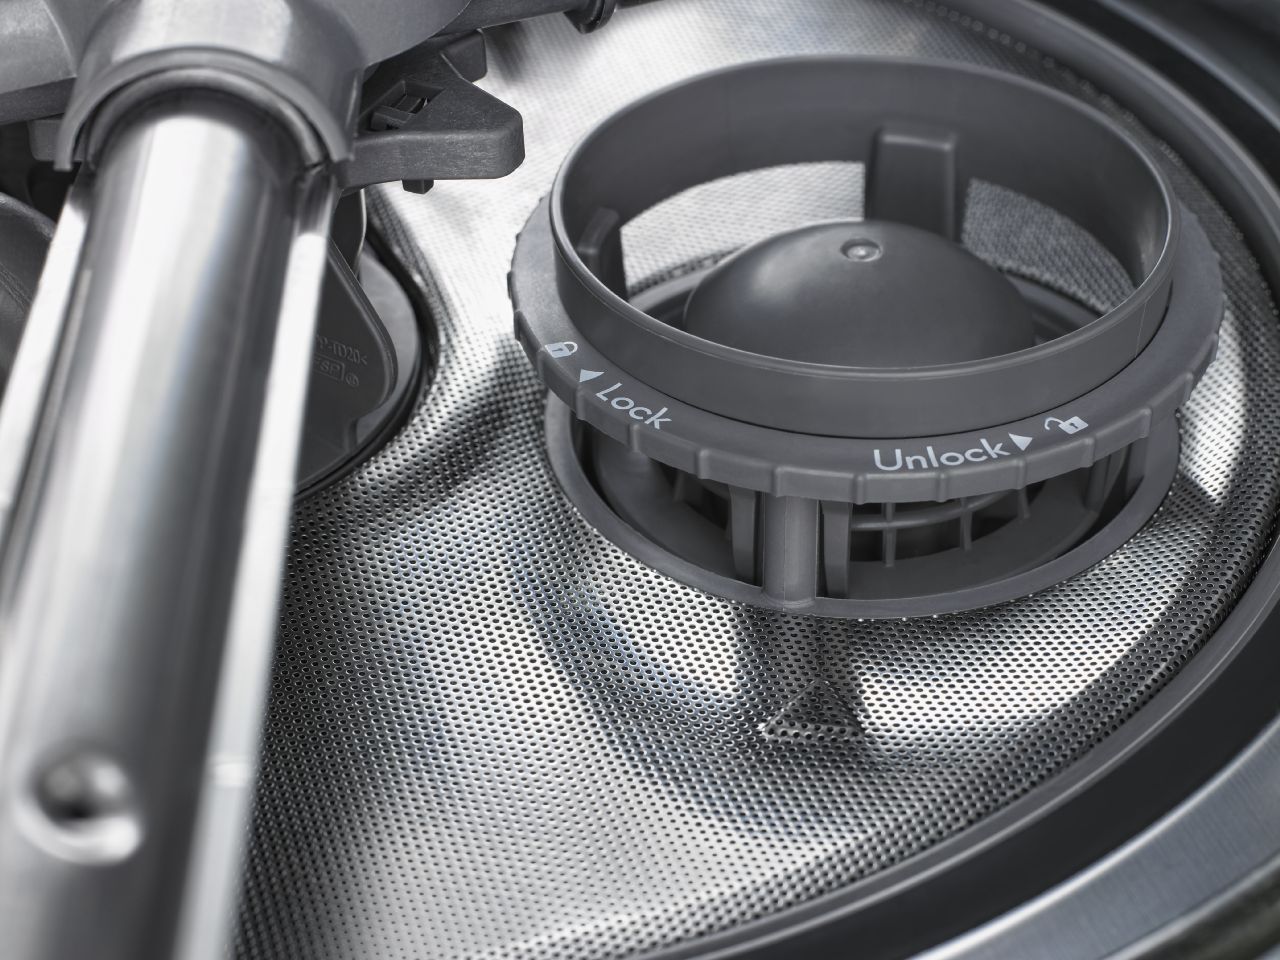
First, loosen the water supply line hose by hand, then unscrew it with a wrench and set it down. Next, remove the drain hose. Loosen the clamp connecting the hose to the garbage disposal or air gap. Then set the end of the drain hose down on the towel-covered surface.
After that, open the door and pull out the lower rack in the dishwasher to get it out of the way. Remove the screws securing the dishwasher to the underside of the counter.
Once your dishwasher is completely disconnected from the counter and any lines under the sink partially shut the door at a forty-five-degree angle. Grab the sides of the dishwasher to carefully wiggle the appliance out from under the counter until you can securely grab the sides of the dishwasher body. Then pull the appliance completely out from the counter and into the middle of the kitchen. Make sure you don’t tug or stretch the wires. Shut the dishwasher door.
3. Remove the old heater.
Locate two terminals near the bottom rear of the dishwasher. These are where the electricity runs through the heater to generate heat. Use a pair of needle nose pliers to unplug the wire harnesses running from each of the terminals. These wires are usually secured so you can easily tell which harness connects to which terminal even when they’re disconnected. Even if the configuration is clear, it’s always a good idea to take a picture of wiring that you aren’t familiar with so you have a guide during reassembly.
Once you have disconnected the wires, loosen the nut at each terminal holding the heater in place, then unscrew by hand. Set these pieces aside.
Next, go to the front of the machine and open the door. You need to remove the support brackets holding the heater in place in the inside of the appliance. To remove them, use a flathead screwdriver and lift the base of each support over a locking pin. At the same time, turn the support counterclockwise to shift it away from the pin. Once the comes loose, carefully unhook the top of the support from the heater and set aside. Repeat this process to remove the second support.
At this point, the heater is completely disconnected from the rest of the dishwasher. Lift up the ends and pull the heater out. Set it aside.
4. Install the new heater.
Installing the new heater will involve the same parts and processes as uninstalling it. You will just be working backward to put it in position, add the brackets, and then resecure the rear wiring.
First, position the heater so the terminal ends match the holes inside the dishwasher. Carefully push each terminal through the base of the machine.
Next, reattach the support brackets to hold the heater in place. Slide the heater through the hook on the first metal support bracket. Then line it up with the plastic ‘x’ shape in the base of the dishwasher. Carefully start turning the bracket clockwise while lifting the base with a flathead screwdriver so it snaps into place over the locking pin. Repeat this step with the second support bracket.
Close the door and go to the rear of the machine.
Put the nuts back on the terminals, first by screwing them in by hand and then tightening them with a wrench.
Next, reattach each of the wire harnesses to the bottom of the terminal. The wires need to be reattached to their specific terminals, so use your picture as a guide.
5. Reinstall the dishwasher.
When you pulled the appliance out from under the cabinet, the water lines and the power cord may have fallen into the empty space. Even if the ends didn’t completely fall out from under the sink, there’s a lot of excess length. Push or pull them back into place as much as possible before you move the dishwasher back into place. This reduces the risk that the supply lines will get pinched or that there will be any damage to the wires.
Next, push the dishwasher halfway under the cabinet. Pull more of the supply line’s and cord’s length back under the sink. Then push the dishwasher fully into place and reposition the lines a third time.
After that, reattach the drain hose. Slip it over the connection point and tighten the clamp. Also, reconnect the water line.
Then, secure the dishwasher to under the countertop. Retighten the two screws you removed earlier. Put the bottom dishrack back into place and close the dishwasher door. Then turn on the water and plug in the appliance. Now you can run a test cycle and check that the heater is working during both the cleaning and drying cycles.
If you want to repair more of your home’s appliances yourself, go to Flamingo Appliance Service for repair instructions and troubleshooting tips. We also have professional technicians who can help with more serious repairs.

Apr. 09, 2024
How to Resolve the Bosch Dishwasher E15 Error Code

Apr. 09, 2024
How to Balance a Washing Machine (5 Quick Tips)

Apr. 09, 2024
Solutions for a Frigidaire Gas Stove Oven Failure

Mar. 06, 2024
How to Fix a GE Ice Maker Not Working (Quick Fixes)

Mar. 06, 2024
How to Fix the Electrolux Dryer Error Code E64

Mar. 06, 2024
Is Your Whirlpool Ice Maker Not Working? Here’s Why

Feb. 05, 2024
Can Styrofoam Be Microwaved? (Safety and Risks)

Feb. 05, 2024
Agitator vs. No Agitator Washer: What’s Best?

Feb. 05, 2024
Why Is Your Refrigerator Compressor Hot? (6 Potential Causes)

Jan. 03, 2024
How to Use Dishwasher Pods

Jan. 03, 2024
How to Unlock Your Microwave

Jan. 03, 2024
How Many Watts Does a Refrigerator Use?

Dec. 11, 2023
How To Fix a KitchenAid Dishwasher That Isn’t Draining

Dec. 11, 2023
GE Oven F2 Error Code: Causes & Solutions

Dec. 11, 2023
Maytag Washer Not Spinning? 5 Simple Solutions

Nov. 06, 2023
Why Is Your Refrigerator Not Cooling?

Nov. 06, 2023
How to Get Rid of Burnt Smell in Microwave

Nov. 06, 2023
How to Fix a Dishwasher Not Cleaning Properly

Oct. 02, 2023
How Much Energy Does My Dryer Use?

Oct. 02, 2023
Maytag Washer Error Codes: How to Fix Them
(877) 560-8485Give us a call
(754) 345-5121Send us a text